1. Introduction
Is your organization planning to migrate data from Egnyte to SharePoint Online? CloudFuze offers the right solutions. Even if your company has many TBs or PBs of data on Egnyte and a complex sharing structure that needs to be migrated to SharePoint Online, our migration platform can streamline the entire transfer process.
You can also watch this Egnyte to SharePoint Online migration video to get started:
2. Egnyte vs. SharePoint Online
Both Egnyte and SharePoint Online are convenient file-sharing and storage platforms. They offer similar features, such as
- Sharing, editing, and managing files and folders
- Data encryption for security
- Accessing files from anywhere through any device
- Integration with third-party apps
But these cloud platforms also differ in some ways from each other.
For example, the customization of apps in Egnyte is straightforward, while SharePoint requires IT expertise to achieve the desired results.
You can also check out the other differences between Egnyte and SharePoint Online in detail.
4. What Are the Challenges Associated With Egnyte to SharePoint Online Migration?
Data migration is an elaborate and critical process that needs to be handled by experts. Businesses planning for Egnyte to SharePoint migration must overcome the challenges associated with it for a frictionless data transfer.
The main challenges in Egnyte to SharePoint Online migration are
- Risk of downtime due to high data volume.
- Migrating file and folder permissions to the destination.
- Preserving the shared and internal links, comments, timestamps, and version history of the files.
- Maintaining data security and compliance.
5. Egnyte to SharePoint Migration Steps
Having the admin accounts ready is the first step to migrate Egnyte to SharePoint. Other steps include configuring Egnyte as the source and SharePoint Online as the destination cloud, mapping users, choosing features to migrate, and initiating the actual migration.
Step 1: Create a CloudFuze account
Go to CloudFuze webapp and create your account. CloudFuze offers a free trial to test the service.
If you are representing a large company or an enterprise, CloudFuze can provide a custom trial. Please reach out to our support team at support@cloudfuze.com with your migration needs.
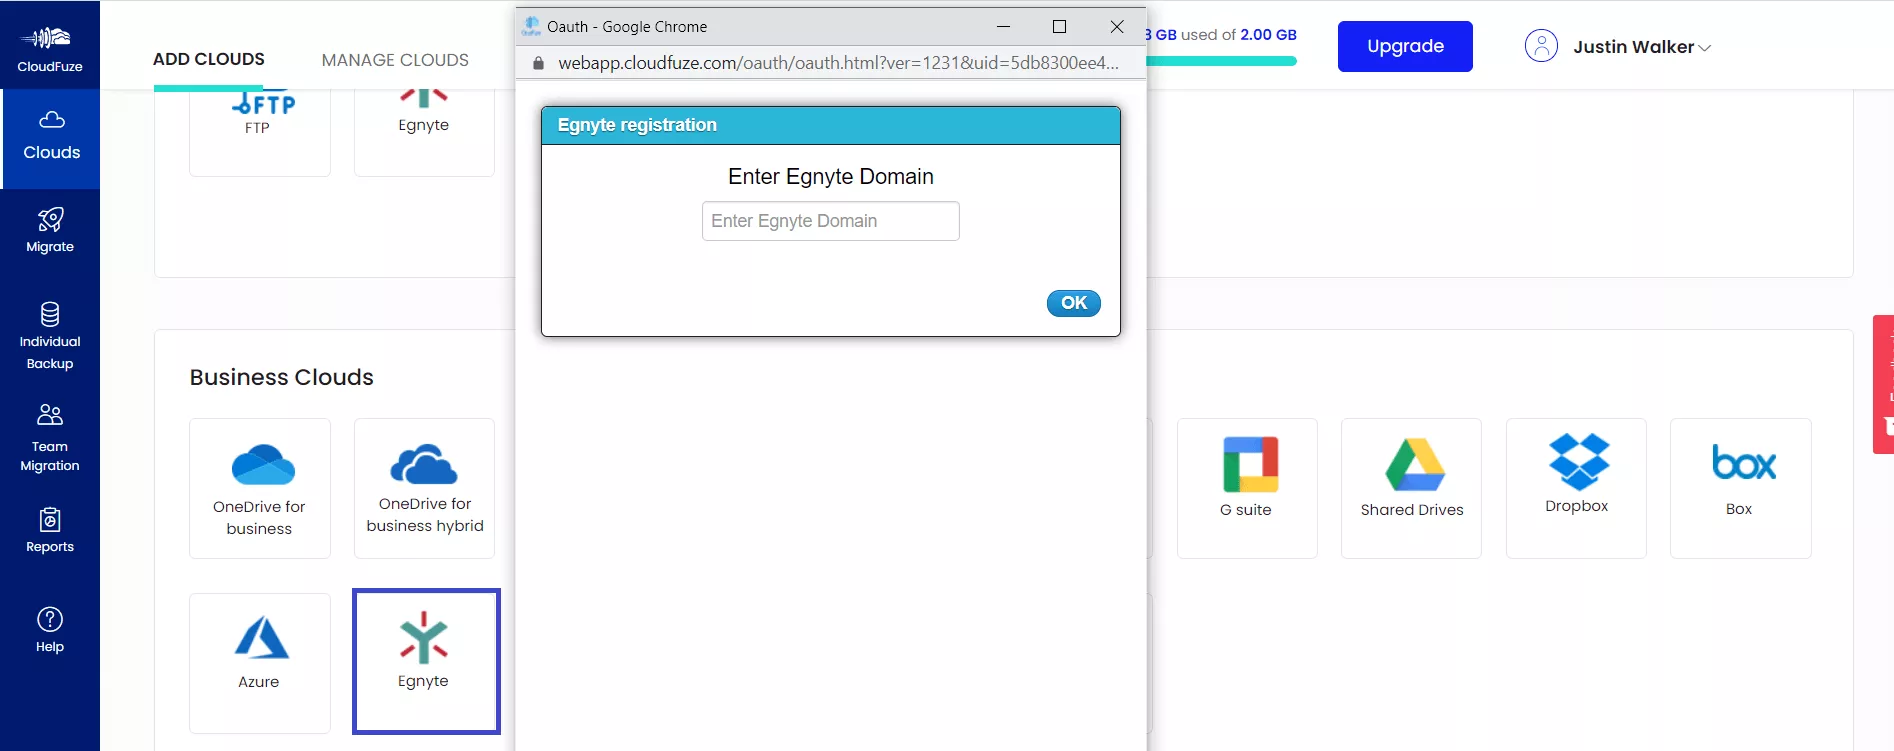
Step 2: Authorize Your Egnyte Account
Enter the domain of your Egnyte account and then enter login details to authorize your account to CloudFuze for migration.
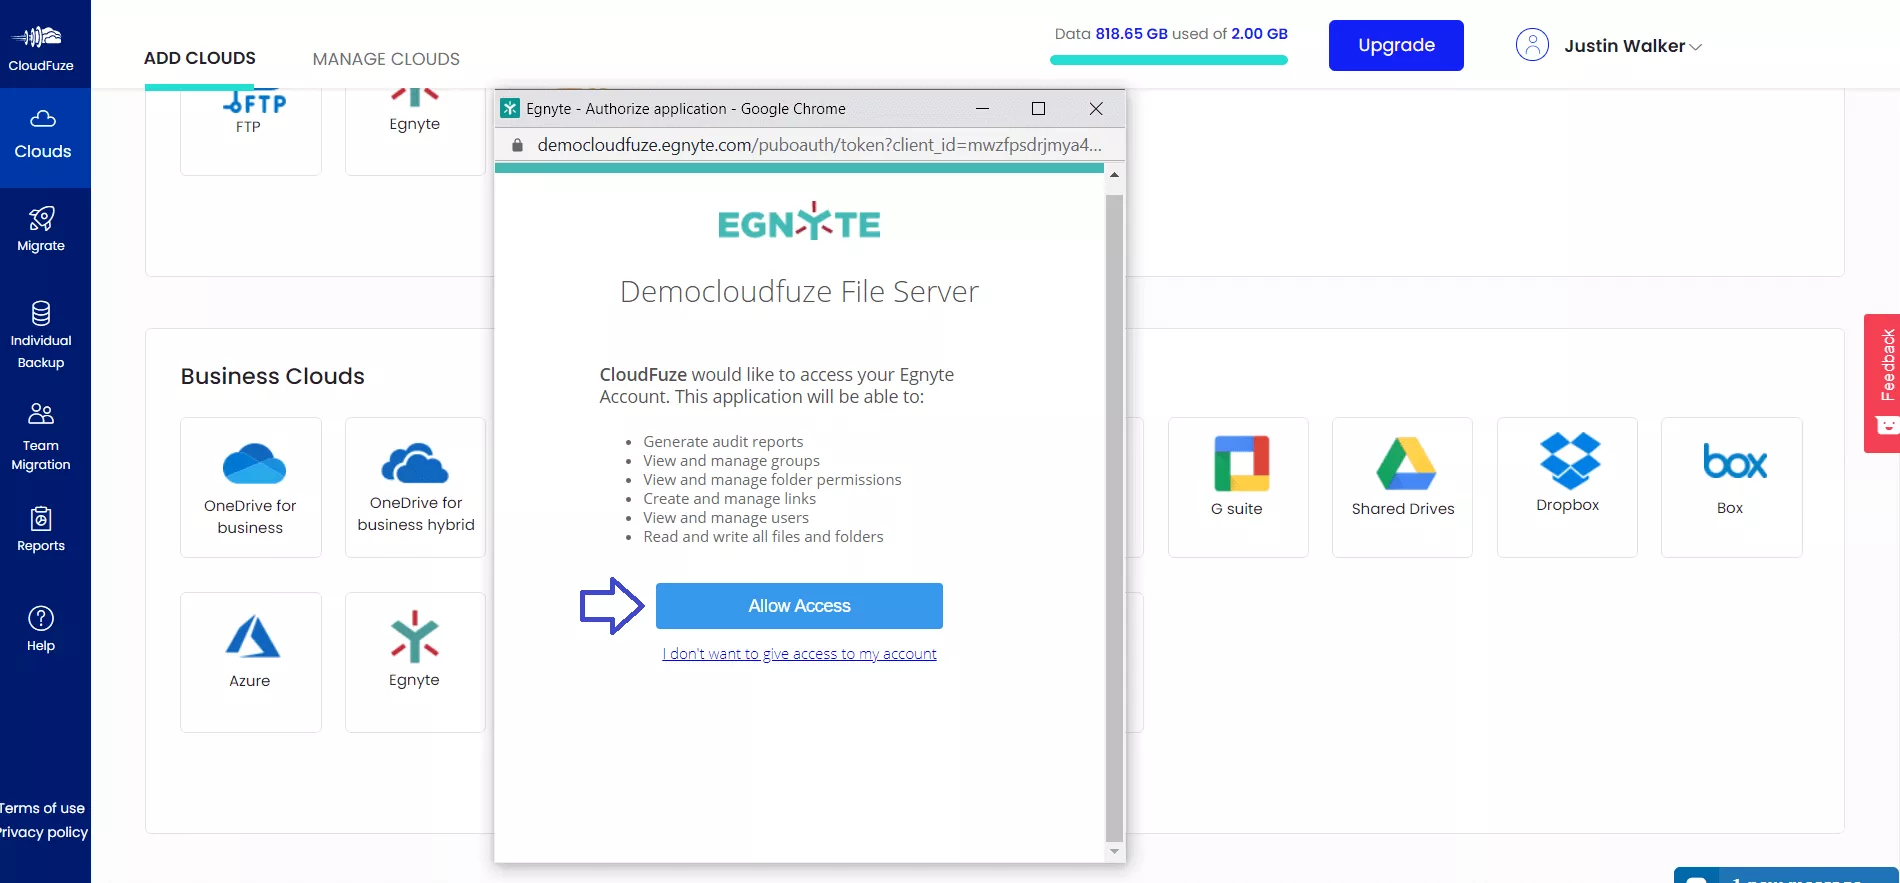
Step 3: Complete the Authorization Process
Complete the authorization process by clicking on the Allow Access button.
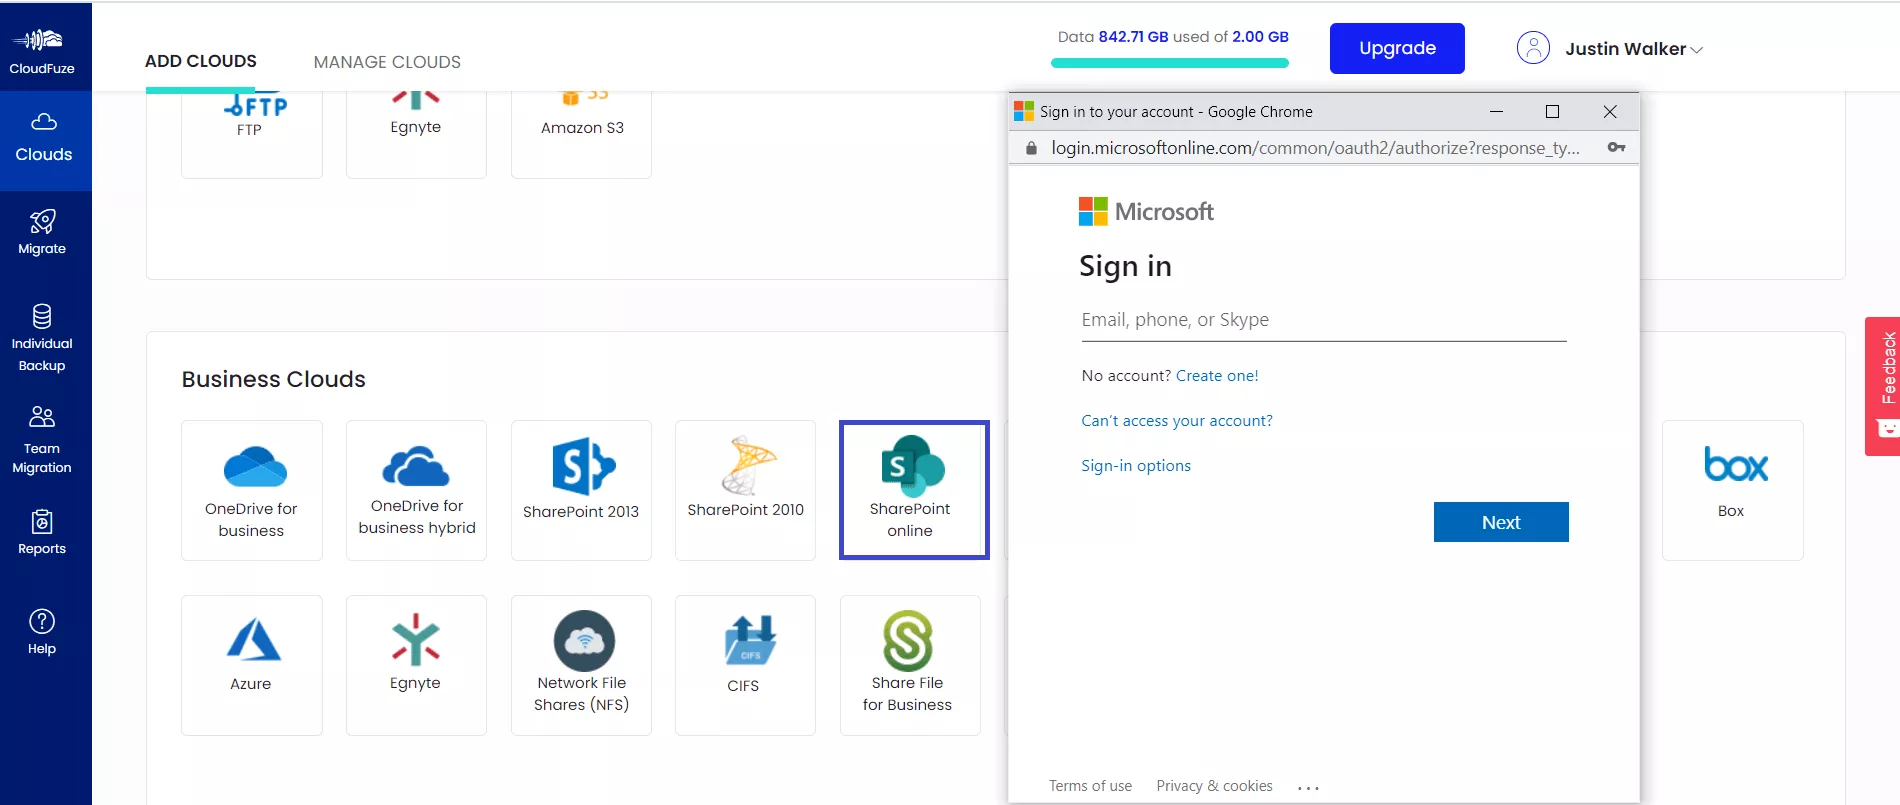
Step 4: Add SharePoint Online
Click on the SharePoint Online logo under the list of business clouds to add it. Enter your organization’s Office 365 admin login credentials and authorize it.
Step 5: Verify Cloud Addition Process
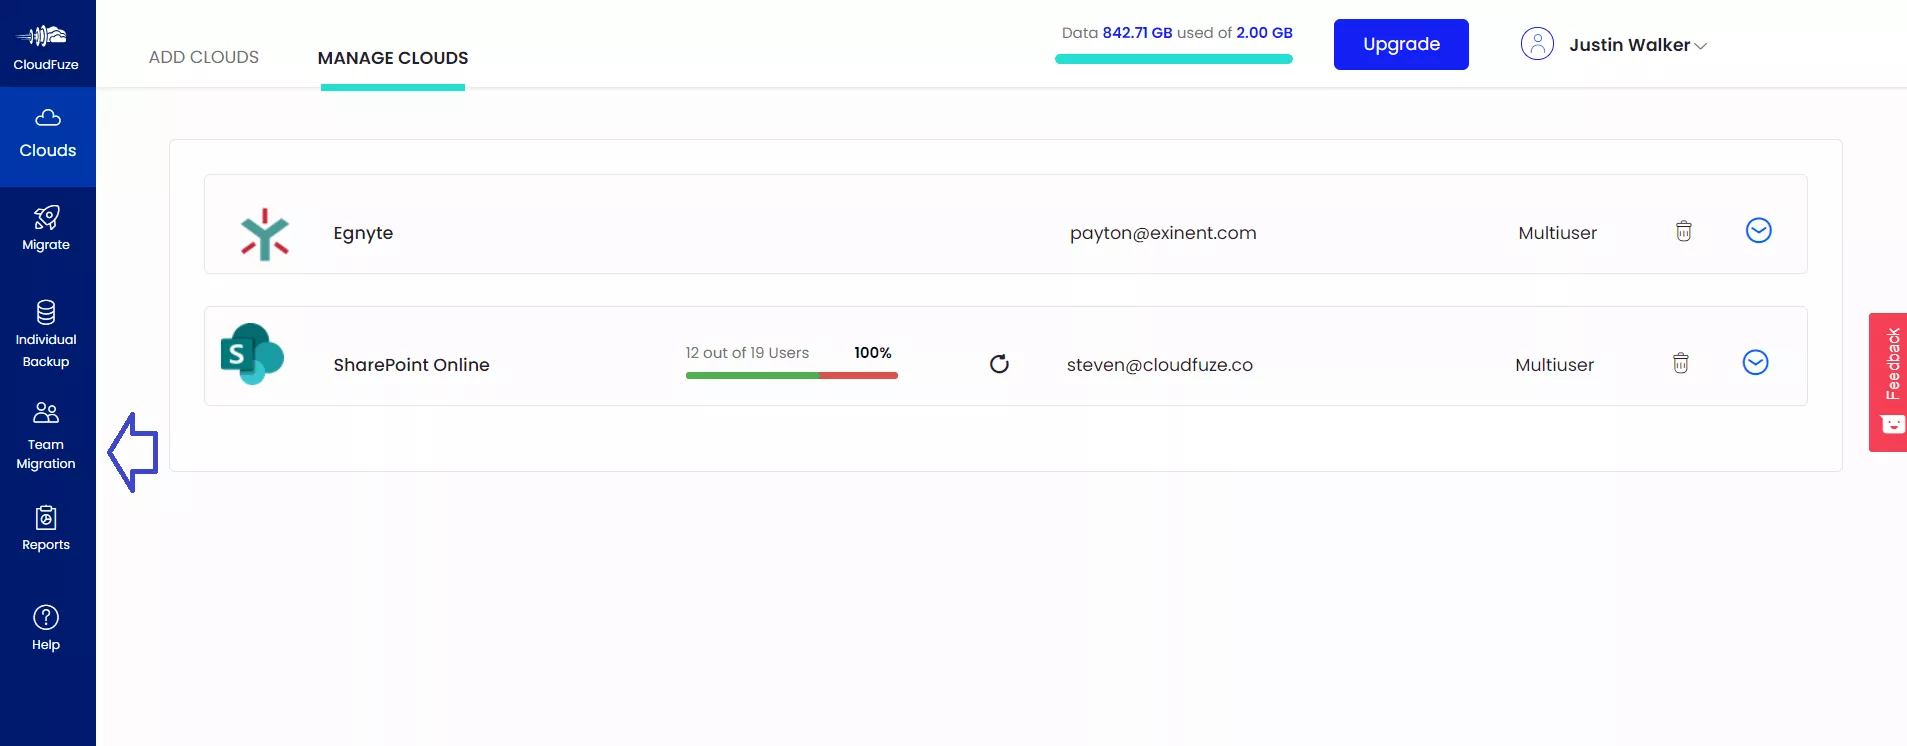
Click on the Clouds logo and then go to the Manage Clouds tab. You should be able to see both the clouds being added here.

Step 6: Click on Team Migration
To initiate the migration, click on the Team Migration icon on the left.
Step 7: Select the Source and Destination Clouds
Select Egnyte as the source and SharePoint Online as the destination cloud.

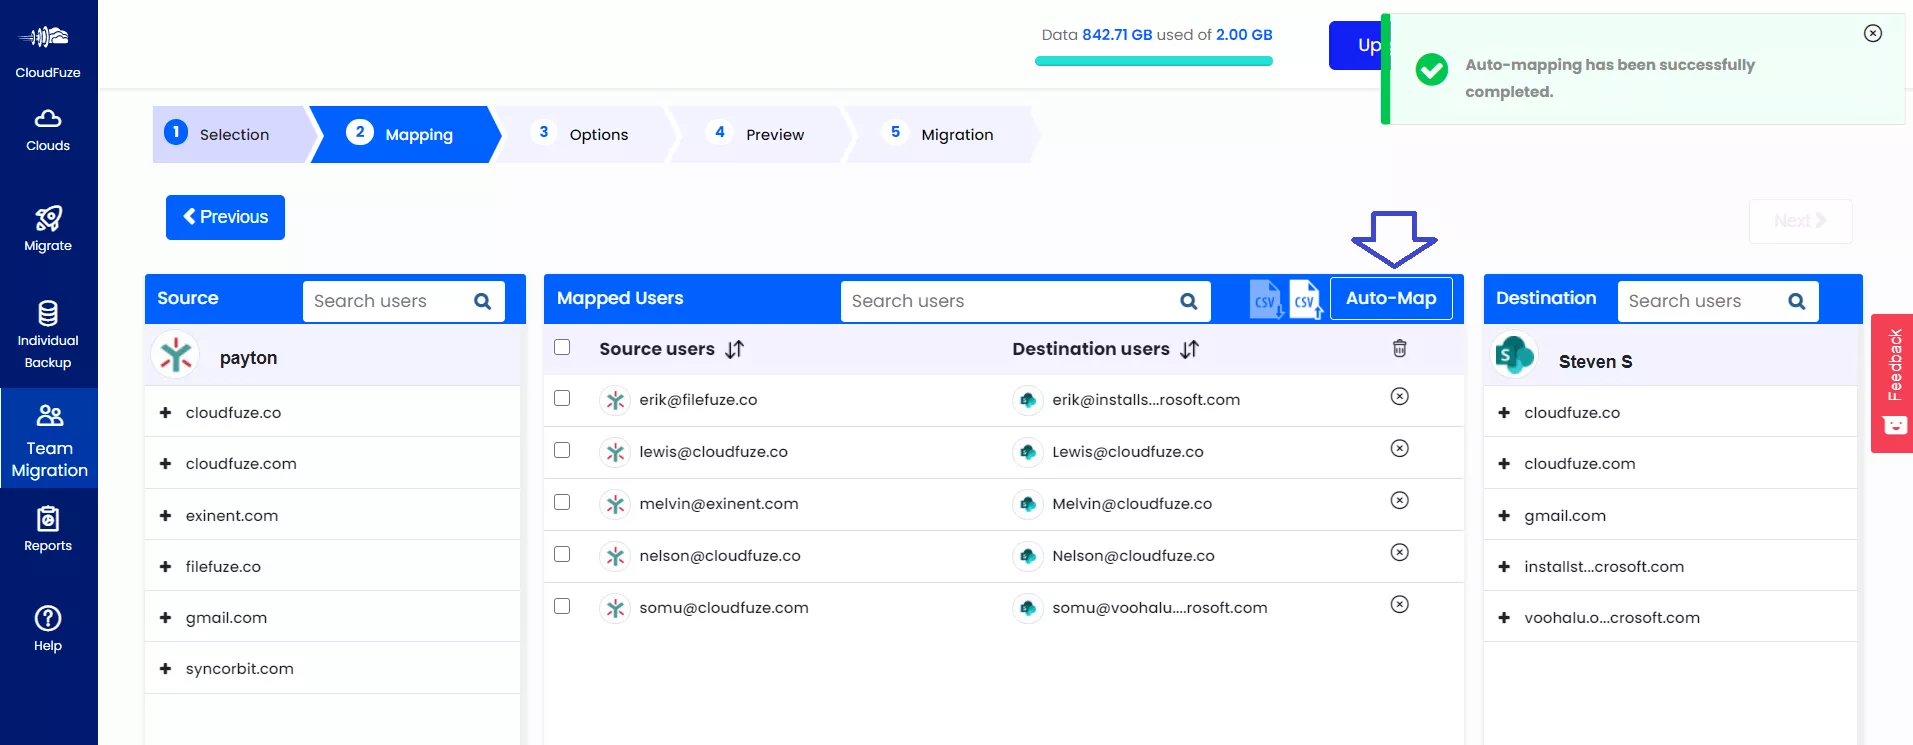
Step 8: Mapping Users
CloudFuze automatically maps users based on their email aliases. Besides auto-mapping, CloudFuze also supports manual and CSV-based migration for custom data transfer needs.
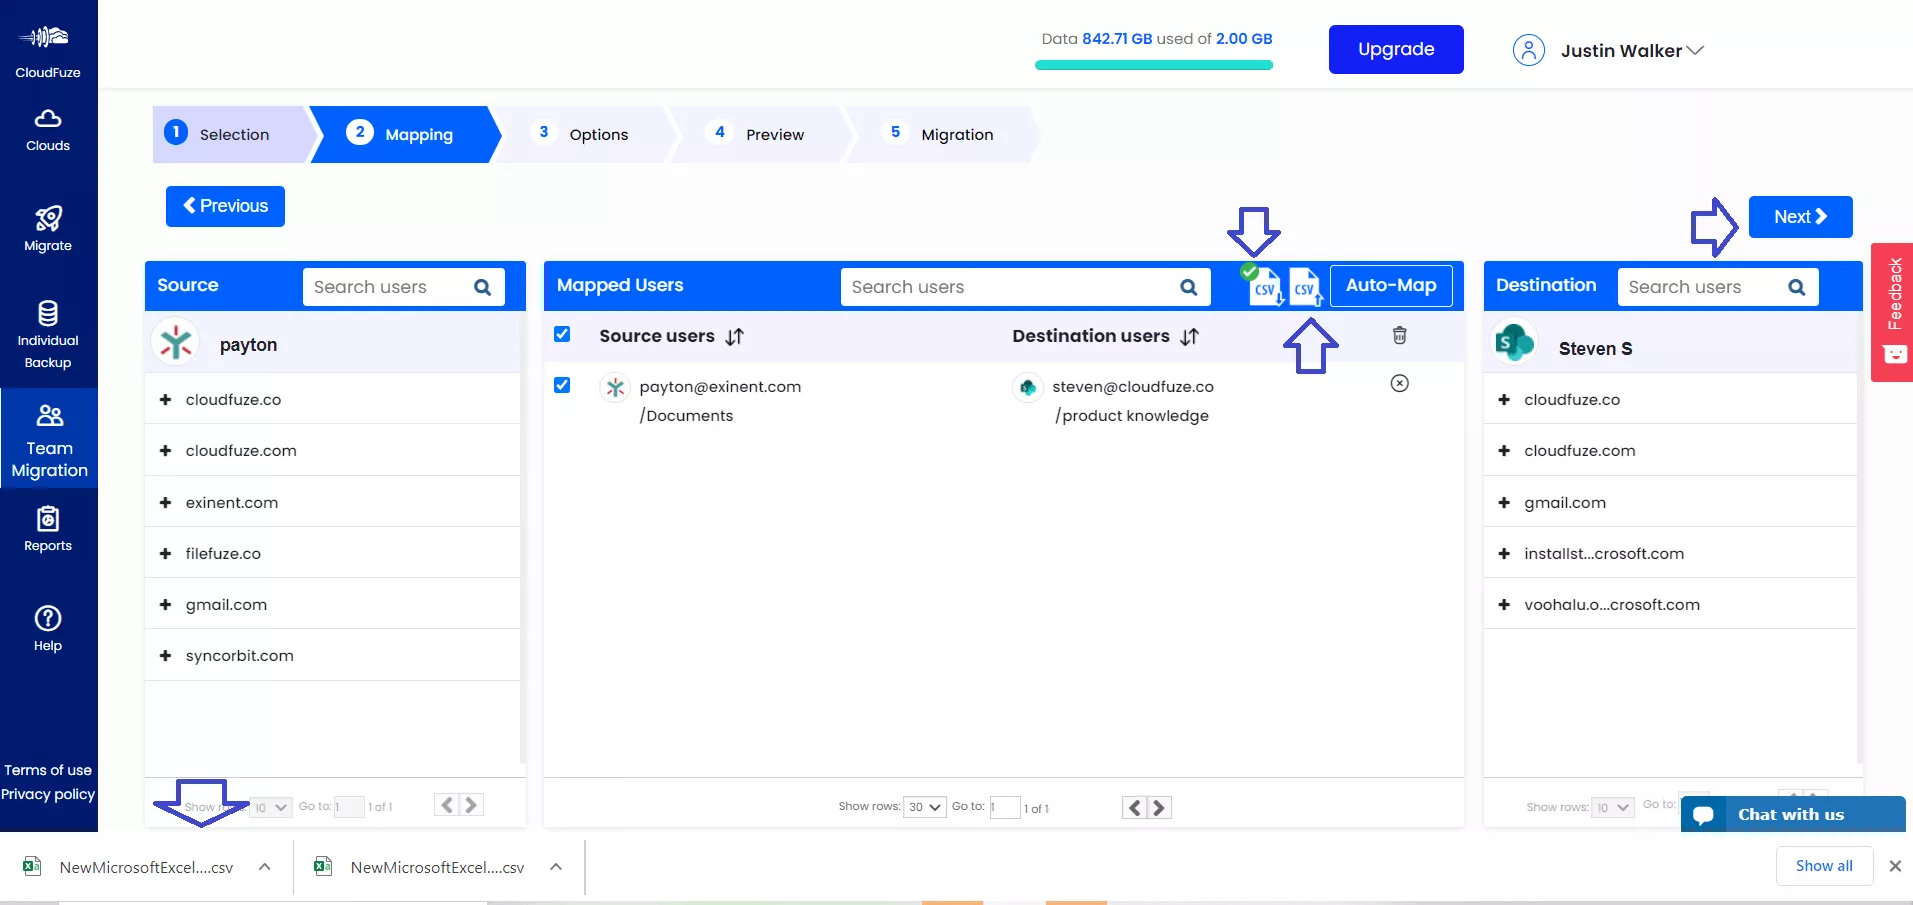
Step 9: Upload a CSV file of Users
Upload the CSV file and allow CloudFuze to validate it. Once validated correctly, you should be able to start the migration.
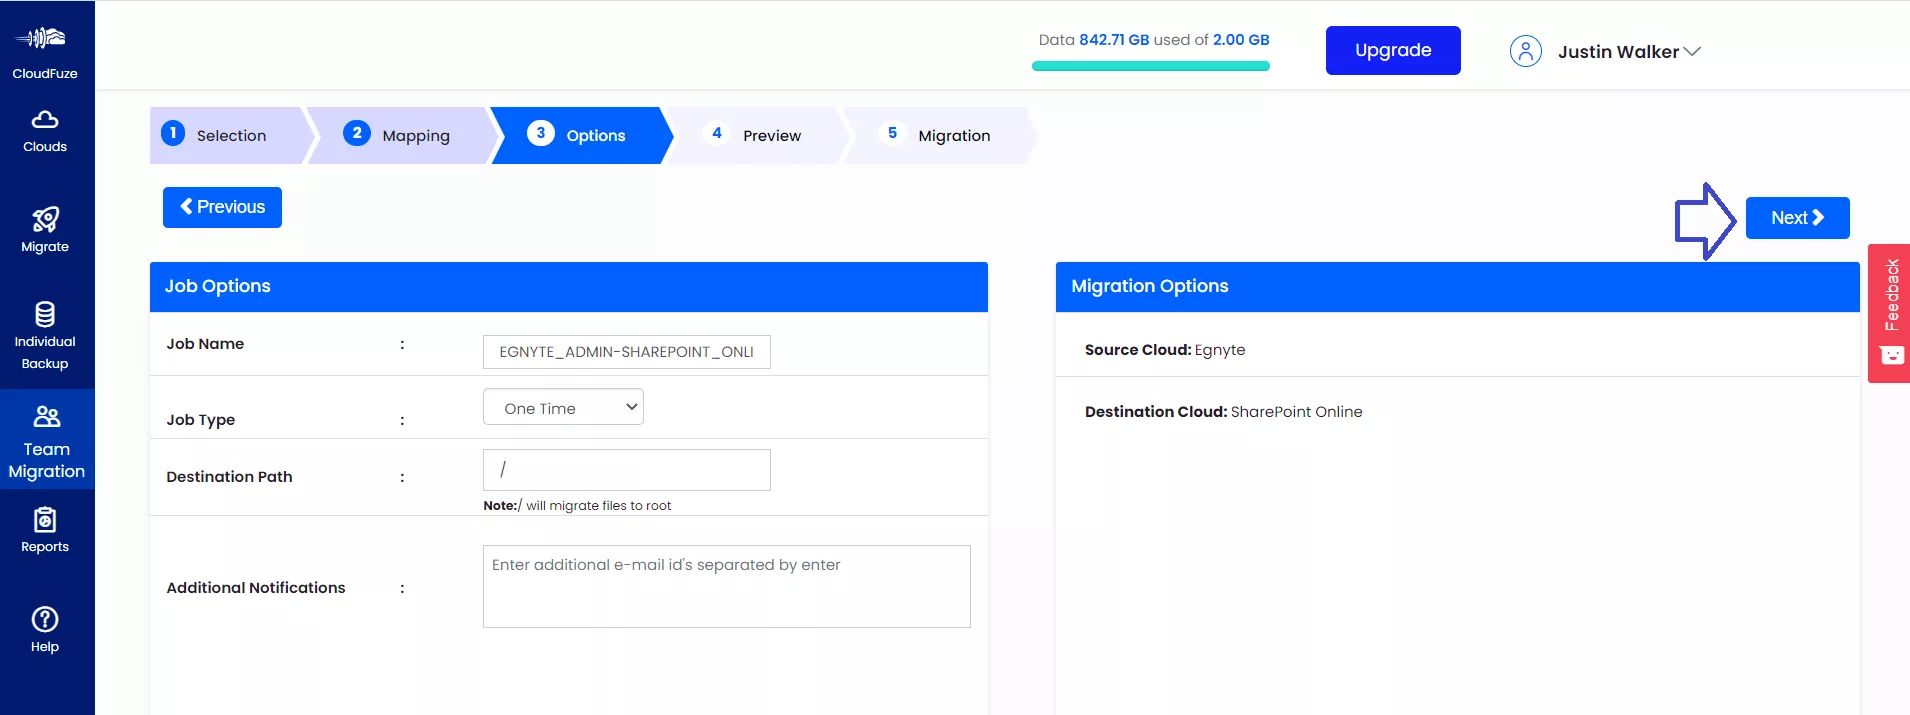
Step 10: Select Your Migration Options
Select options like migration job name, job type, and additional notifications emails and click on the Next button.
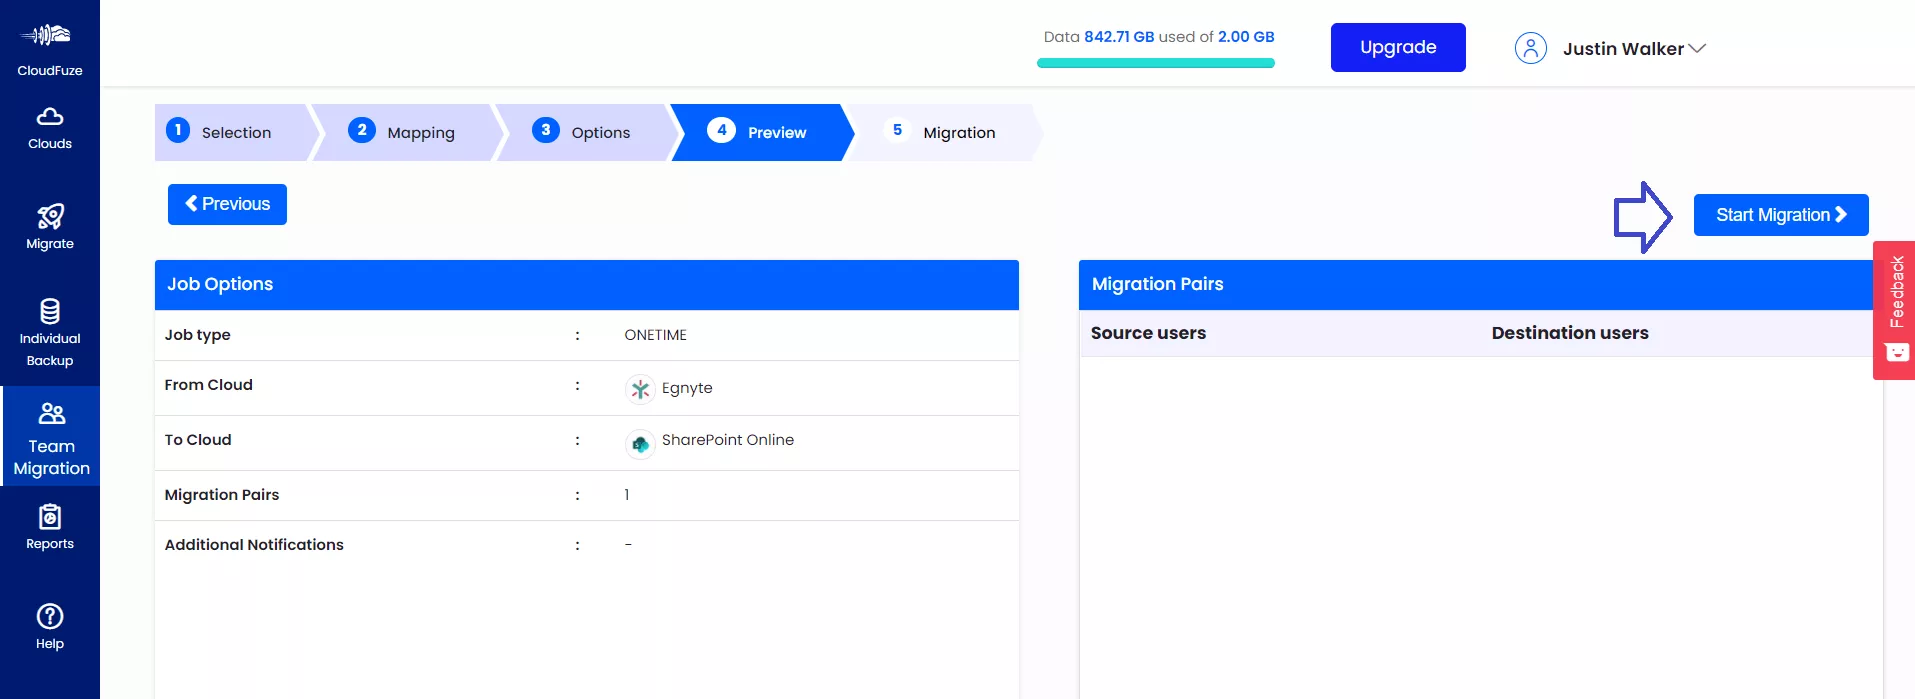
Step 11: Preview and Start Migration
Check everything one final time and click on the Start Migration button to start the file transfer process.
Step 12: Migration Has Been Completed
Once the data transfer process is completed, the status will show as Processed.


