
Consumer SharePoint Online to OneDrive Migration Guide
CloudFuze allows single-user (non-business) users of SharePoint to migrate their files to another OneDrive account of theirs quickly and securely. Without CloudFuze, users need to download and upload files manually between SharePoint Online and OneDrive. This not only takes a lot of time but also puts a strain on internet resources. Continue reading to know how CloudFuze can automate your personal SharePoint Online to OneDrive migration.
Step 1: Create a CloudFuze Account
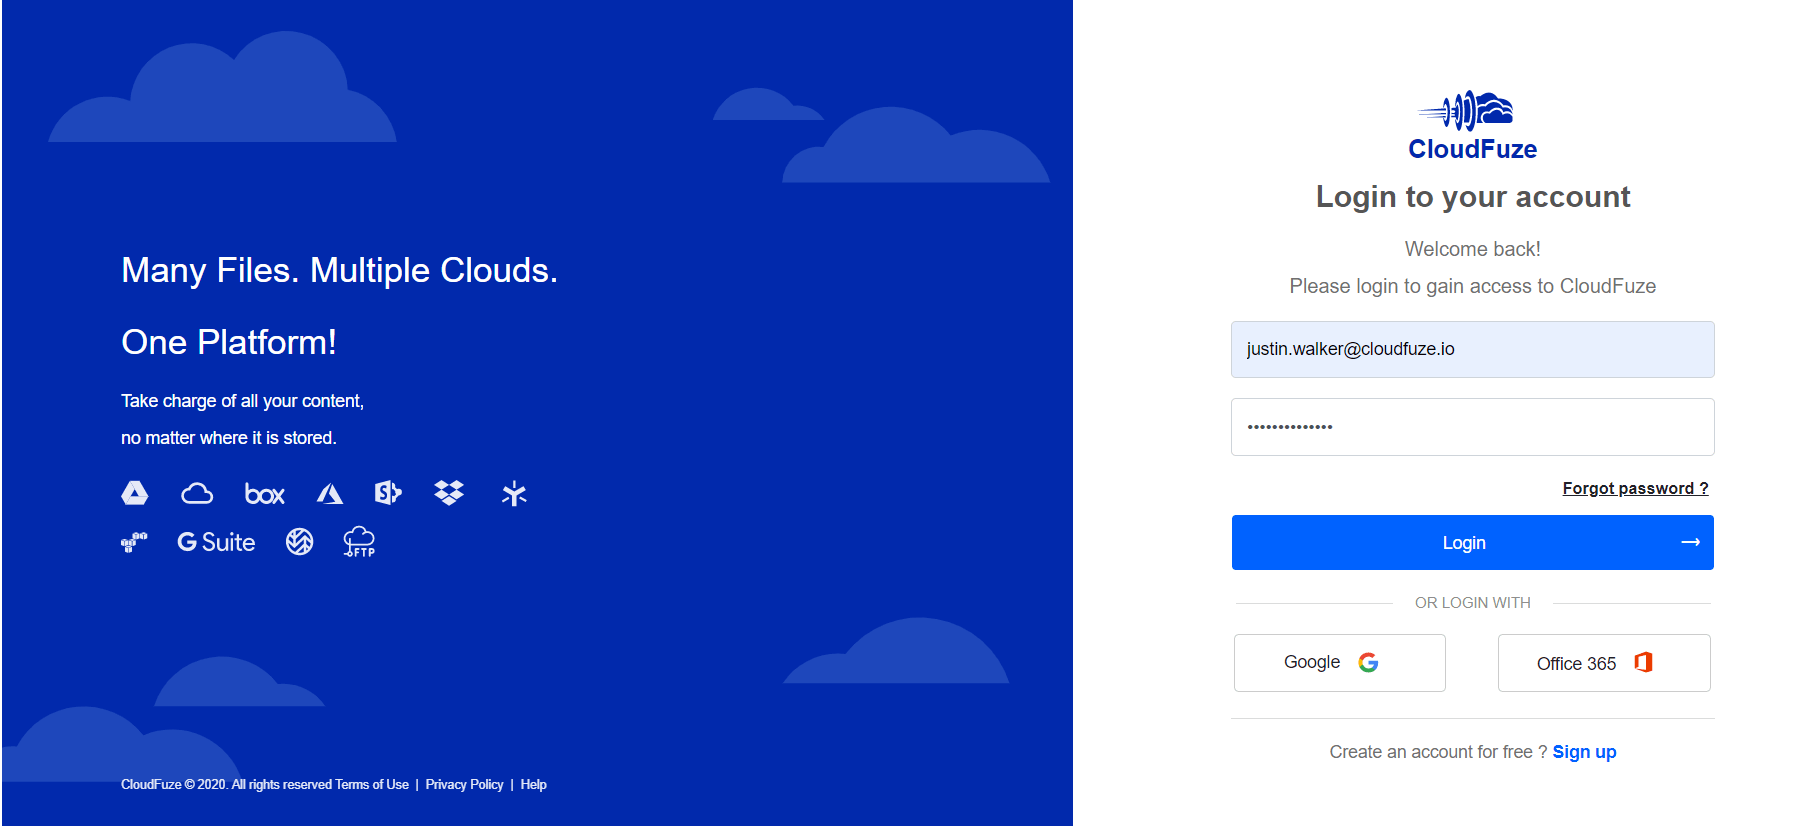
Go to webapp.cloudfuze.com and create a CloudFuze account using your email ID, Gmail ID, or Office 365 account. If you already have an account, log in to CloudFuze using your existing account details.
Step 2: Add SharePoint to CloudFuze
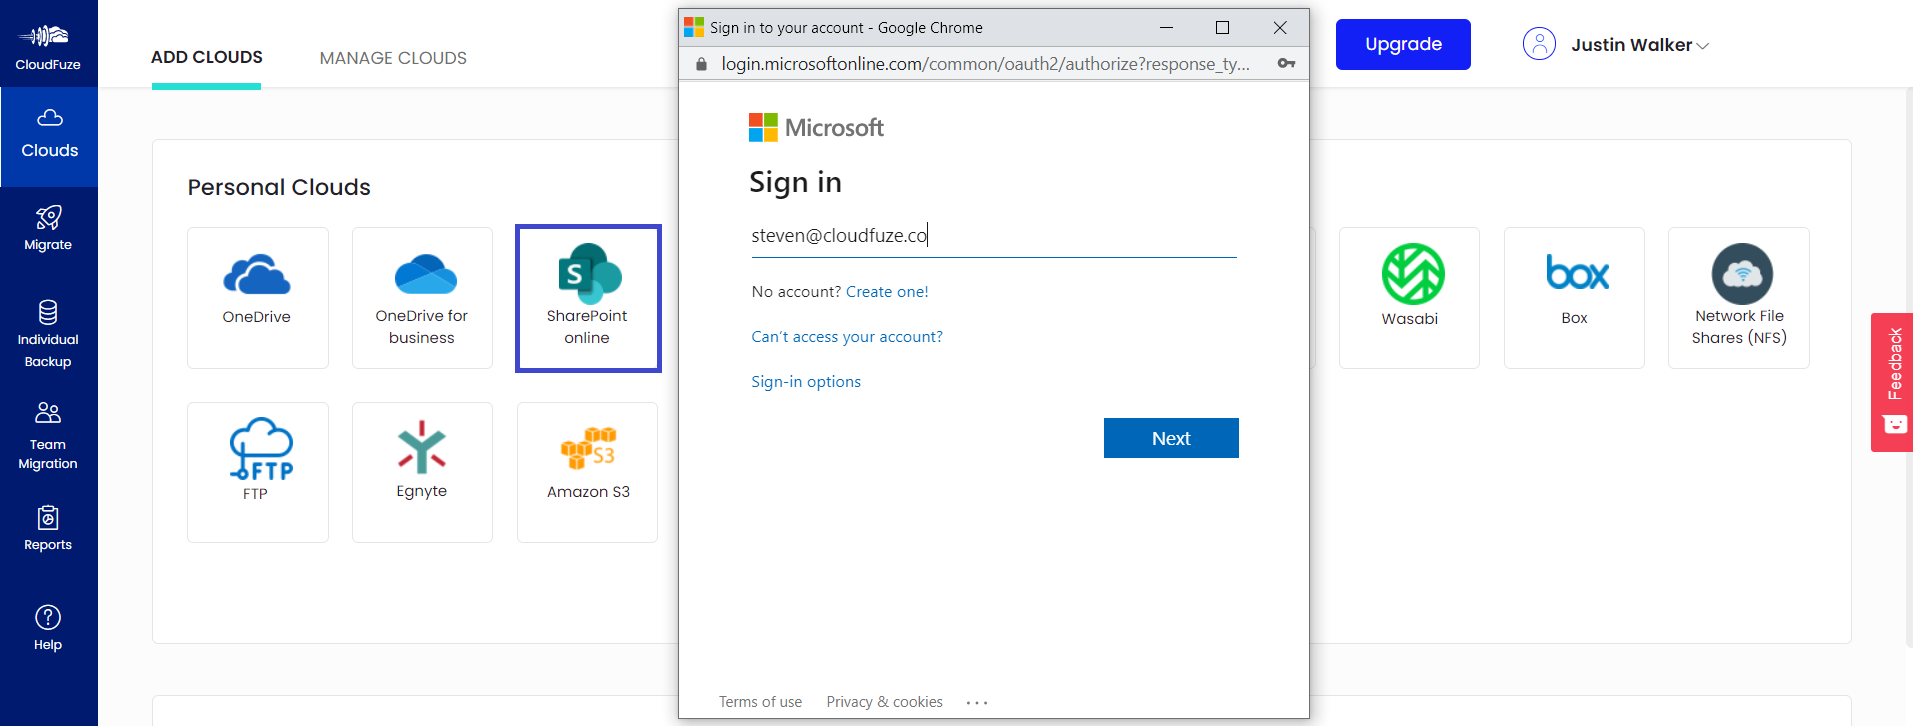
Locate the SharePoint Online icon under the personal clouds section and enter its admin details to authorize the account.
Step 3: Add OneDrive Account Now
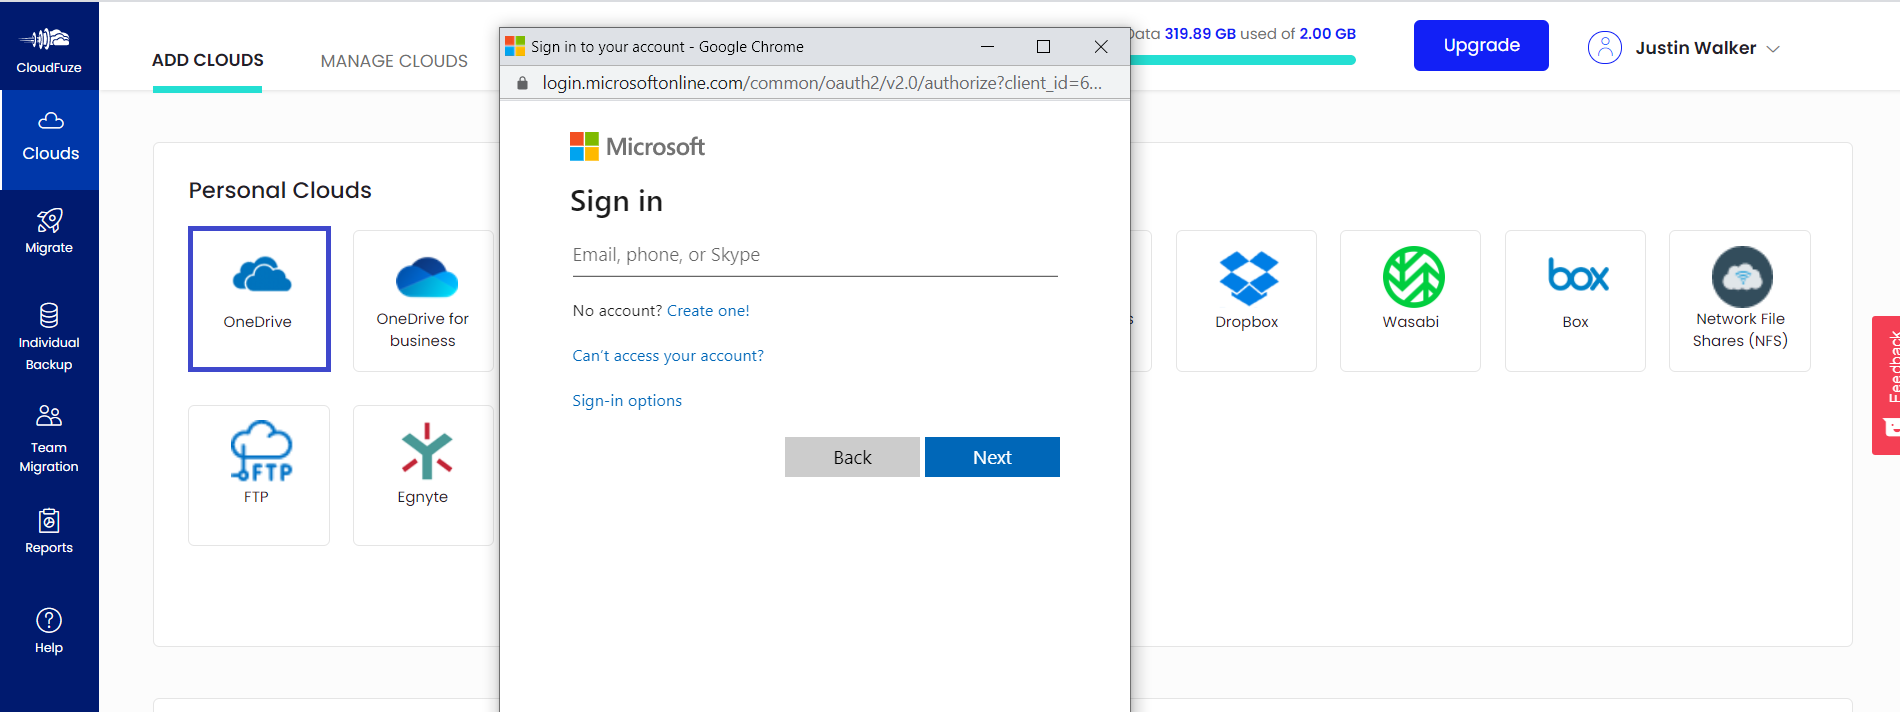
Search for the OneDrive logo and click on it to enter admin credentials. Upon entering the login credentials, the account gets verified and will be added to CloudFuze.
Step 4: Verify Cloud-Adding Process
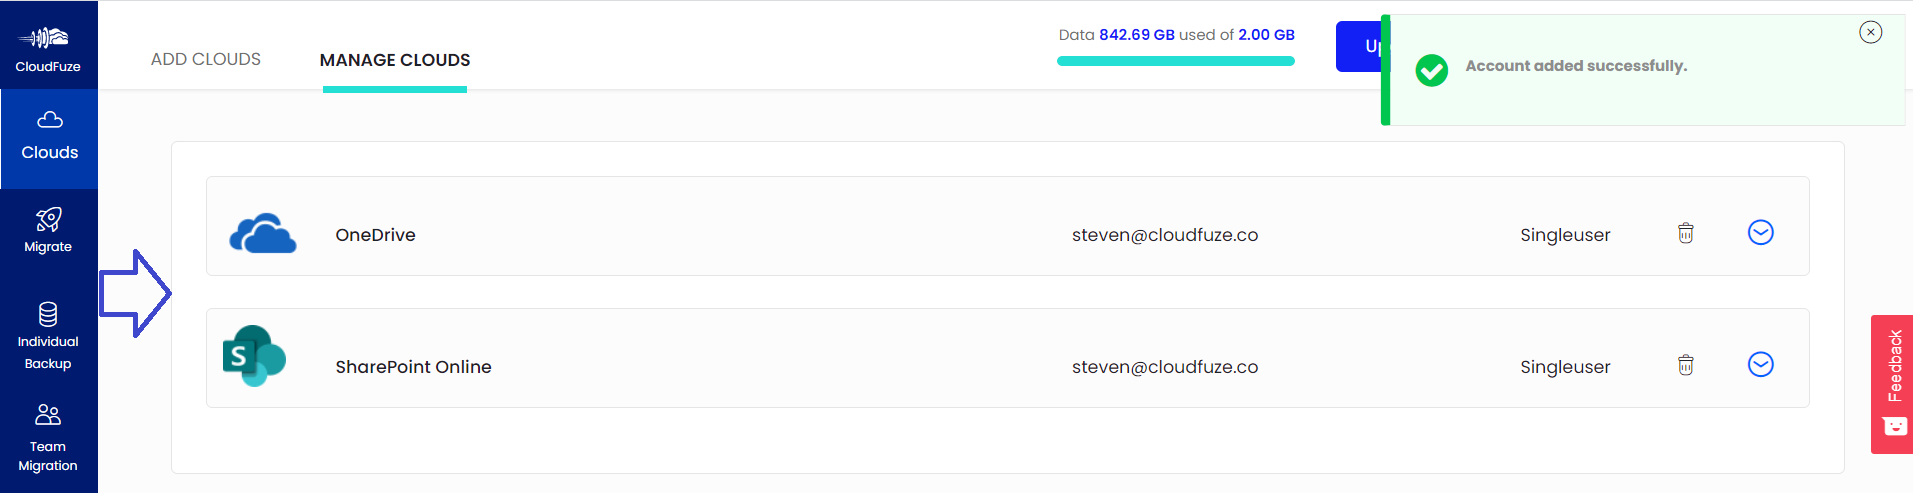
Click on the Clouds icon in the tool menu on the left. Once clicked, go to the Manage Clouds section. You should be able to see both SharePoint Online and OneDrive account being added there.
Step 5: Begin Migration
Click on the Migrate icon on the left-hand side of the webapp. This will only initiate the migration process but not the actual migration. You still need to configure a few migration options.

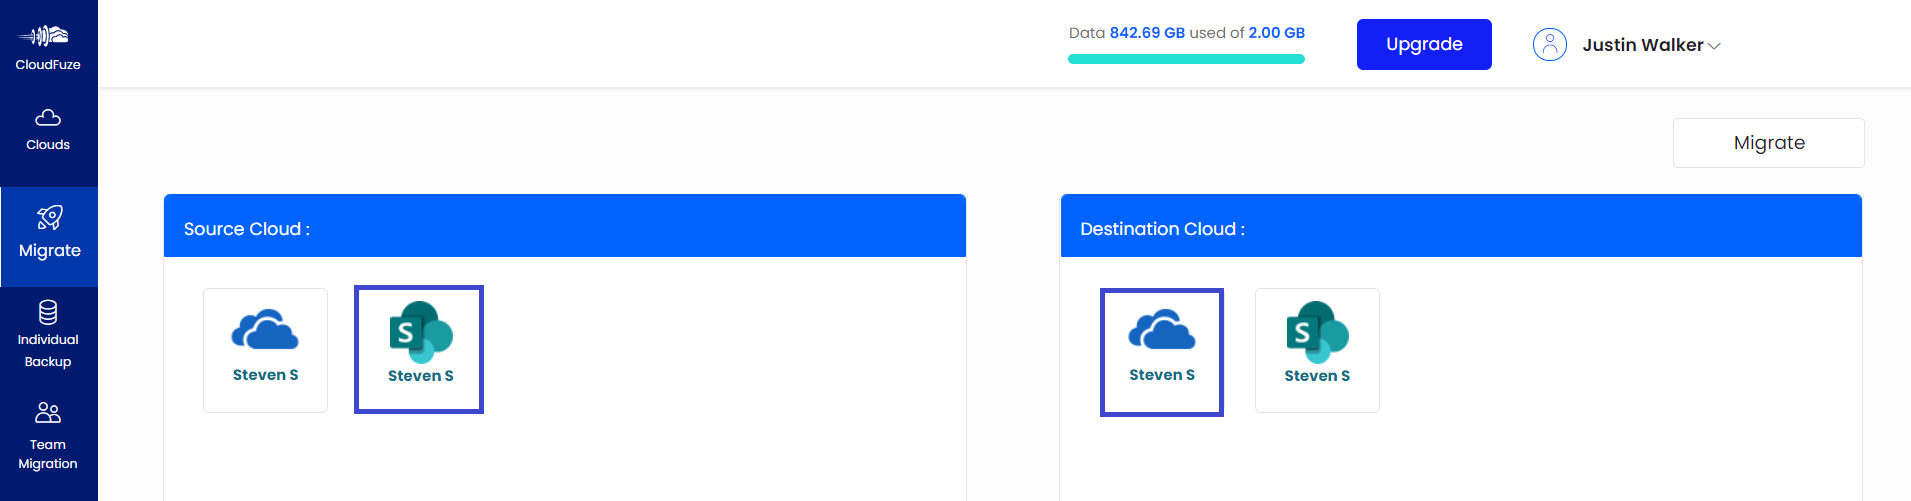
Step 6: Select Source and Destination Cloud Accounts
Select SharePoint Online as the source and OneDrive as the destination cloud account. If you choose it wrongly, CloudFuze migrates data from OneDrive to SharePoint Online instead.
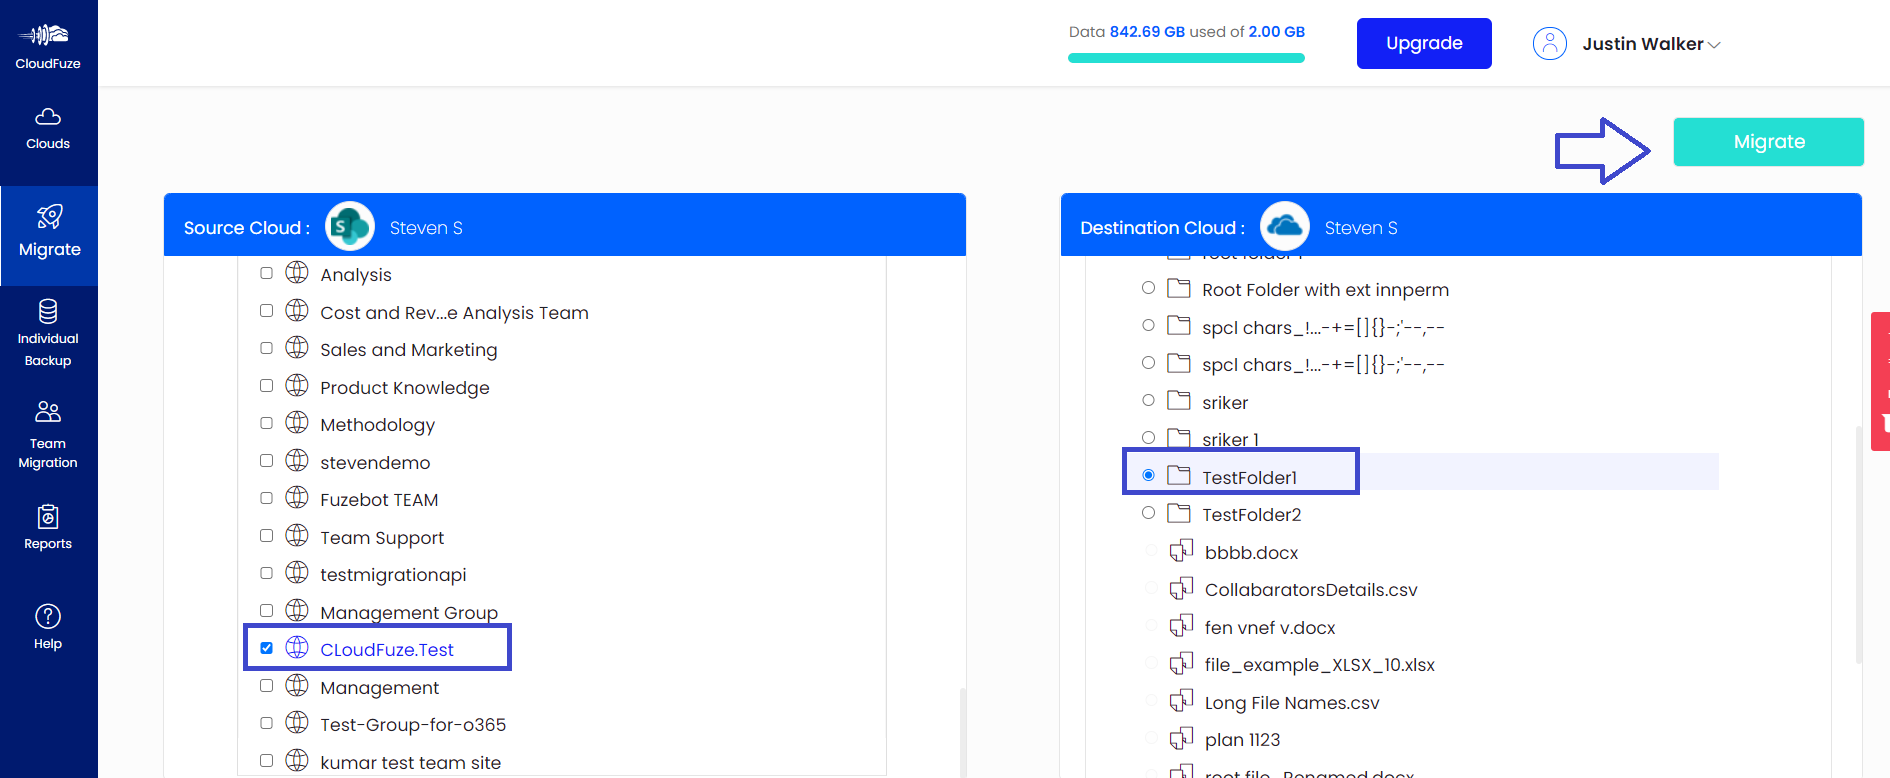
Step 7: Choose Files You Wish to Migrate
Select files or folders from source to destination and click on the Migrate button.
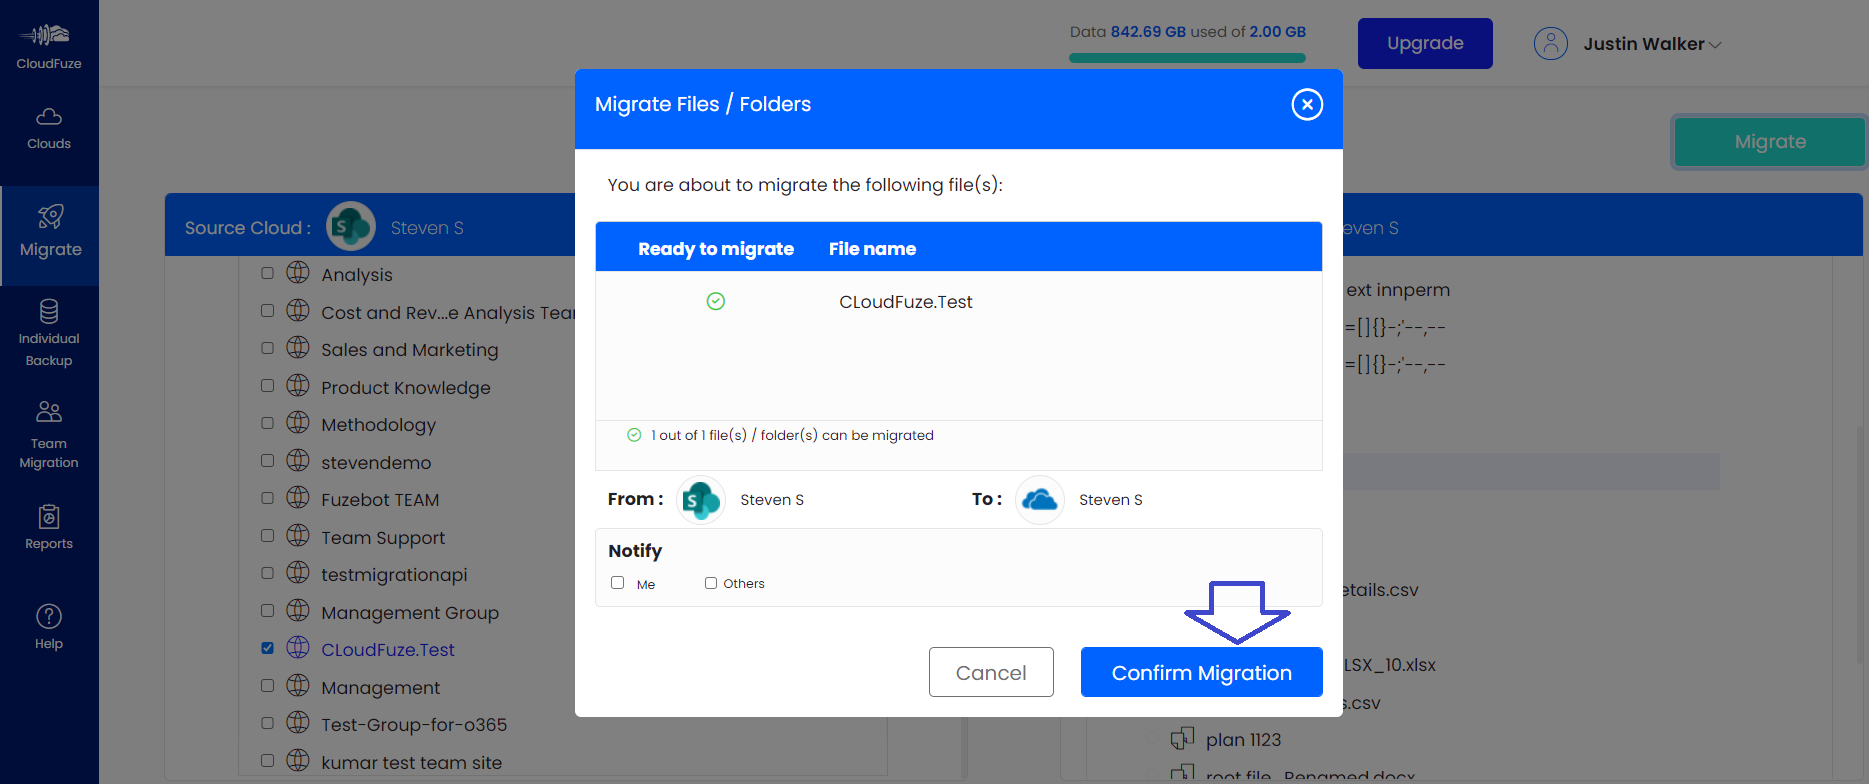
Step 8: Click on Confirm Migration
Preview your migration preferences and click on the Confirm Migration when everything’s good.
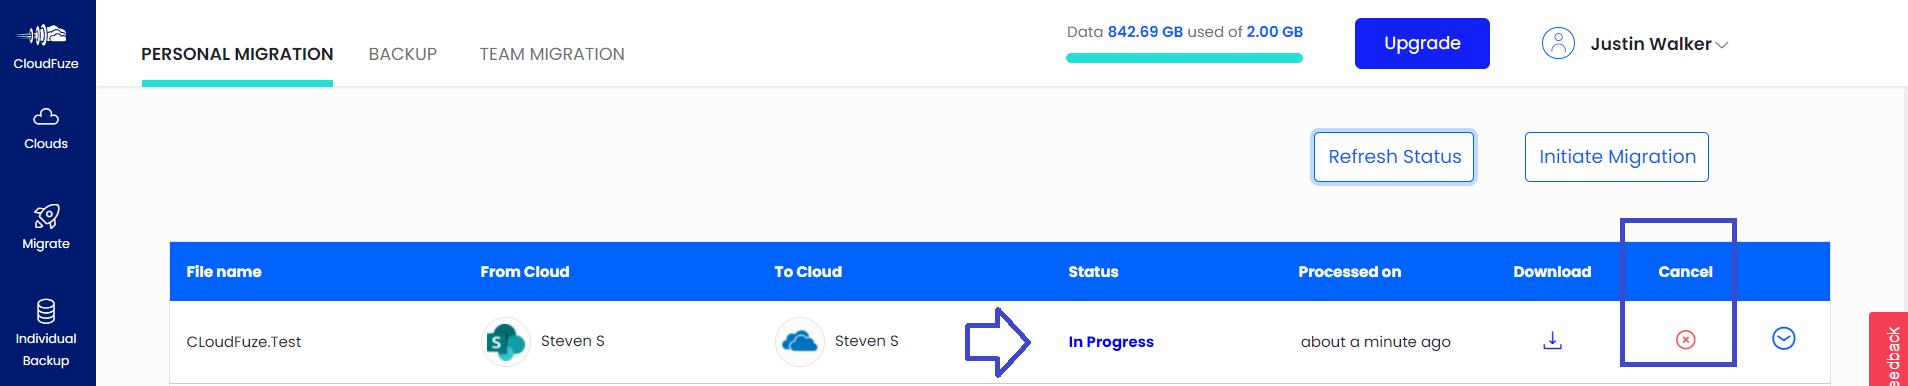
Step 9: Migration is In Progress
During file transfer, CloudFuze displays the status of the migration as In Progress. At this moment, you can cancel the migration if you wish to. However, CloudFuze will not able to delete or reverse the data that has been migrated already.
Step 10: Migration Has Been Completed
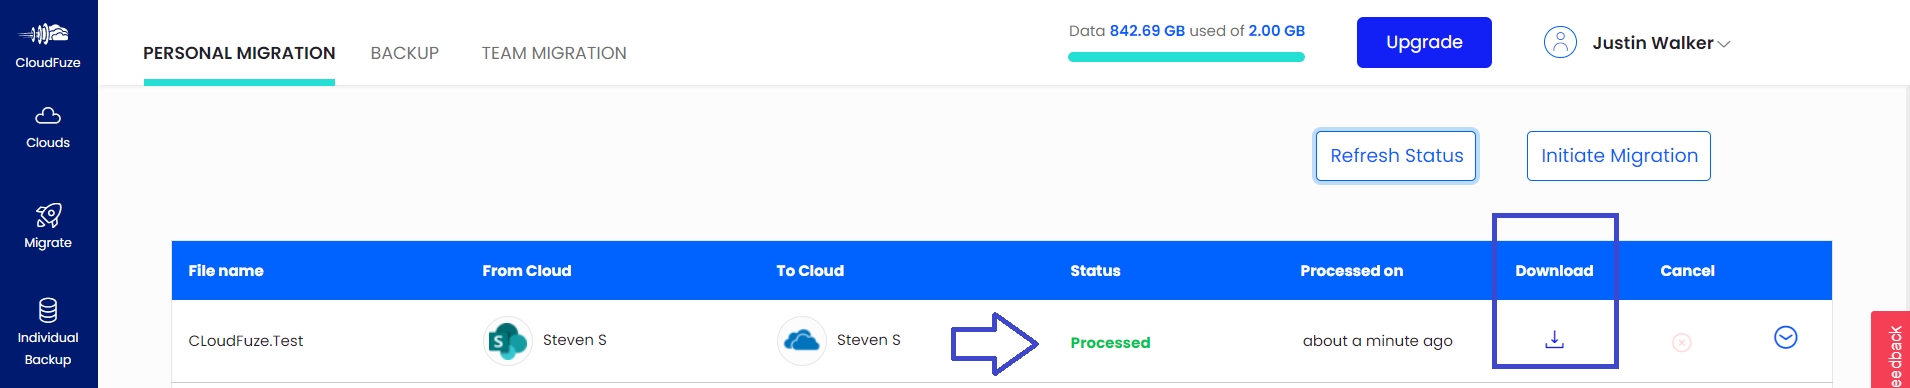
Once all the selected data has been migrated over to OneDrive successfully, CloudFuze changes the migration data to Processed. You can download the migration report from the interface and review all the files and folders that were migrated.
About the Author: Arun Jyothi



