
SharePoint Online to Box Single-User Migration Guide
CloudFuze allows SharePoint Online users to transfer their files from SharePoint Online to a personal Box account quickly. All one needs to do is sign up for CloudFuze, subscribe to a plan, and begin migrating files. CloudFuze’s migration platform not only saves time but also protects users from possible internet data outages. In this article, we provided detailed instructions on SharePoint to Box user migration (personal/single-user migration only).
Step 1: Create a CloudFuze Account
Go to webapp.cloudfuze.com to create an account. CloudFuze provides a limited free trial to test the service. A paid plan is needed for a full migration.
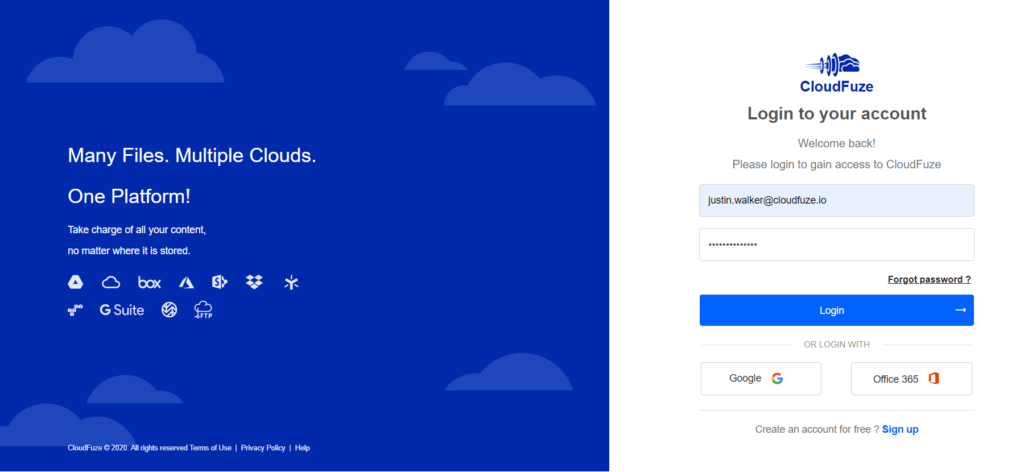
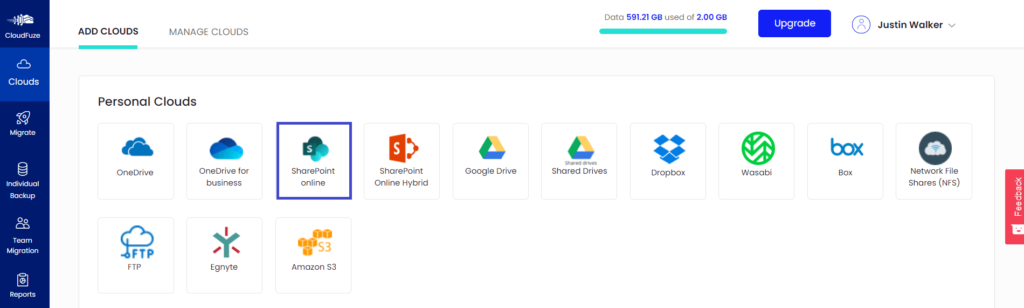
Step 2: Click on the SharePoint Logo
Once logged in, find the SharePoint login in the personal clouds list. It will then open a popup where you need to enter the SharePoint login credentials.
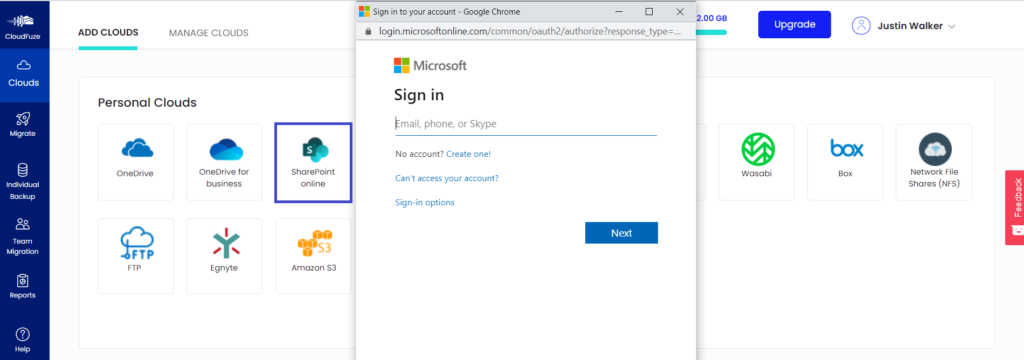
Step 3: Authorize SharePoint Account
Enter your SharePoint/Office 365 login details and click on the Next button.
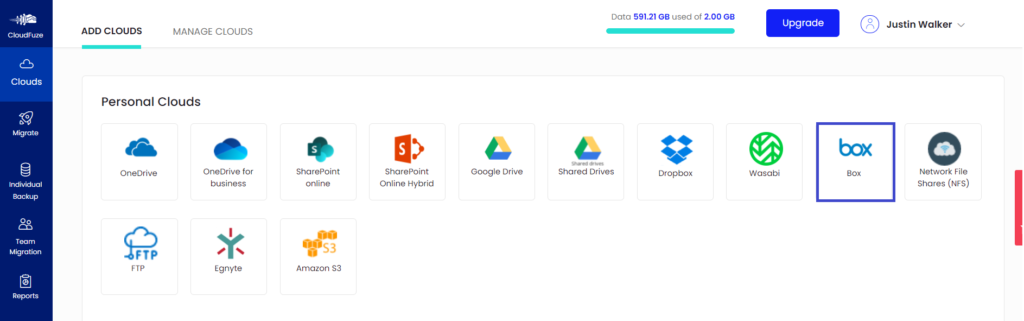
Step 4: Add Box Account
Similarly, click on the Box logo from the personal cloud section. The next step is entering your login details.
Step 5: Authorize Box
Enter your Box account details and click on the Grant Access to CloudFuze button.
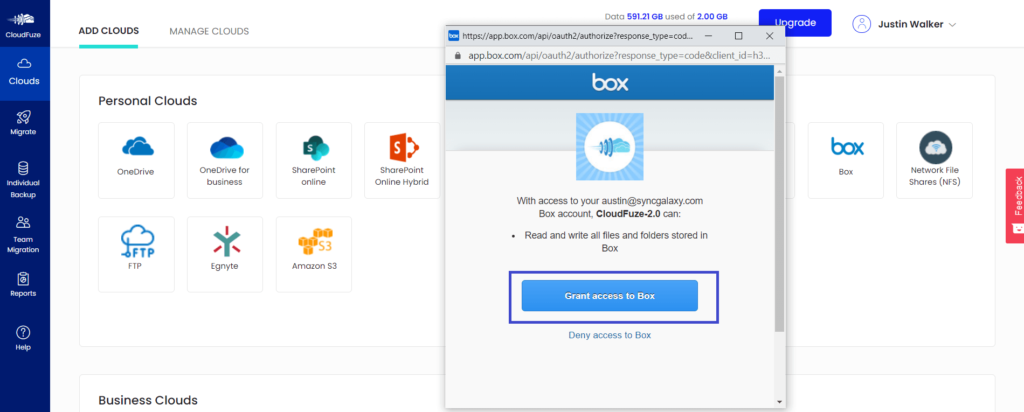
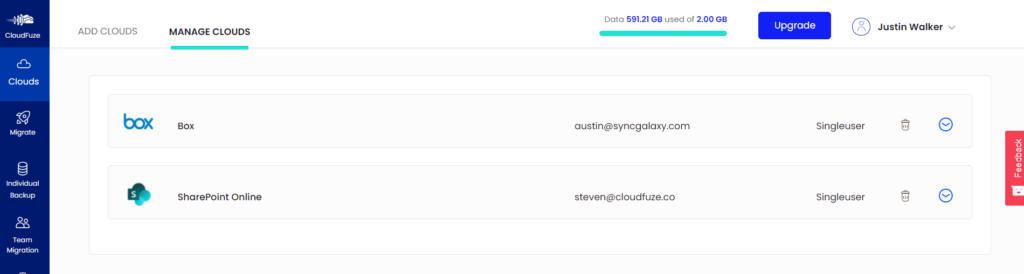
Step 6: Check the Status of Cloud Addition Process
Head to the Clouds section by clicking on the cloud icon on the left. Now, click on the Manage Clouds tab.
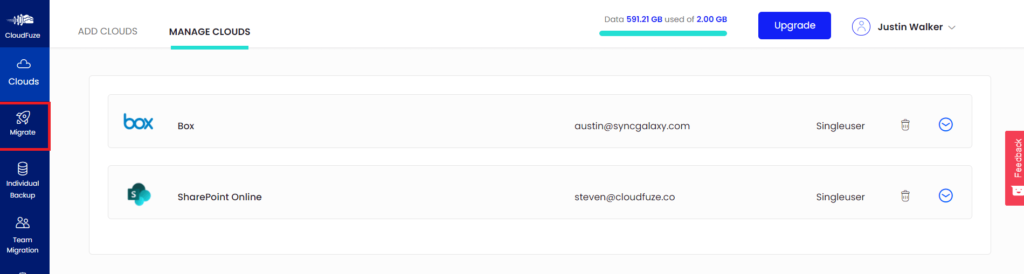
Step 7: Begin the Migration
To start the migration, you need to click on the Migrate icon on the left.
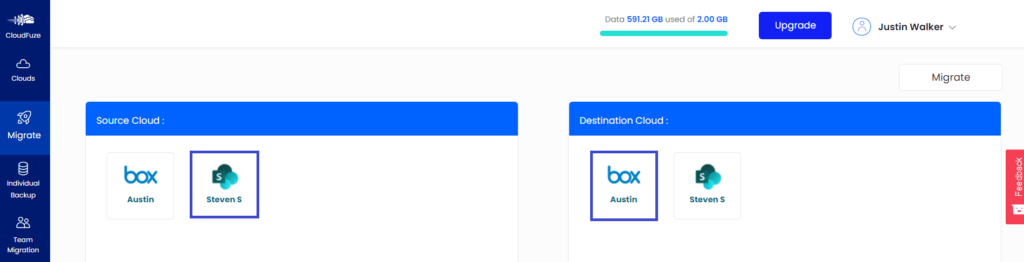
Step 8: Select Source and Destination Clouds
Choose the SharePoint account as the source and Box as the destination.
Step 9: Select Files or Folders You Want to Transfer
CloudFuze supports root migration. In addition, the platform also allows users to choose specific files or folders they want to migrate.
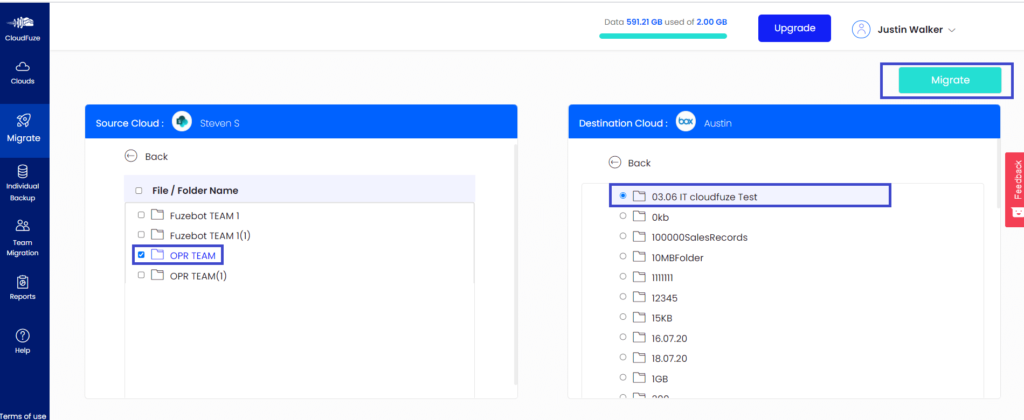
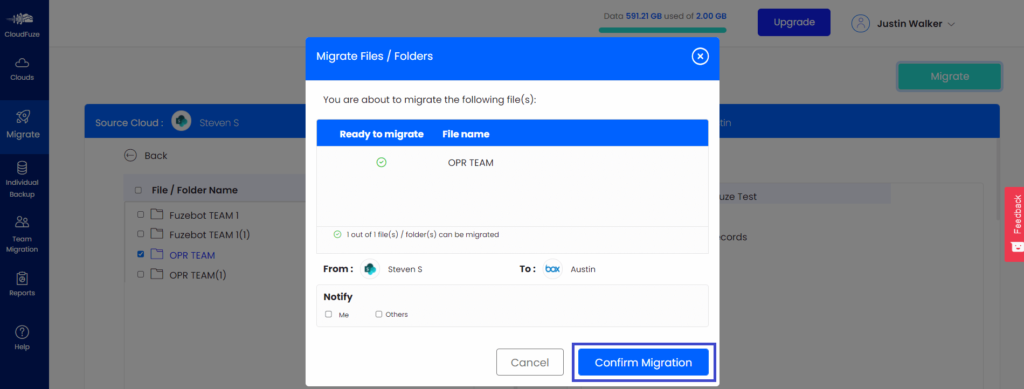
Step 10: Preview and Confirm the Migration
Click on the Confirm Migration button to start the file transfer.
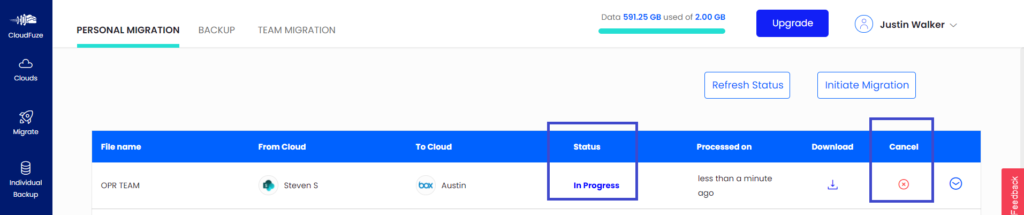
Step 11: Migration Is in Progress
The status In-progress indicates that the migration has begun and file migration is in process. At this stage, you can stop the migration if you wish to halt it.
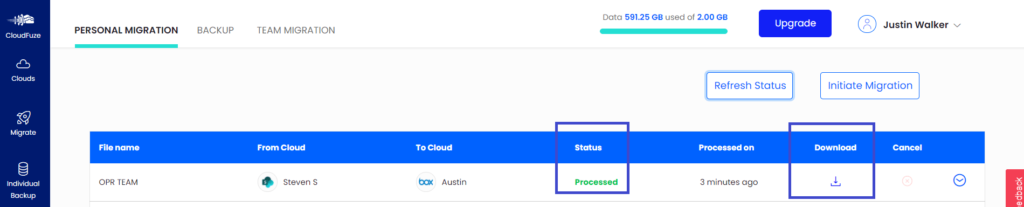
Step 12: Migration Has Been Completed
Once migration is completed, the status will be changed to Processed. You can download the migration reports to cross-check on files that were transferred.
About the Author: Arun Jyothi



