
Transfer Files from Wasabi to Box – Single User Migration
Do you have a lot of your personal files on a Wasabi account that you want to migrate to Box? Instead of manually uploading and downloading files, you can use CloudFuze to automate the migration. By doing so, you not only save your time but also your internet resources. In this article, we described how to migrate from Wasabi to Box with simple steps. Please note that this migration article discusses only between personal/consumer Wasabi and Box accounts.
Step 1: Create a CloudFuze Account
Go to webapp.cloudfuze.com and create your account. If you already have an account, log into CloudFuze using your login credentials.
CloudFuze offers a limited free trial to test the service. Full full migration of content, one needs to subscribe to a plan.

Step 2: Add Wasabi to CloudFuze
In order to migrate data from your Wasabi account to Box, CloudFuze needs access to your account. Simply, click on the Wasabi logo listed in the personal clouds section. Then, a popup will appear where you need to enter your Wasabi login credentials.
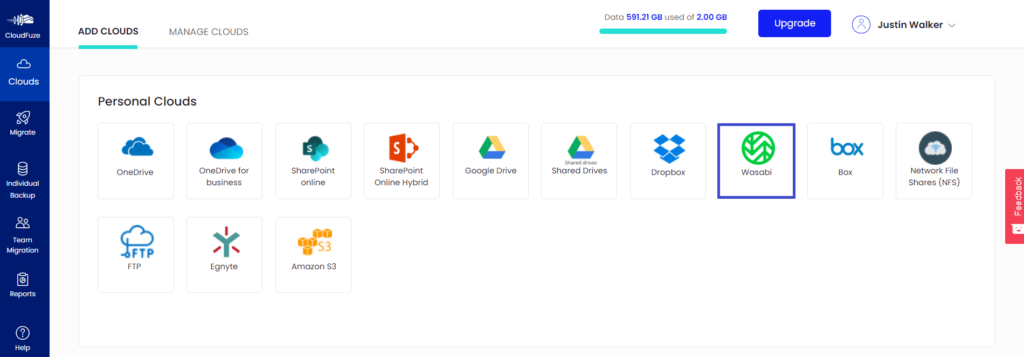
Step 3: Enter Wasabi Login Details
Enter your Wasabi login ID, access key id, display name, and secret access key. Then, click on the Next button.
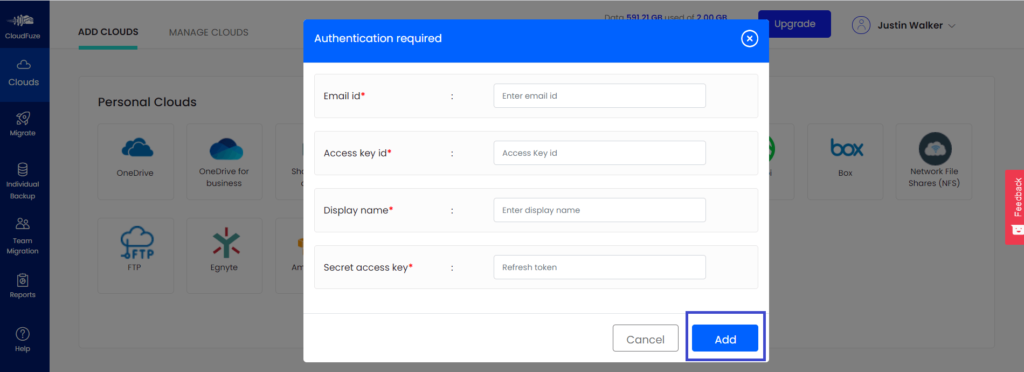
Step 4: Now, Add Box Account
Click on the Box logo from the list of personal clouds. Upon clicking, a popup appears requesting Box login details.
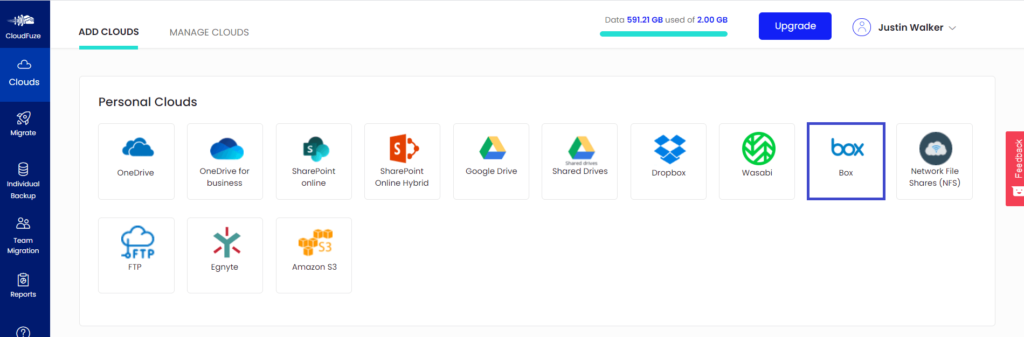
Step 5: Enter Your Box Login Credentials
Enter the login credentials of your Box account and click on the Authorize button.
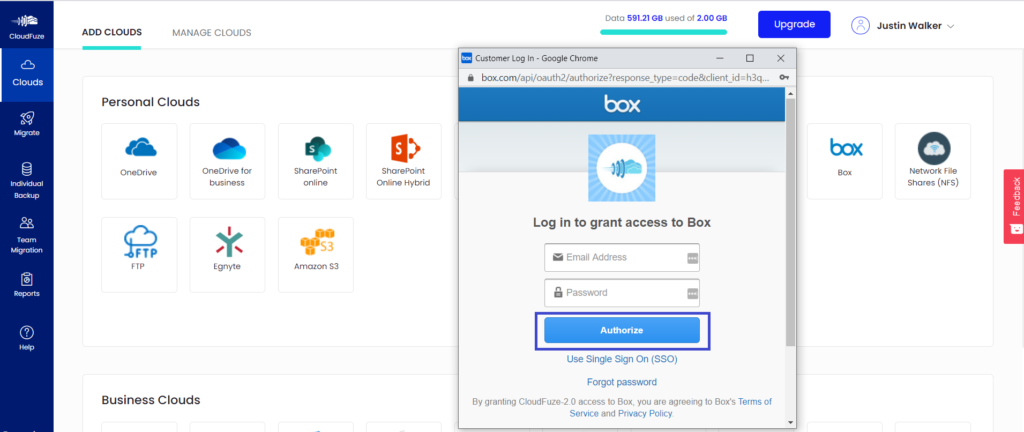
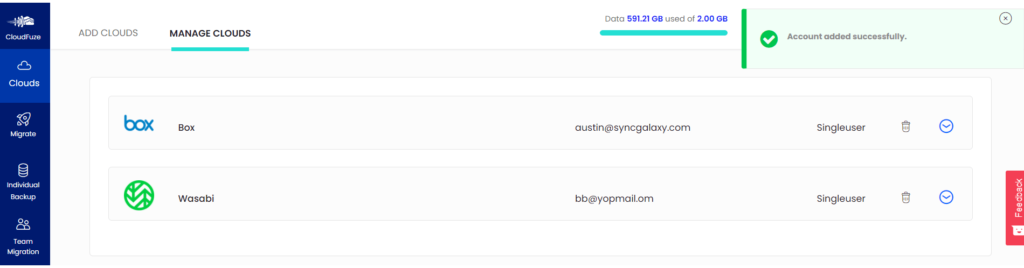
Step 6: Check Whether Clouds Added Properly
Click on the clouds logo that you can find in the menu on the left. Next, click on the Manage Clouds tab. You should be able to see both the clouds there.
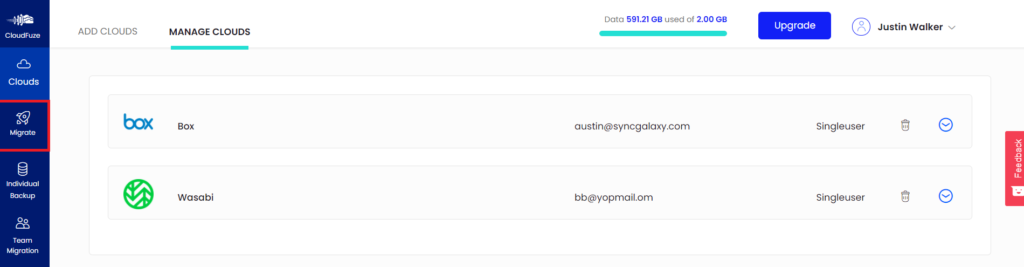
Step 7: Begin the Migration
Click on the Migrate button to initiate the migration. Choose your migration preferences in the next steps.
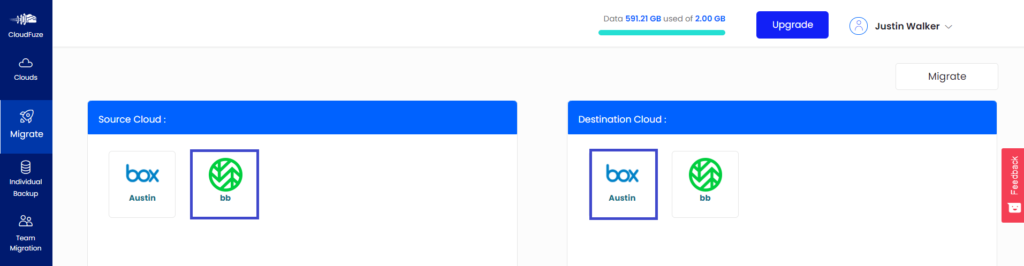
Step 8: Select Source & Destination Clouds
In this step, Select Wasabi as the source cloud and Box as the destination cloud. If you choose clouds wrongly, data in Box will be migrated to Wasabi.
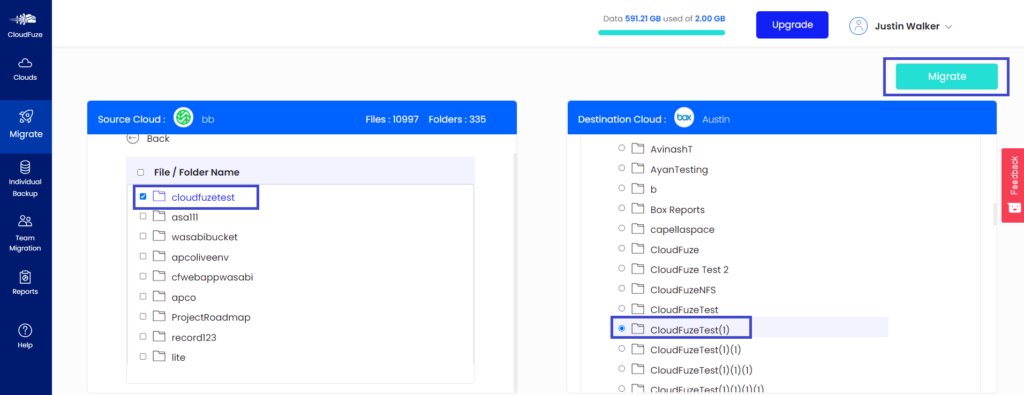
Step 9: Select Files or Folders to Migrate
CloudFuze allows you to migrate entire root content or a few specific/files folders. Choose the content you want to migrate.
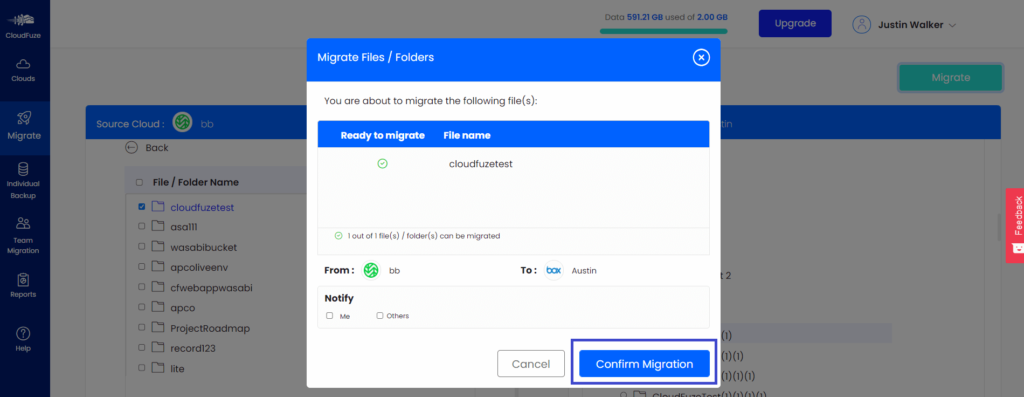
Step 10: Preview and Confirm the Migration
Once everything looks right, click on the Confirm Migration button.
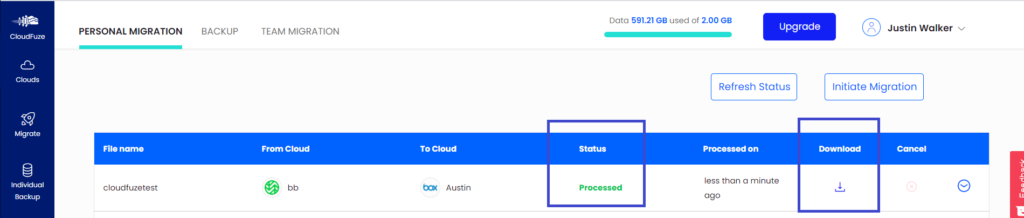
Step 11: Migration Has Been Completed
Based on the size of the files you are transferring, the entire migration can take a few minutes or hours. CloudFuze marks the migration as Processed once all files are transferred. You can then down the migration report to review the migration by checking all the files that are migrated.
About the Author: Arun Jyothi



