How to Add Apps to a SharePoint Site
SharePoint is an enterprise content collaboration platform from Microsoft that has been used by hundreds and thousands of companies around the world. SharePoint is highly customizable. Not only can you build pages, add lists, stream videos, but also integrate many other services via apps. SharePoint supports a wide range of apps available in its marketplace. In this tutorial, you will learn how to add apps to SharePoint.
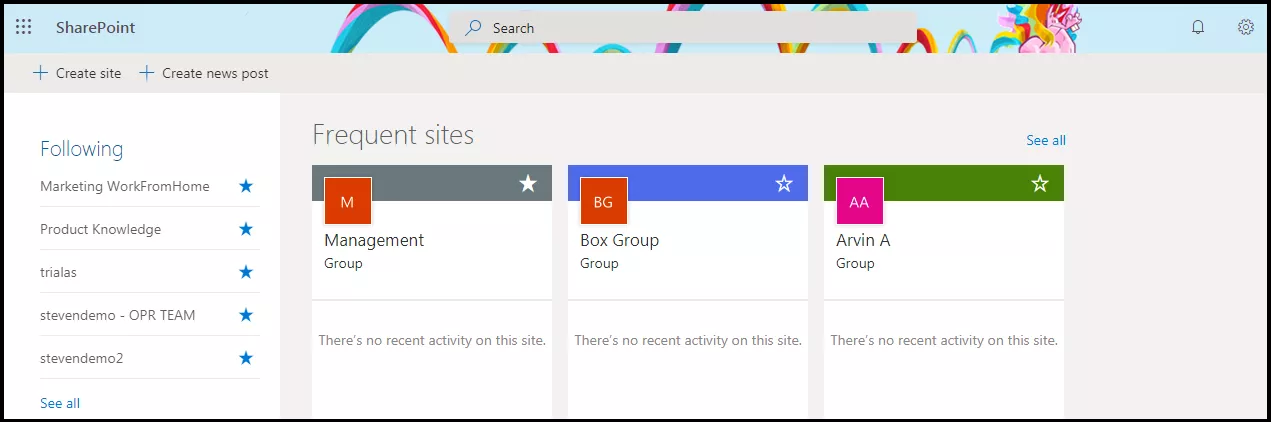
Step 1: Log in to Your SharePoint Account
Go to office.com and login to your SharePoint account from there. If you bookmarked your SharePoint URL, you can click on that and access your account.
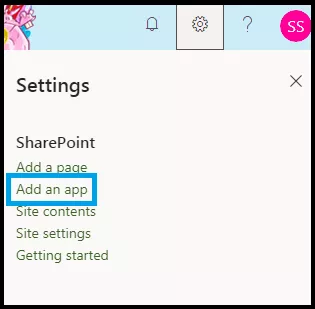
Step 2: Go to Settings to Add an App
Locate the Settings icon on the top right corner of the page and click on it. This opens all SharePoint settings related to your user account.
Click on the Add an App link in the SharePoint settings.
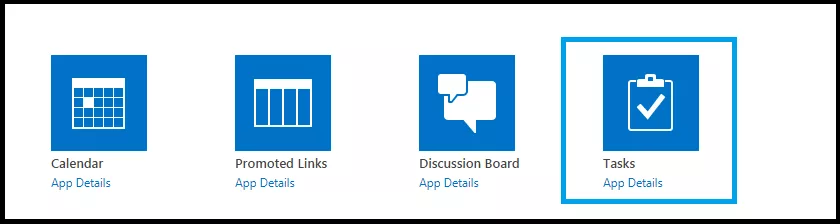
Step 3: Choose an App to Install
Microsoft offers hundreds of apps specially made for SharePoint integration. You can search for an app or browse them by category.
In this example, we attempted to install a simple productivity app called Tasks.
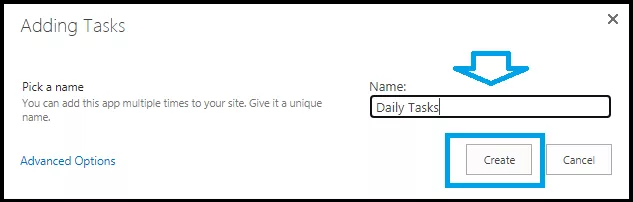
Step 4: Name Your App
Give your app a name and click on the Create button. The app will be installed.
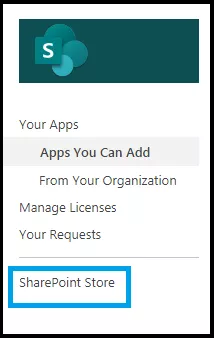
Step 5: Download More Apps from the SharePoint Store
Go to the SharePoint store to download more apps that boost communication, collaboration, productivity, and more.
Step 6: Pick an App of Your Choice
Search or browse apps and choose an app of your preference.
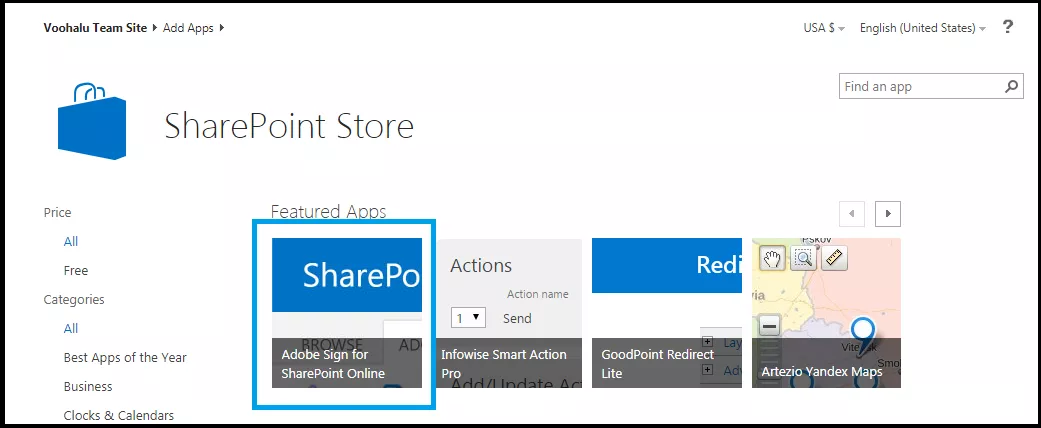
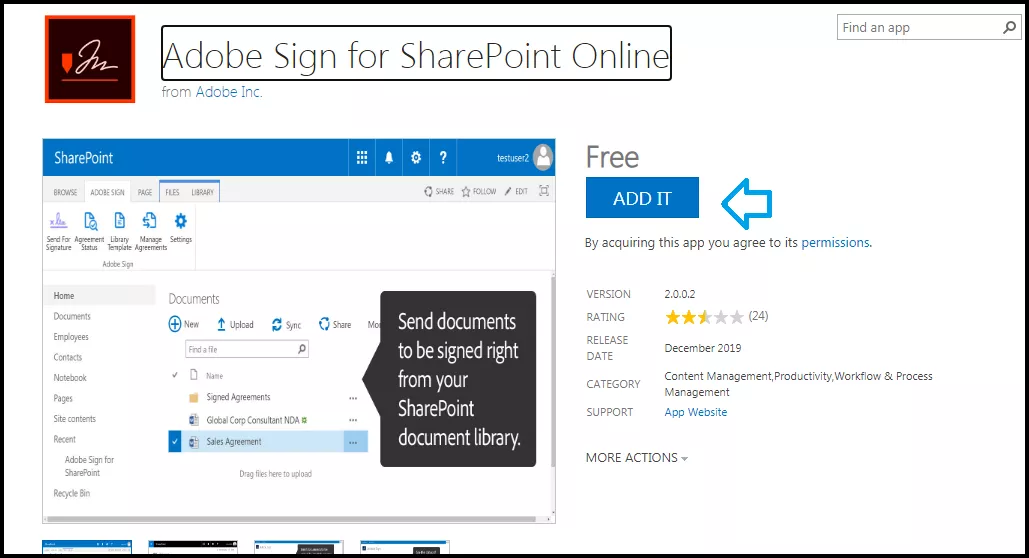
Step 7: Click on the ADD IT Button
In this example, we tried to add the Adobe Sign app for SharePoint Online.
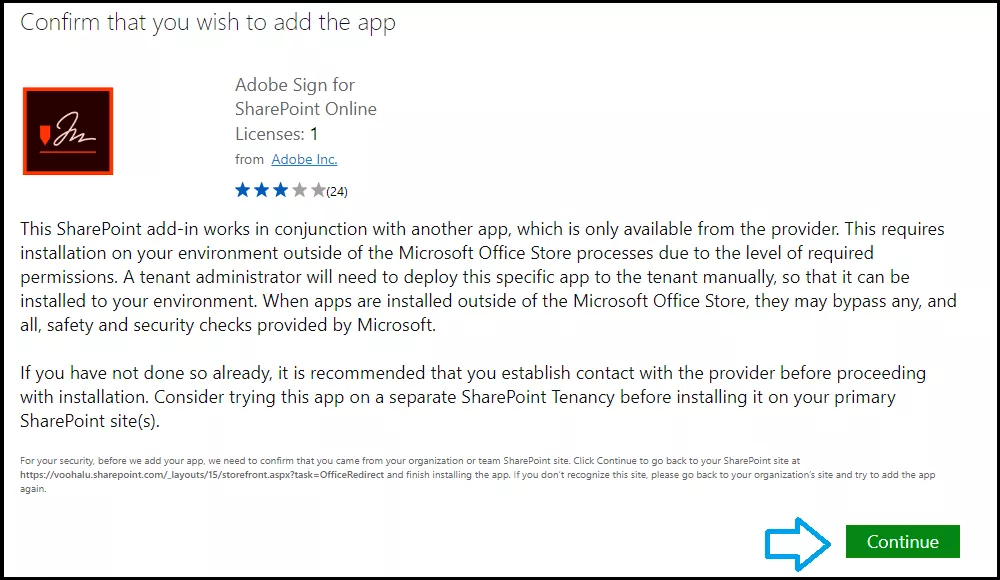
Step 8: Confirm and Add App
Go through the app description, understand their terms and conditions, and then click on the Continue button to add the app to your SharePoint.
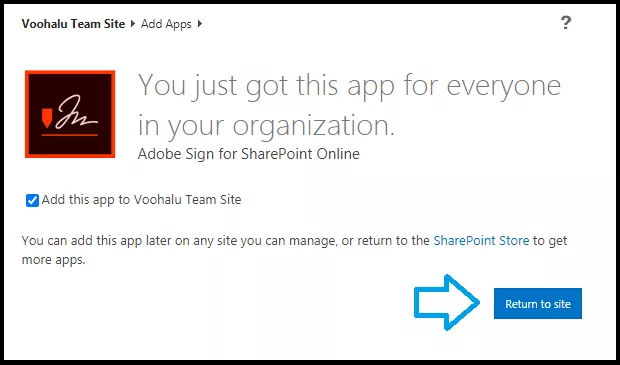
Step 9: Return to Site
Once the app is installed, click on the Return to Site button and you will be back to the SharePoint site.
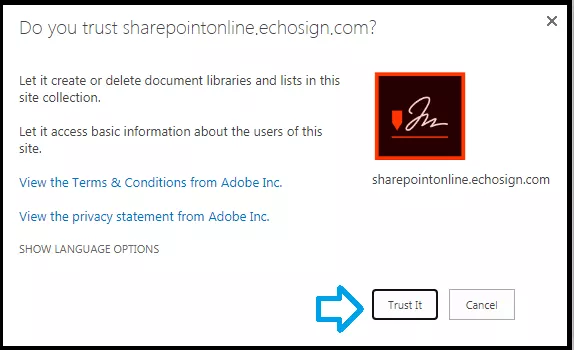
Step 10: Grant Permission to the App
Click on the Trust It button to finish the installation process. Certain apps require certain permissions from your SharePoint account to function properly. There, you must double-check apps for their quality to ensure safe SharePoint experience. If you are unsure about something, you must contact your IT admin or manager right away.
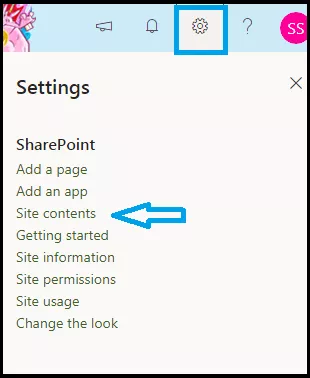
Step 11: Check Your Installation
Go to Setting and click on the Site Contents link.
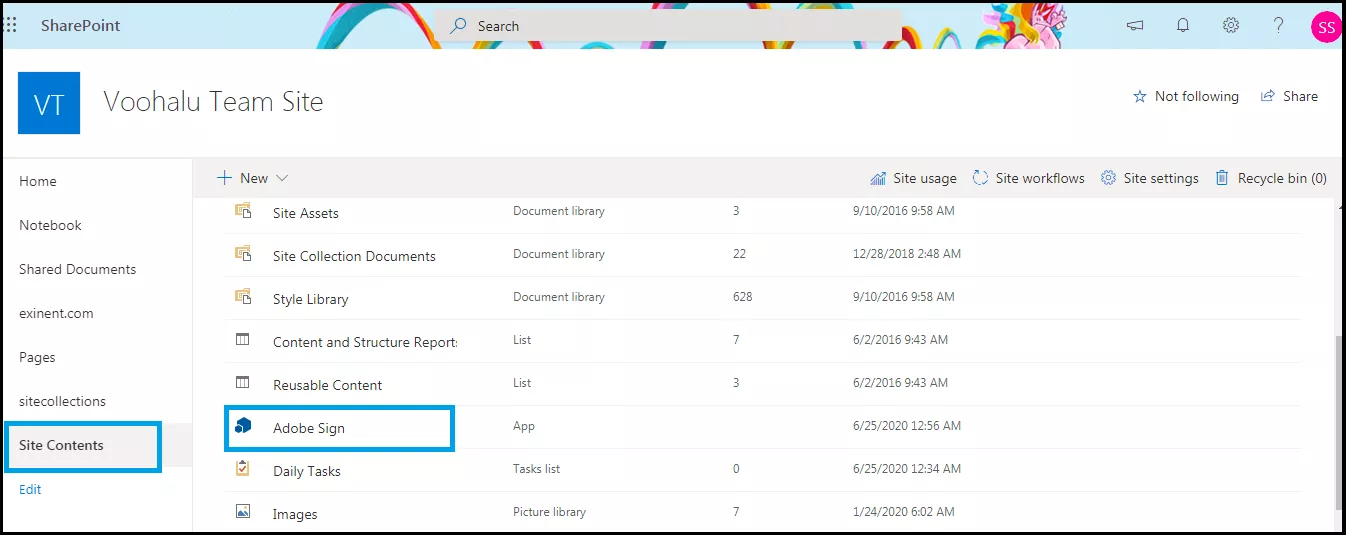
Step 12: Adobe Sign Has Been Installed
The Adobe Sign app has been installed and can be see marked as an app.
That’s it. We hope you found this article on SharePoint useful.

Leave A Comment