How to Upload Videos to Microsoft Streams
Microsoft Stream is an enterprise video sharing service that comes with Office 365 subscription. The service provides an easy and secure way of sharing videos across an organization. If your company is using Office 365, then there is absolutely no point in not taking advantage of this excellent service. Stream neatly integrates into many services of Office 365 like SharePoint, which makes it even better.
Follow these simple steps to upload your first video to Microsoft Stream.
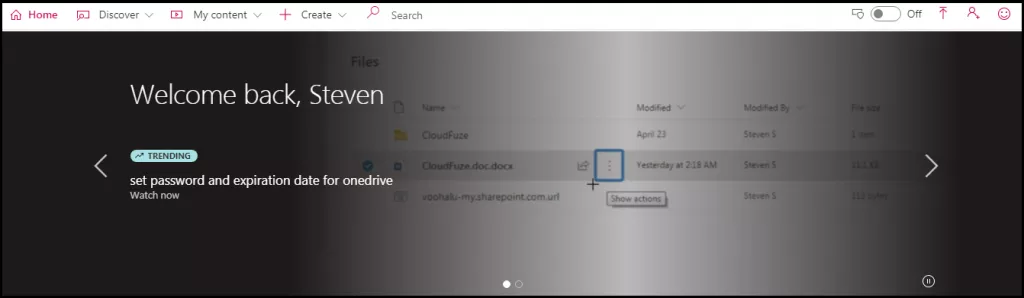
Step 1: Log in to Your Microsoft/Office 365 Account
Go to https://web.microsoftstream.com/and enter your Office 365 login credentials. Alternatively, you can sign in at Office.com and access Stream from there.
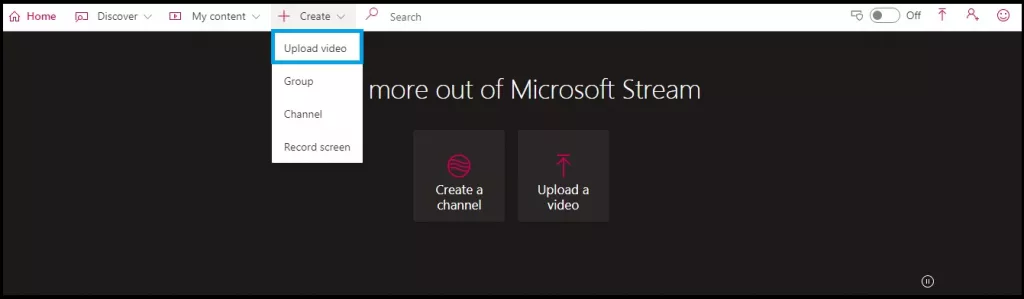
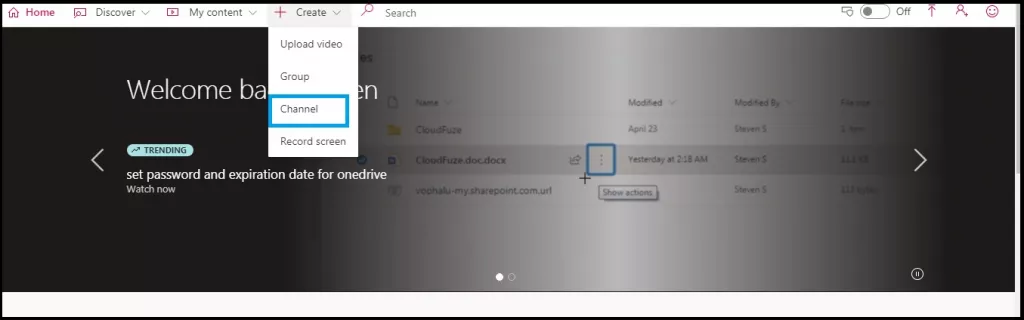
Step 2: Click on +Create
Locate the +Create button on the top menu and select upload video from the available options. Besides uploading a video, you can create a group, channel, or even record screen.
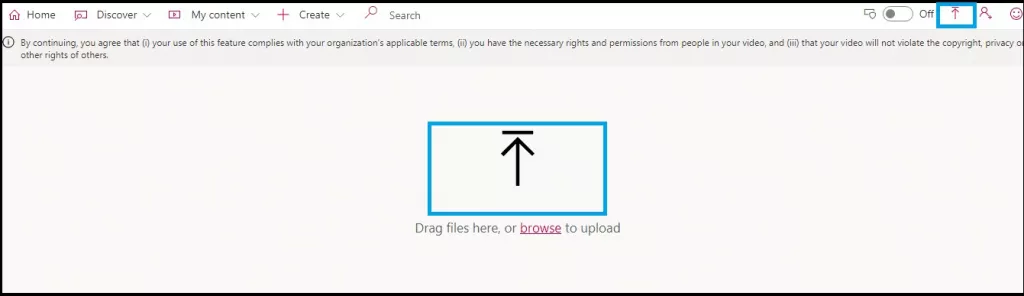
Step 3: Upload or Drag and Drop Video Files
Microsoft provides a nice interface to upload files. Upload videos directly or even drag and drop your video files
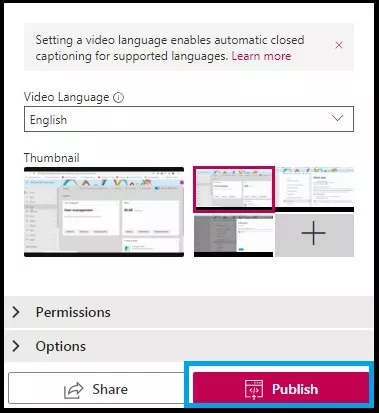
Step 4: Click on the Publish Icon
Once your files are uploaded, enter the metadata information and click on publish.
Step 5: You Can Also Create a Channel
Channels help you group your video content better. You can create multiple channels and use them as video repositories.
Click the +Create button and select Channel from the dropdown to create your first channel.
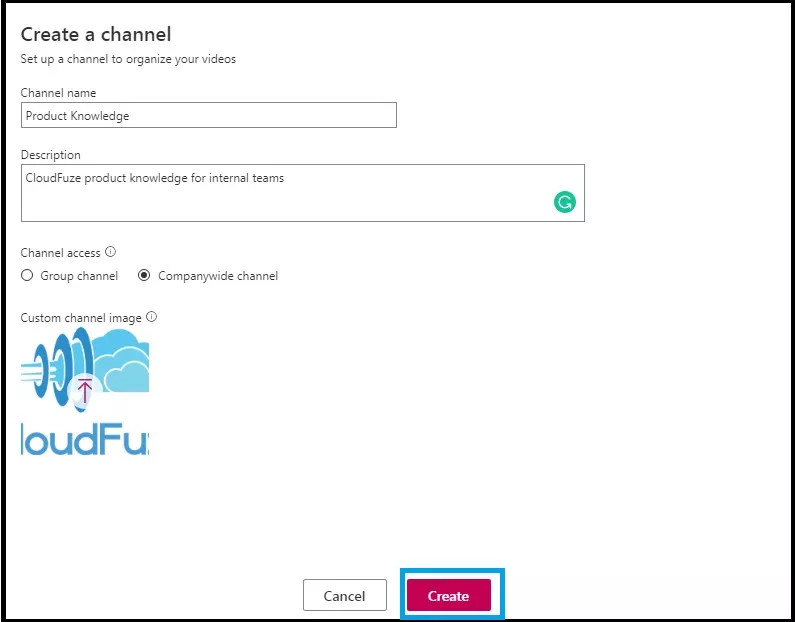
Step 6: Enter Channel Details
Give your channel a name and enter the description. You can make this channel available for a specific group of users or your entire organization. Click on the Create button.
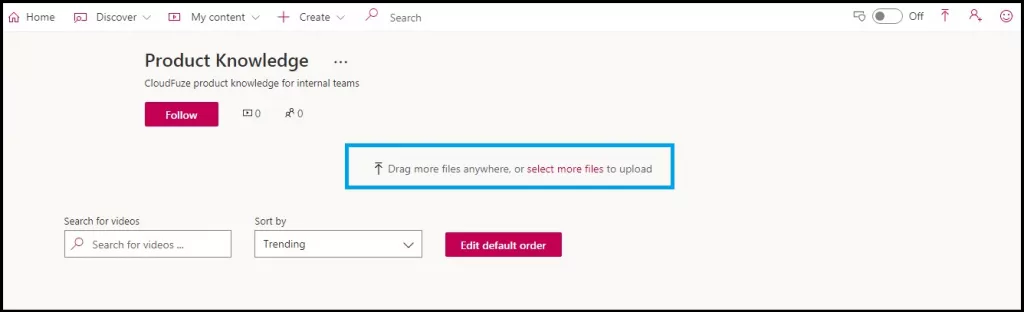
Step 7: Your Channel Is Ready
Add more videos to it or grab the share link to share it with your friends. You can also add this channel to SharePoint using a webpart.
We hope you found this article on Stream helpful.

Leave A Comment