How to Manage Notifications in Microsoft Teams
Notifications are an important part of any business chat app. They help employees stay on top of their communication and respond quickly for a message, tag, or a task. The default notifications in Microsoft Teams may not be sufficient enough. With that said, Microsoft provides a setting to configure notifications in Teams as per one’s liking. Follow these simple steps to manage notifications in Microsoft Teams.
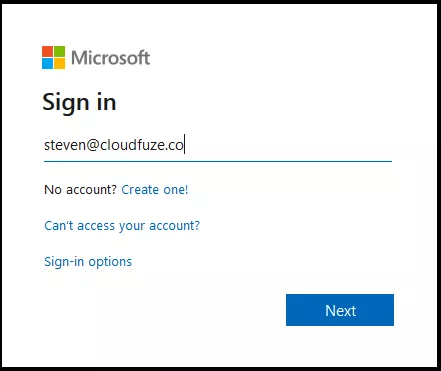
Step 1: Log into Office 365 Account
Enter your Office 365 login credentials and login to your Office 365 account.
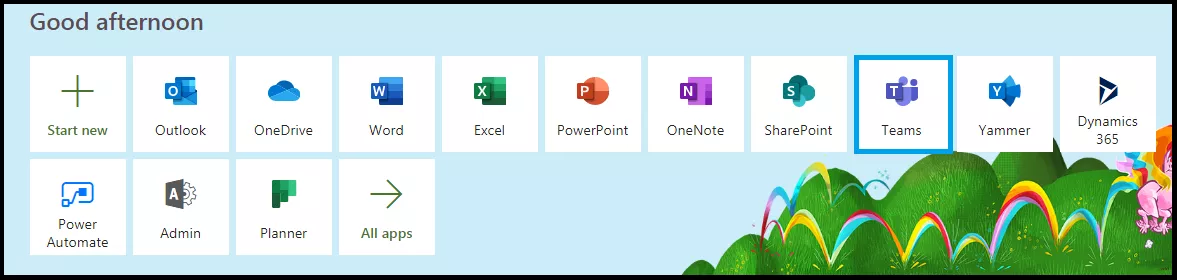
Step 2: Open Microsoft Teams
Click on the Teams icon to open it. If you already have Teams installed on your computer, open the Teams app directly.
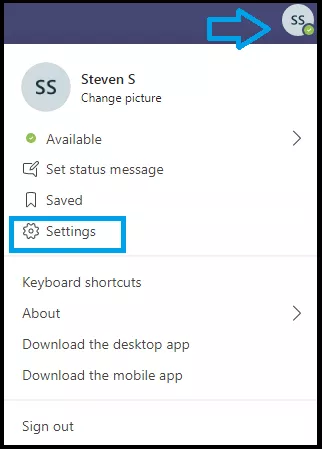
Step 3: Click on Your Name
Find your name and image located on the top-right corner of the app and click on it. It now shows different configurations and customization options. Click on the Settings icon.
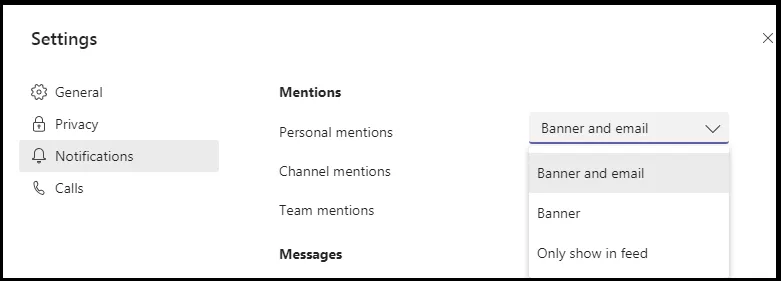
Step 4: Configure Notifications
Teams application provides three types of notification options. They are Banner and Email, Banner, and Off. You can have both banner (system pop-up) and email or banner alone as a notification. Or, you can turn them off altogether.
Step 5: Turn off Notification for a Specific Conversation
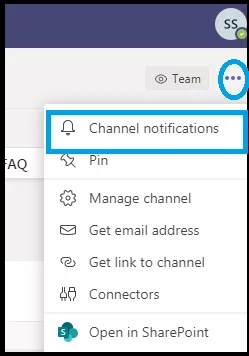
If you would like to opt-out of notifications for a specific conversation, click on the ellipsis icon on the top right corner of the page, and click on the notification option.
Step 6: Select Your Notification Options
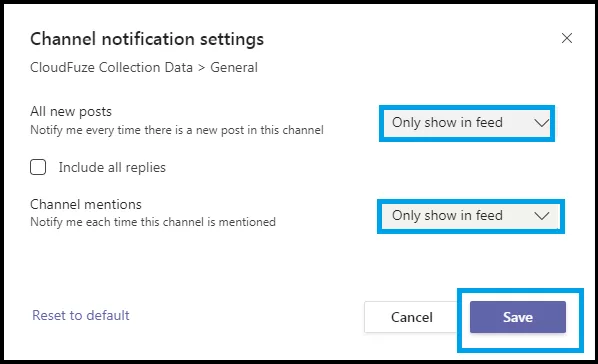
Click on the Only Show in Feed option and click on the Save button to save your changes.
We hope you found the article on Microsoft Teams useful.

