Box to Wasabi Personal Single-User Migration
Consumer users of Box now can migrate their content to Wasabi automatically and quickly using CloudFuze. In this article, we described how the migration can be done with the help of app screens. All you need to start Box to Wasabi migration is a CloudFuze account and ownership access to Box and Wasabi. A subscription plan is needed for migration, but CloudFuze offers a free limited trial for anyone who wants to test the service beforehand.
Step 1: Create a CloudFuze Account
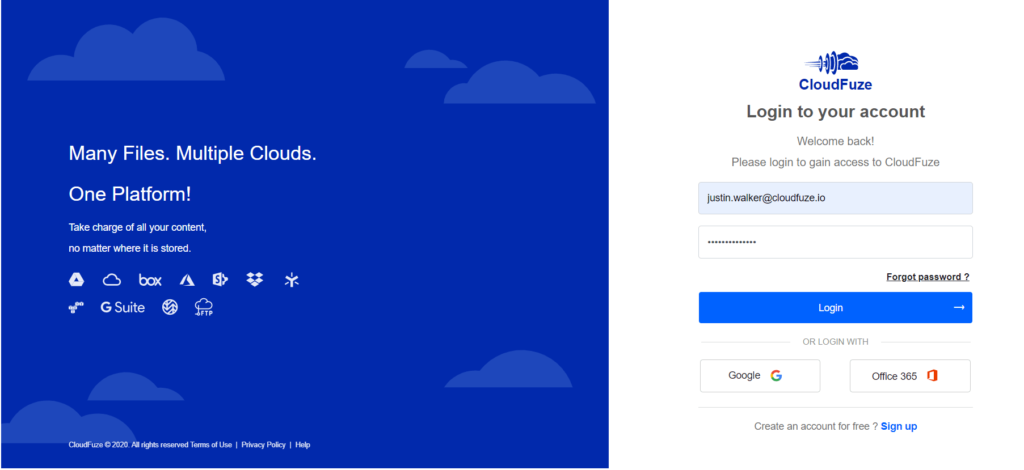
Go to webapp.cloudfuze.com and create an account. If you already have an account, log in to CloudFuze.
Step 2: Add Your Box Account to CloudFuze
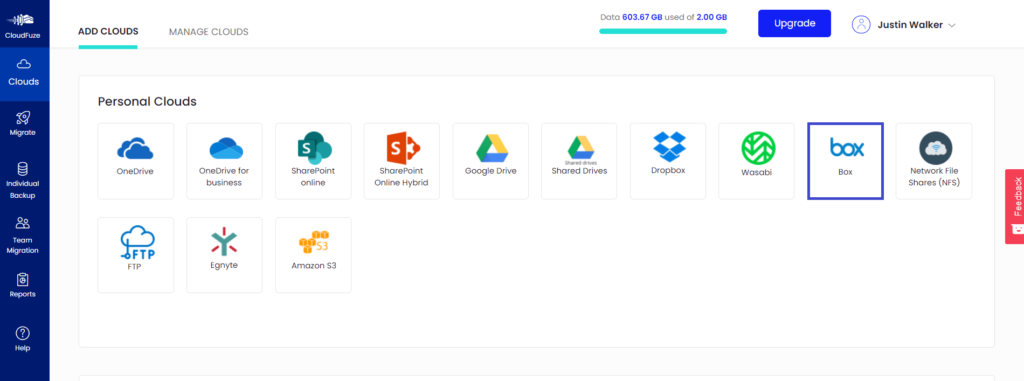
Click on the Box logo listed under the personal clouds. A popup will open where you need to enter your Box login details.
Step 3: Authorize Box Account
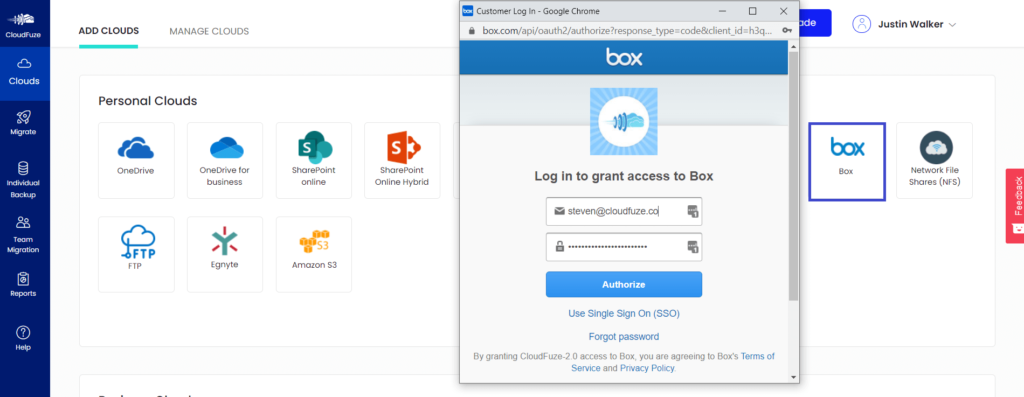
Enter login credentials of your Box account and click on the Authorize button to authorize.
Step 4: Grant Access to CloudFuze
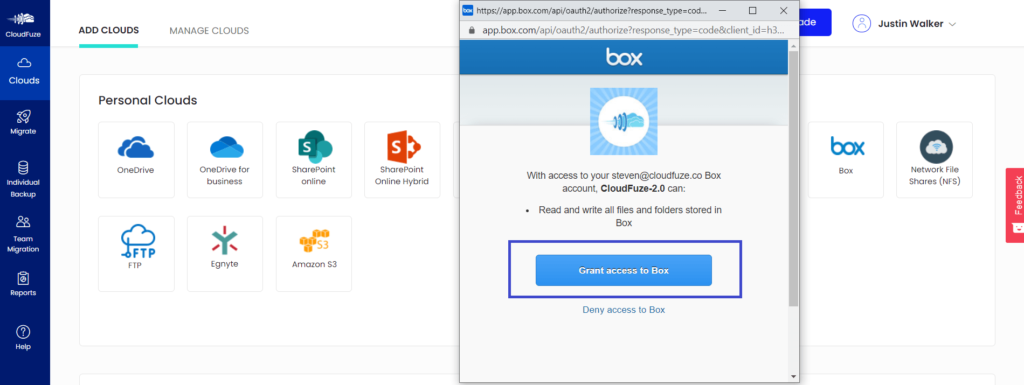
Once logged in, click on the Grant Access to Box button to finish the cloud addition process.
Step 5: Add Destination Cloud, Wasabi
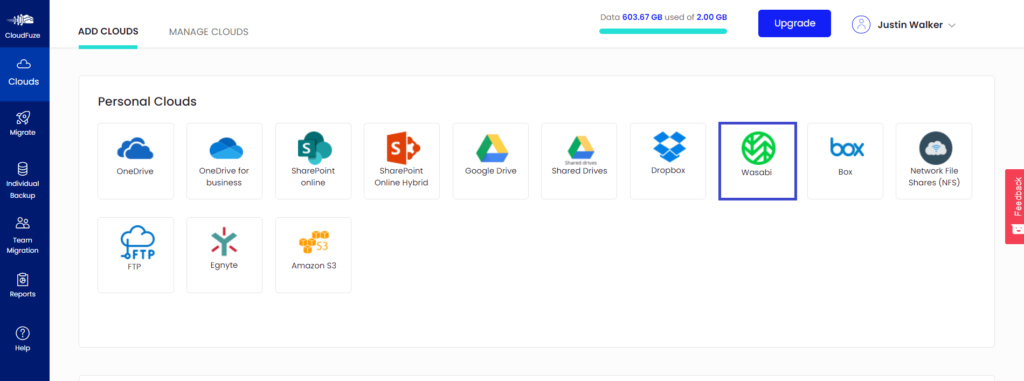
Now, click on the Wasabi icon from the personal clouds section.
Step 6: Enter Authentication Information
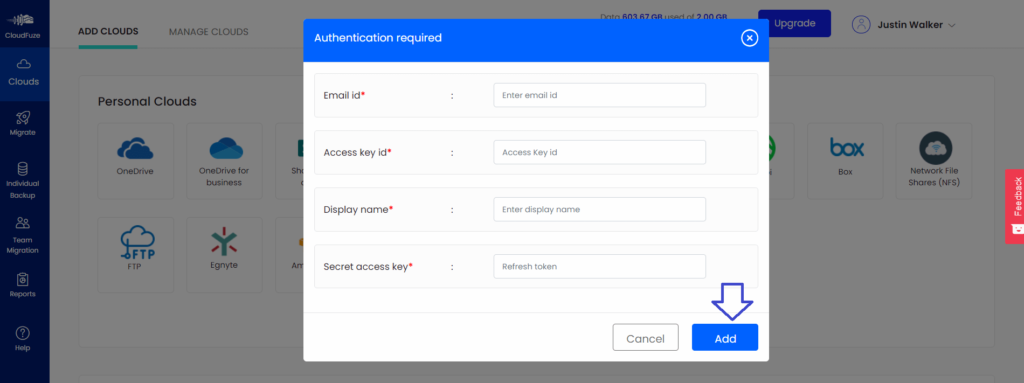
Provide your Wasabi login/access information and click on the Add button.
Step 7: Verify Whether Clouds Added
Click on the Clouds icon in the menu on the left. Then, proceed to click on the Manage Clouds tab. Both Box and Wasabi account should be displayed here if they are properly added.

Step 8: Start the Migration
Click on the Migrate button in the menu toolbar on the left.

Step 9: Select Source and Destination Accounts
Select Box as the source and Wasabi as the destination account.

Step 10: Select Files or Folders to be Migrated
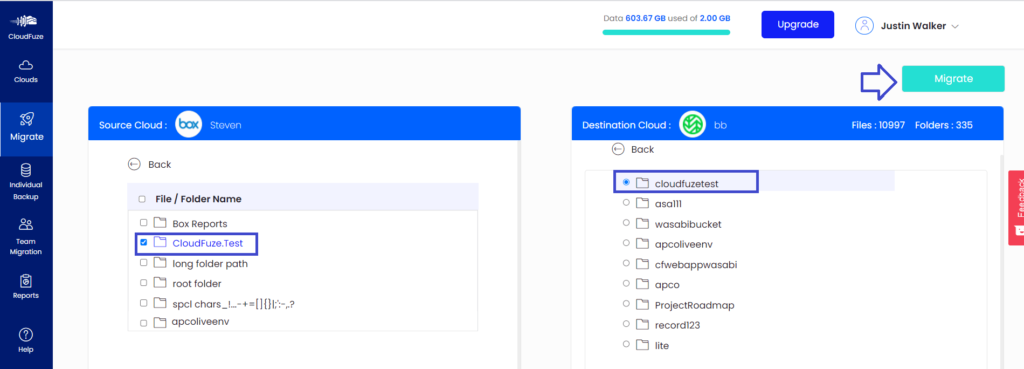
Select files to migrate from the source to destination accounts. Once done, click on the Migrate icon.
Step 11: Preview and Confirm the Migration
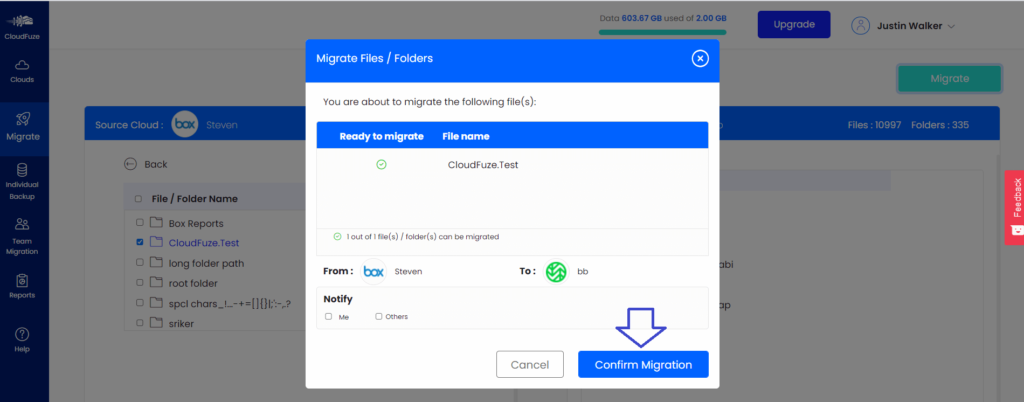
Click on the Confirm Migration button to start the file transfer process.
Step 12: Migration Is in Progress
In-Progress status indicates that the migration is in progress. At this moment, you can cancel the migration by simply clicking on the Cancel button.

Step 13: Migration Has Been Completed
When the status becomes Processed, it means the migration has been completed. You can now download the migration to check and review all the files and folders migrated.


Leave A Comment