FTP is the standard protocol user to transfer files from client server to computer network and it is the most traditional way of storing files online and accessing data remotely with the access of internet, it’s one of the way that inspired the cloud storage technology. Standard login procedure can be created to login to the FTP.
Dropbox is one of the most used cloud storage services. Dropbox not only has a huge number of free users, there are many paid users as well.
Many prefer Dropbox because of its easy to use functionality and it comes as the default app for many Android devices. Dropbox’s easy to use and simple functionality has made many to stick to Dropbox without even thinking of any other services.
Most of the new users of Dropbox need to move files from their local storage or from other providers to Dropbox. CloudFuze is the best solution to move files from any other provider to Dropbox, with its simple drag and drop capabilities. CloudFuze enables you to move files from FTP to Dropbox as if they are local. Users can move files from other providers to Dropbox while maintaining the same root folder structure.
If you need to transfer your files from FTP to Dropbox, you are at the right place. Manually migrating your data from FTP to Dropbox can take a lot of time, especially when the size of data is large. CloudFuze, on the other hand, transfers all your data very quickly and safely, thus saving you a lot of time and internet bandwidth. Here are th/e steps to transfer files from FTP to Dropbox.
Step 1: Create a CloudFuze Account
Go to webapp.cloudfuze.com and create an account. If you already have an account, enter your login details to go to the account dashboard.

Step 2: Add Your FTP Account
You need to add your FTP account to CloudFuze to facilitate migration. Click on the FTP logo in the list of personal clouds.
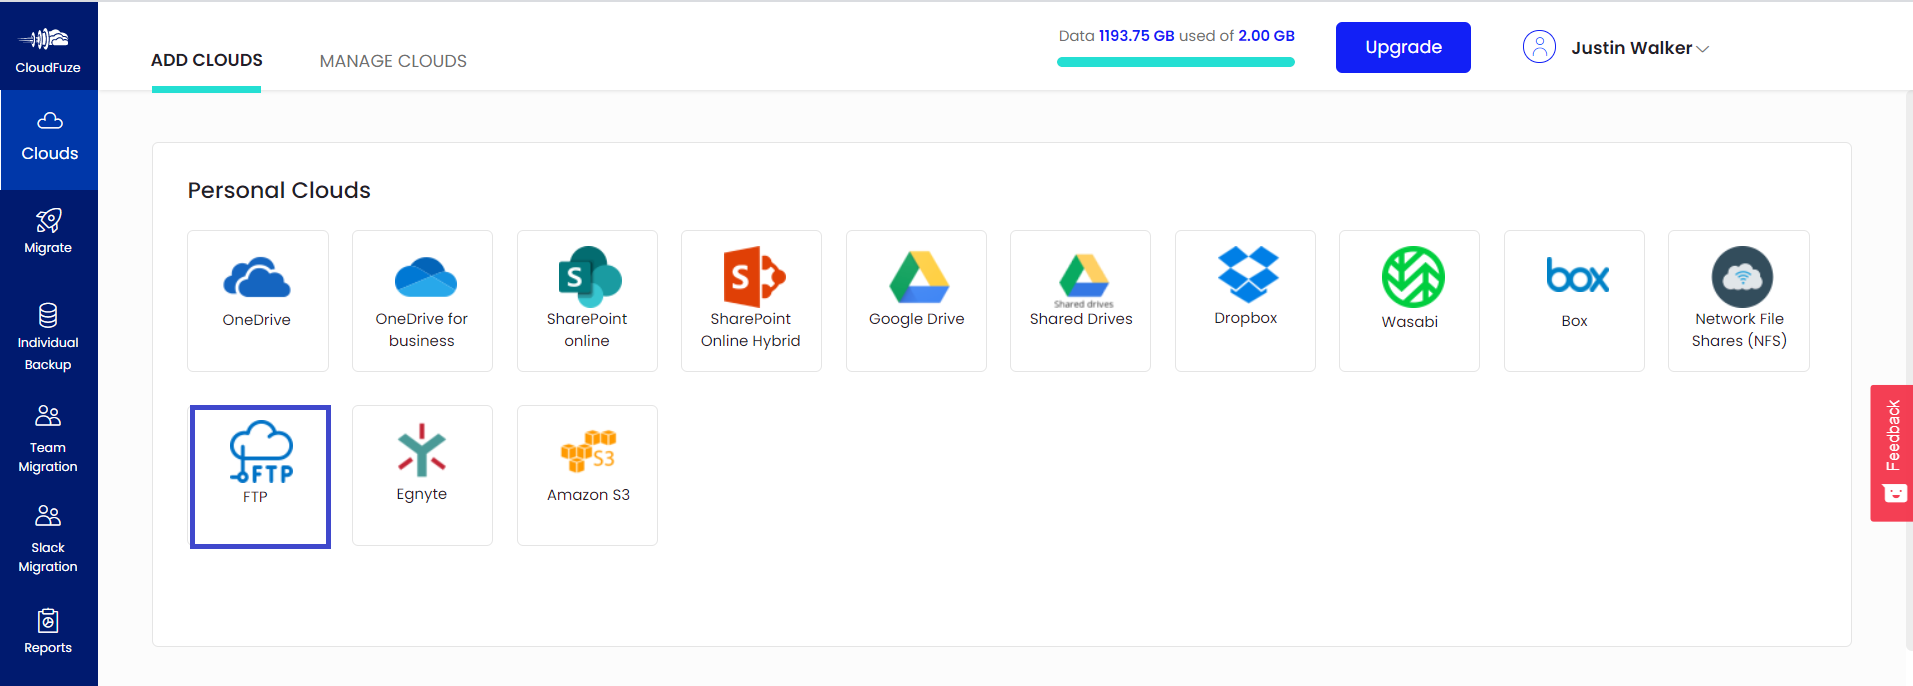
Step 3: Enter Your FTP Account Login Details
You need to enter the FTP login details including server and port and then click on the Add button.
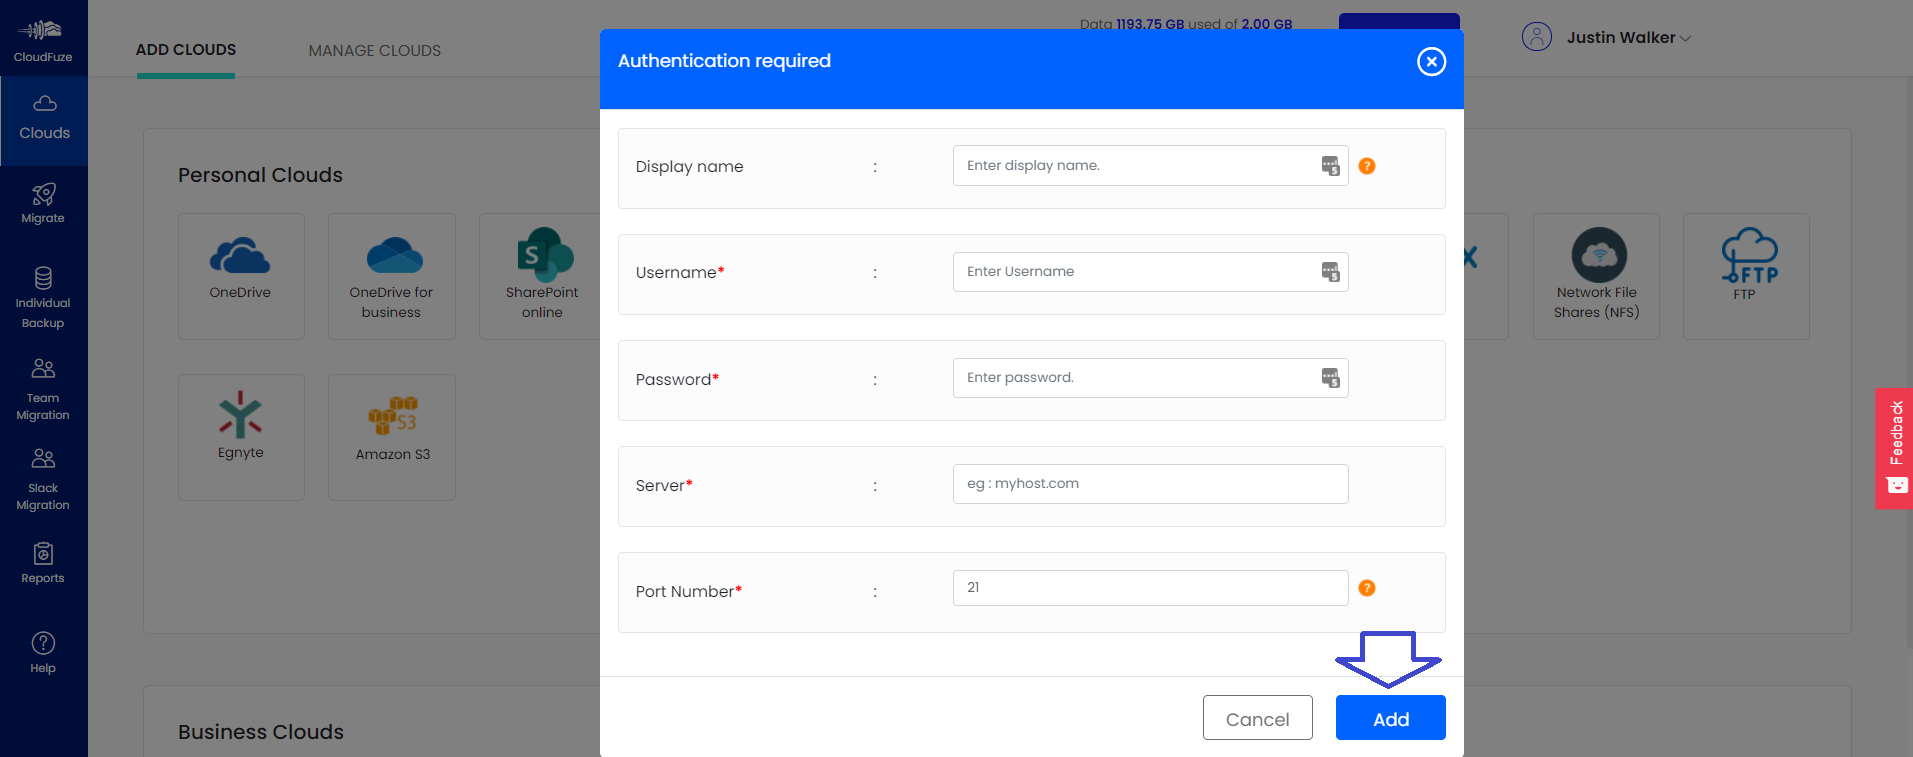
Step 4: Now, Add the Dropbox Account
Click on the Dropbox logo in the personal clouds list. Since this is personal / consumer migration, we should avoid adding Dropbox listed in the business clouds section.
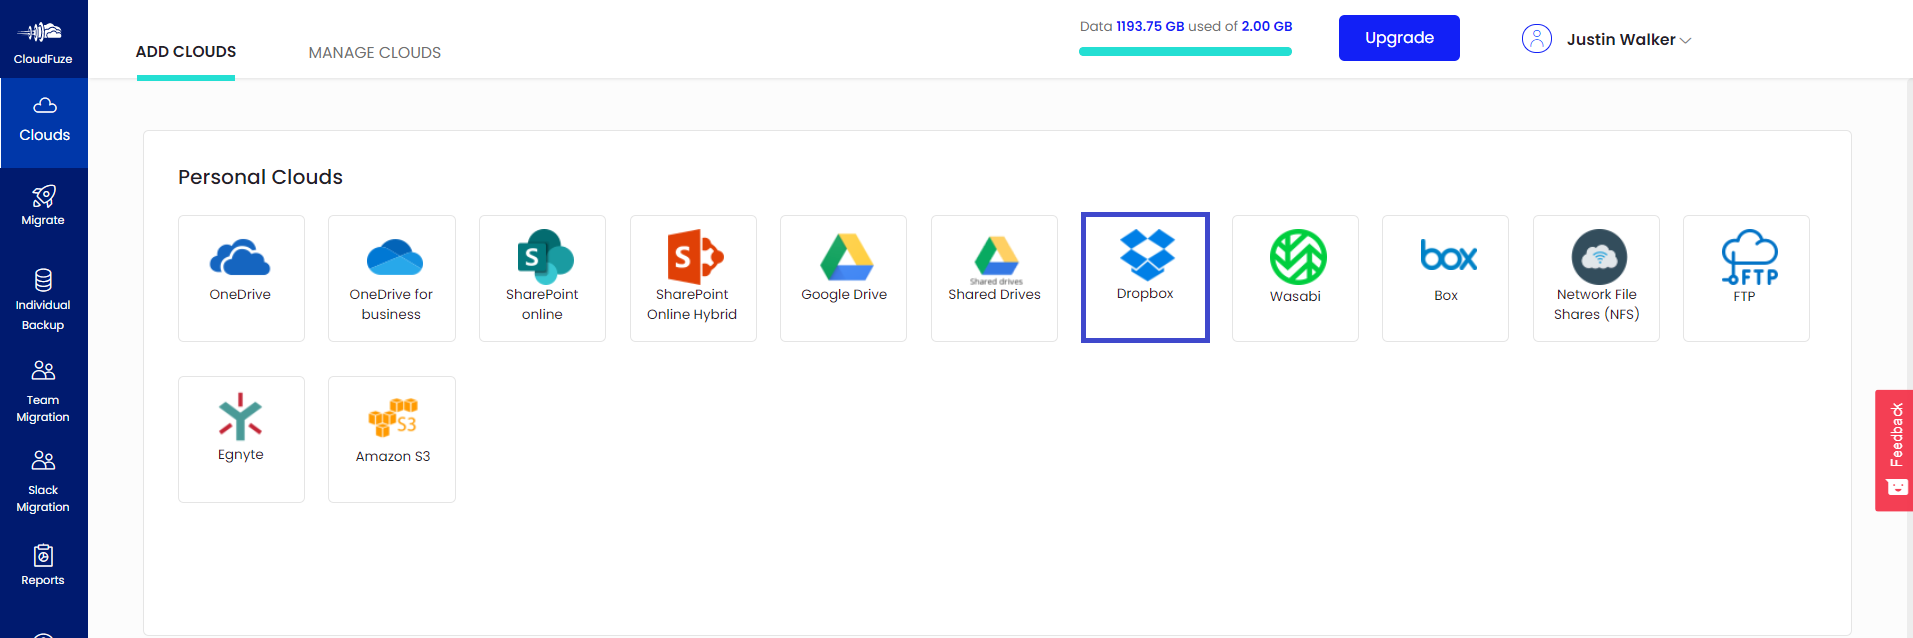
Step 5: Enter Dropbox Login Credentials
Enter your Dropbox login credentials and click on the Sign in button.
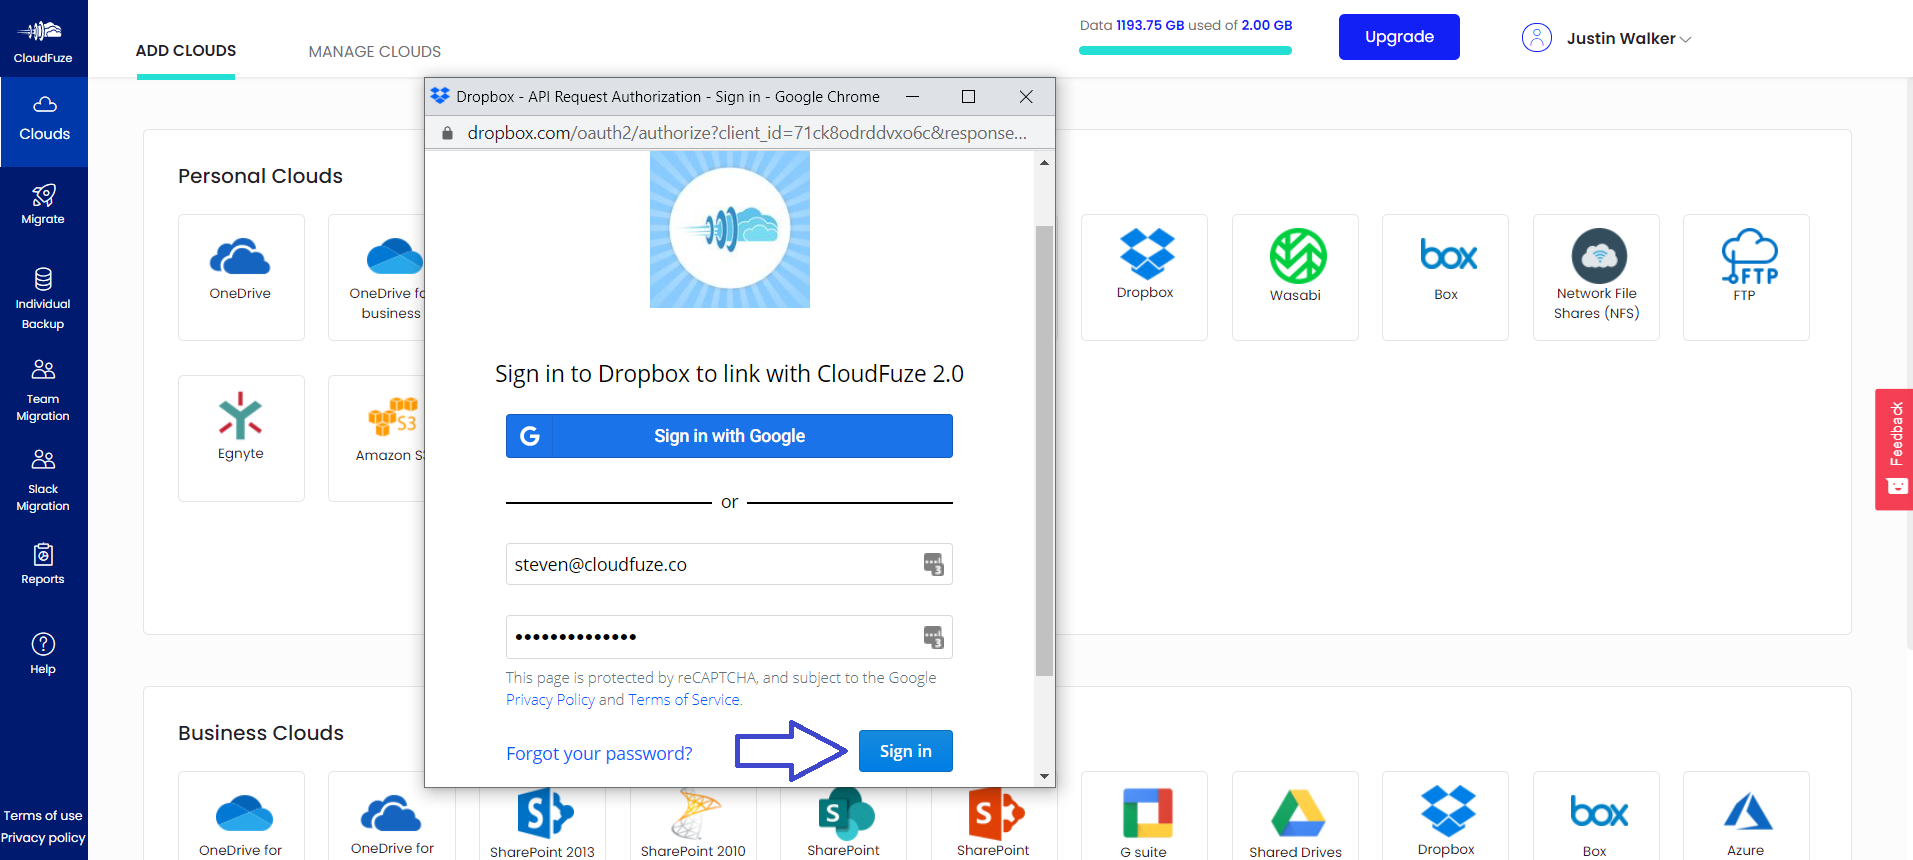
Step 6: Authorize Your Dropbox Account
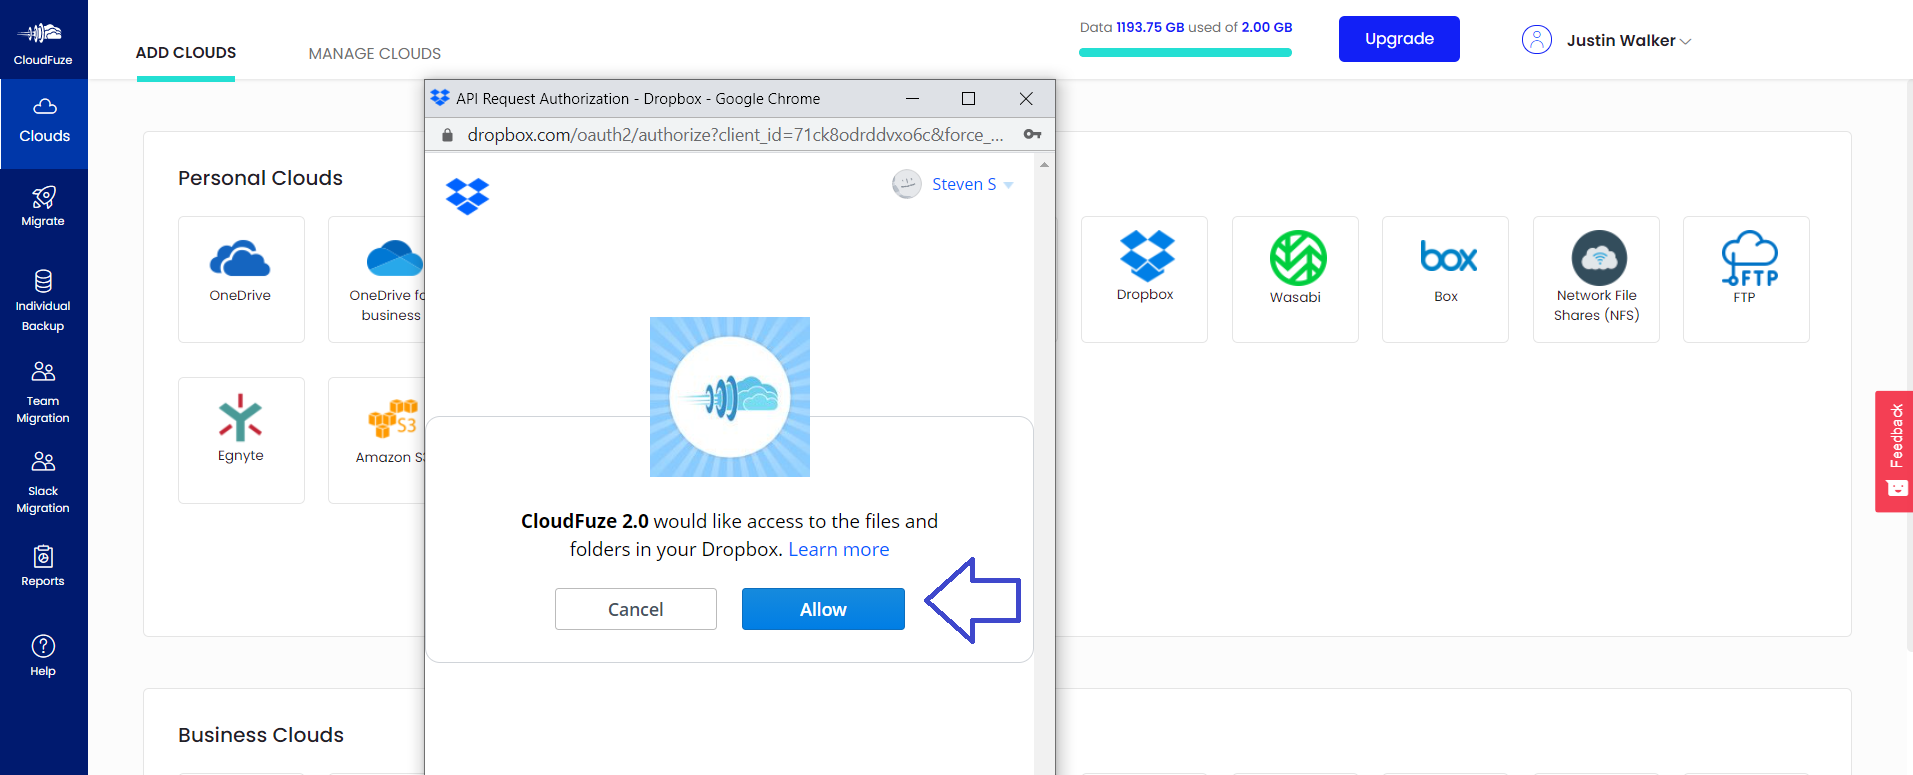
Click on the Allow button to complete the Dropbox authorization process.
Step 7: Check Whether Clouds Added
Click on the Clouds icon in the navigation menu. If successfully added, both FTP and Dropbox accounts will be displayed here.

Step 8: Start the Migration
Click on the MIgrate icon. This will take you to a page where you need to configure a few more options before the actual migration process begins.

Step 9: Select Source and Destination Accounts
Select FTP as the source and Dropbox as the destination account.

Step 10: Choose Files You Want to Migrate
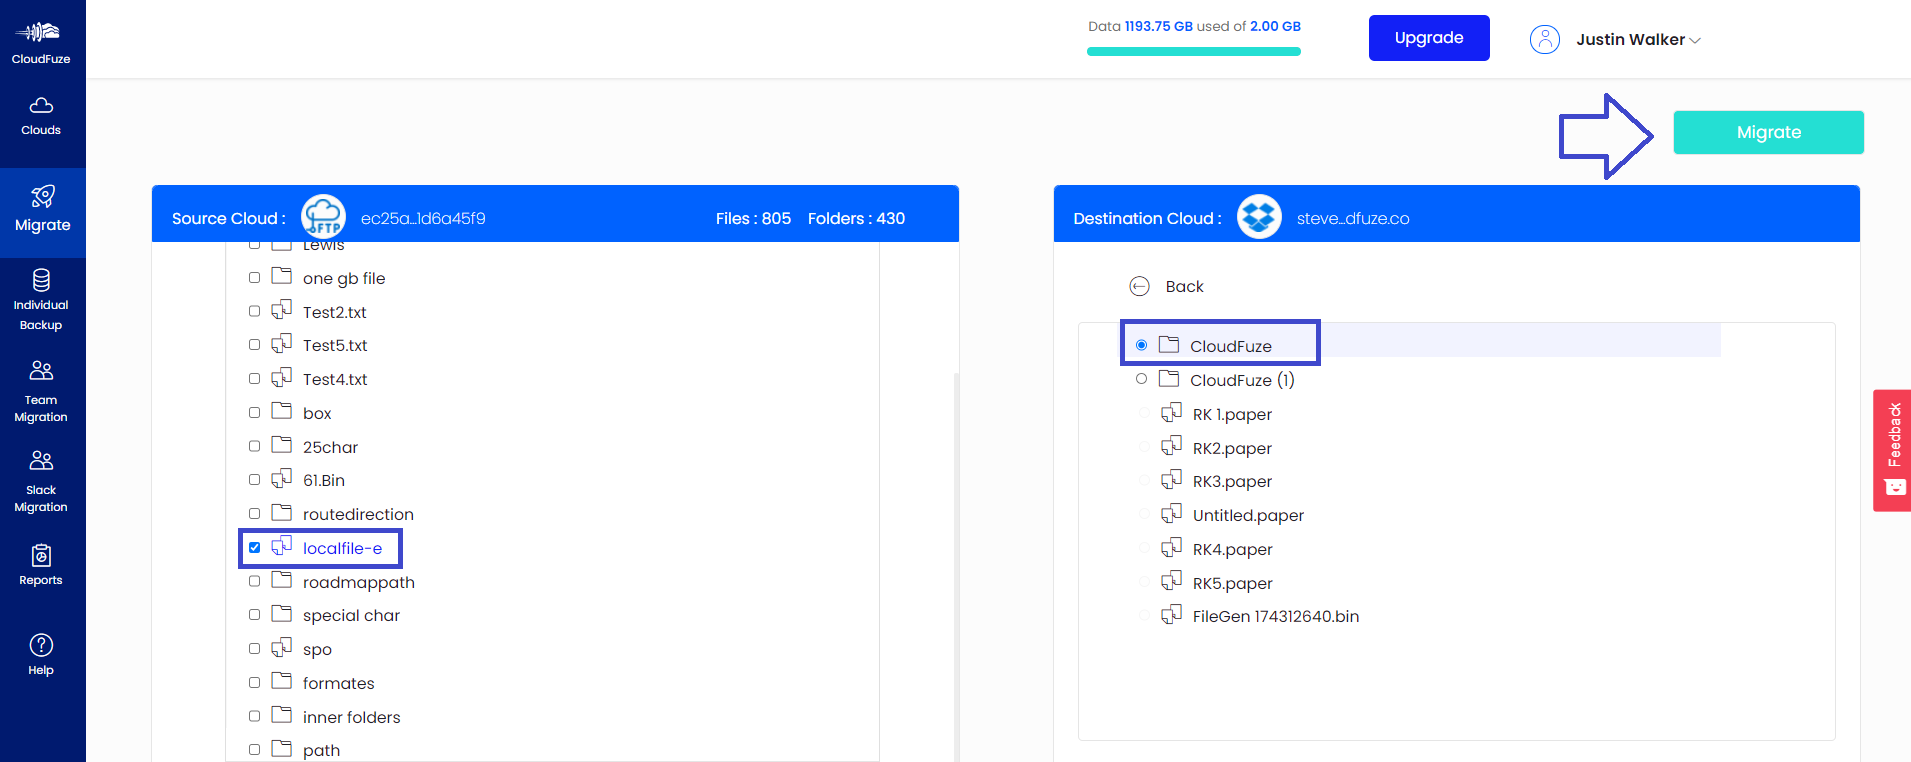
Choose all the files and folders you wish to migrate to Dropbox. You can select all of the root content as well.
Step 11: Preview and Start the Migration
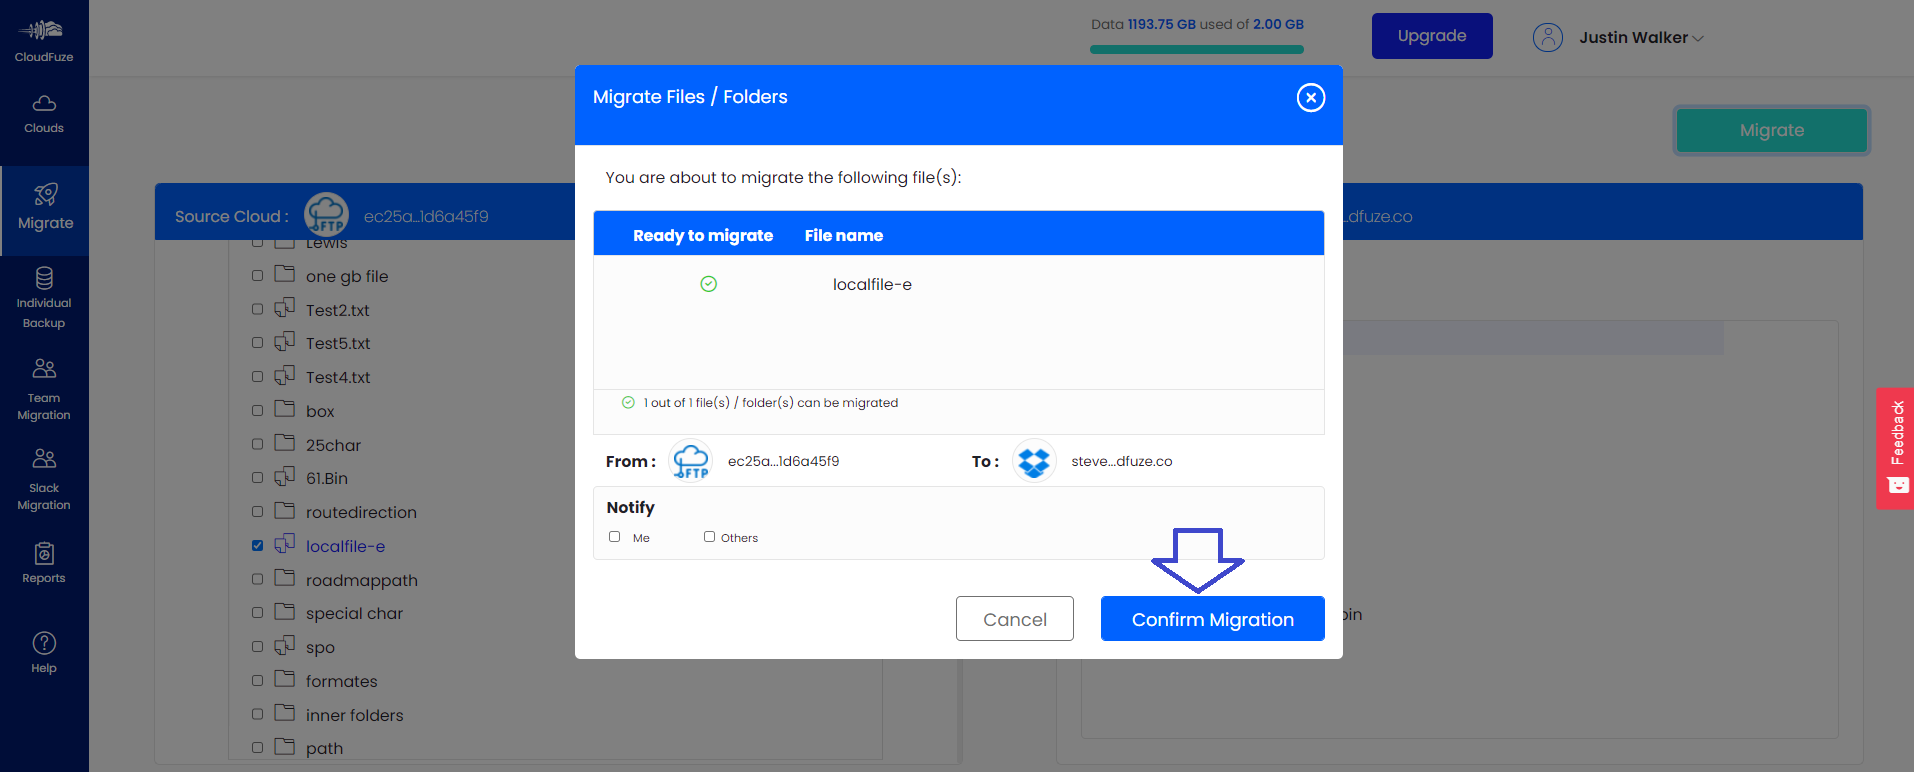
Click on the Start Migration button once everything looks good in the preview.
Step 12: File Transfer Is in Progress
During the migration process, CloudFuze displays the status as In-Progress.

Step 13: Migration Has Been Completed
Once all the files are migrated, the status will be displayed as Processed. It takes anywhere from a few minutes to a few hours for the migration to get completed based on the size of the data you are trying to move.


Leave A Comment