")
CloudFuze 2.0 made it easy to move files from Google Drive to Box accounts (or Box to Google Drive accounts) in addition to facilitate Synchronizing and sharing files of multiple Google Drive account and Box accounts, now one can move/copy/transfer files from Google Drive account to Box account (or) Box account to Google Drive account.
In case if you would like to sync Google Drive files to Box as opposed to migrating them, you can do that with the CloudFuze sync solution. Check this sync guide to know more about our cloud-to-cloud sync solution.
Check out our Box to Google Drive Guide for the migration steps
Below are the 3 simple steps to move files between Google Drive and Box accounts.
Step 1: Log in to CloudFuze or Create an Account
Go to webapp.cloudfuze.com and create an account. If you already have an account, log in to CloudFuze using your account credentials.

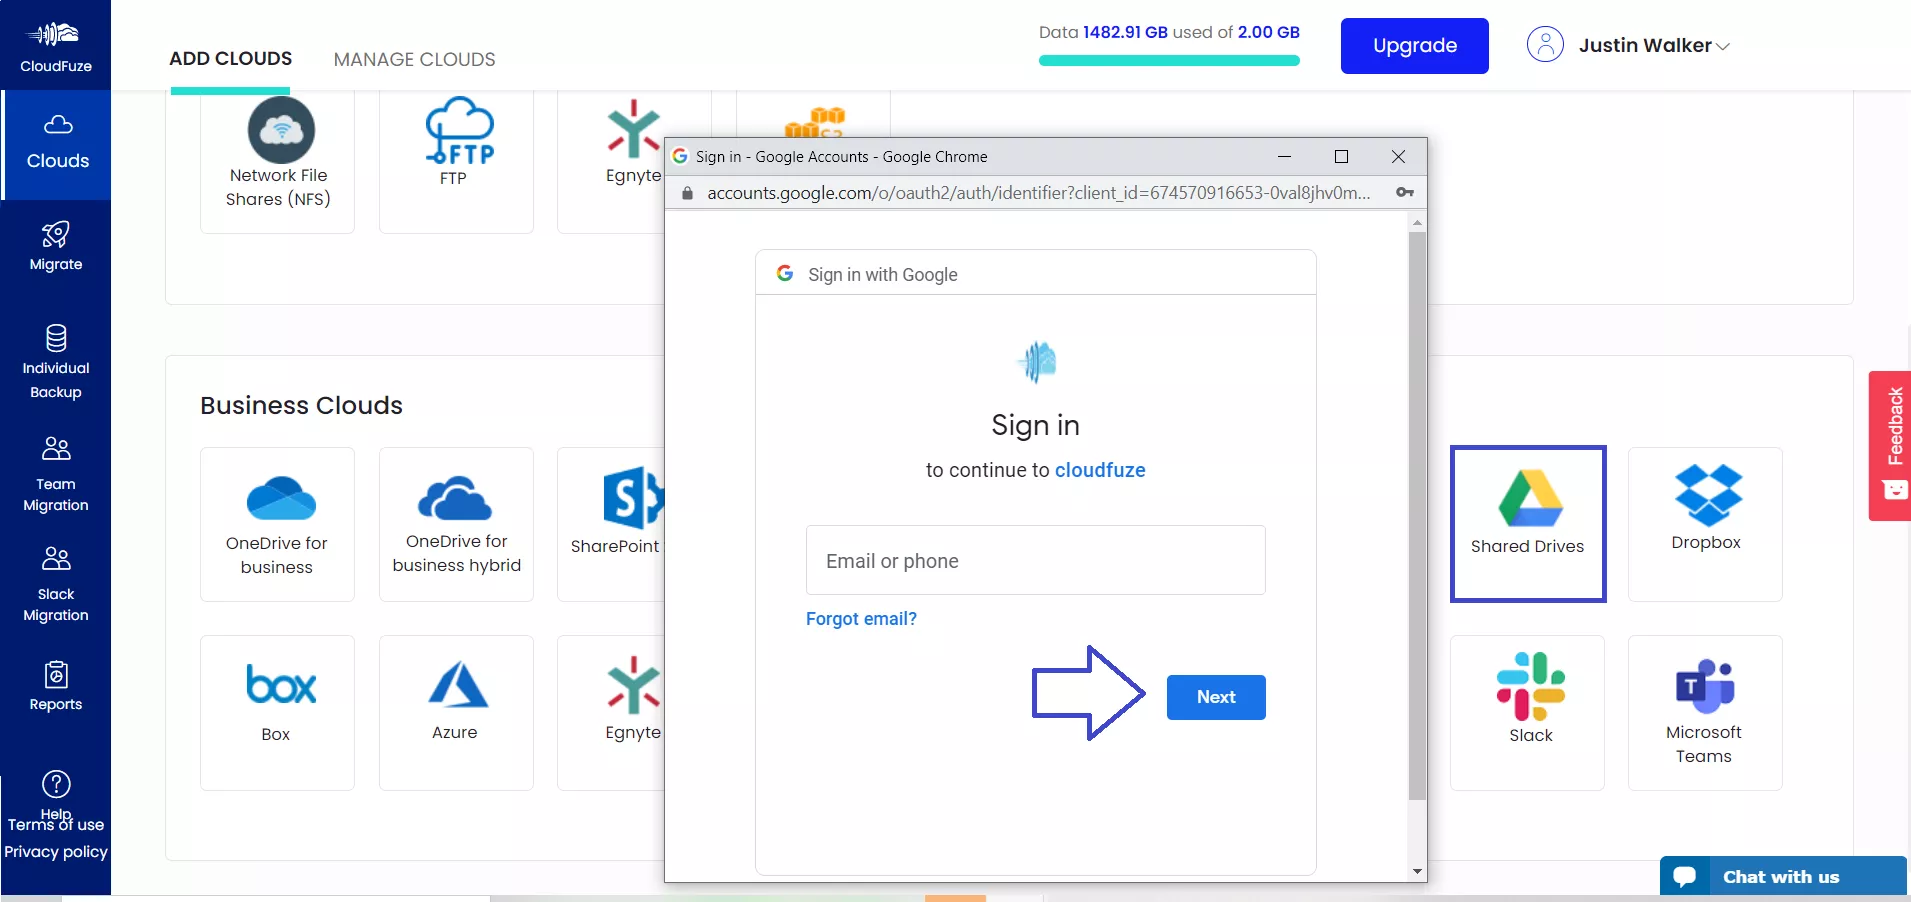
Step 2: Add Google Drive Account to CloudFuze
Click on the Google Drive logo and enter your Google account login credentials.
Finally, inside the right Google Drive of icons, select the destination Box account as the “Destination Cloud.” Then select the folder to where you would like to move files.
To complete the “Move” just click Move button in the bottom right corner of the screen. You will then be redirected to a window where you need to opt for notifications and also whether or not to maintain a copy of the file in the “Source Cloud.”
Make sure you deselect the option if you still require that file in the source cloud and then confirm the move.

Step 3: Authorize Google Drive Account
Click on the Allow button after entering your Google account details. This will add the Google Drive account to CloudFuze.

Step 4: Now, Add the Box Account
Click on the Box logo from the list of personal clouds.

Step 5: Enter Box Login Credentials
Enter your Box account’s login credentials and click on the Authorize button.

Step 6: Provide Access to Box Account
Click on the Grant Access to Box button and complete the cloud addition process.

Step 7: Verify Cloud Addition Process
Click on the Clouds icon in the web app’s navigational menu and go to the Manage Clouds tab. Both Google Drive and OneDrive accounts should be displayed there.

Step 8: Click on the Migrate Button
Locate the Migrate icon in the menu and click on it. This will initiate the migration process. However, you still need to select a few options before the actual file transfer begins.

Step 9: Select Source and Destination Cloud Accounts
Choose Google Drive as the source account and Box as the destination cloud account.

Step 10: Select Files and Folders to Migrate
The CloudFuze platform allows you to migrate entire root data or a few selected files or folders. Choose your preferred content and then click on the Migrate button.

Step 11: Preview and Confirm Migration
Review your migration options one final time and click on the Confirm Migration button.

Step 12: Data Migration Is in Progress
During the file transfer process, CloudFuze displays the status as In-Progress.

Step 13: Migration Has Been Completed
When all the files and folders are migrated, the status of the migration will be changed to Processed.


