
1. Introduction
If you are an IT admin planning to migrate from Box to Dropbox, CloudFuze can help speed up your migration project. Migrating content from Box to Dropbox can be a bit challenging, especially if you have hundreds of user accounts and lots of data. Our migration tool is designed to automate the whole file transfer process.
CloudFuze provides a secure, quick, and efficient way to Migrate Box to Dropbox. The platform not only transfers files from Box to Dropbox but also migrates users and sharing permissions.
If you are an IT admin exploring ways to migrate from Box to Dropbox, continue reading the rest of the article to know how CloudFuze can help speed up your migration project.
If you don’t have time to read to go through the article, Watch the video below to learn how to transfer files from Box to Dropbox account by following simple steps.
2. Box vs. Dropbox
Both Box and Dropbox are convenient file-sharing and storage platforms. They offer similar features, such as
- Sharing, editing, and managing files and folders
- Data encryption for security
- Accessing files from anywhere through any device
- Integration with third-party apps
But these cloud platforms also differ in some ways from each other.
For example, Box has improved external app integration that allows nearly 1500 apps making collaboration a lot easier. It also provides a built-in notes feature (Box Notes) that comes handy to take notes during meetings which is not available in Dropbox.
You can also check out the Box vs Dropbox differences in detail.
3. CloudFuze vs. Competitor Migration Tools
CloudFuze is one of the best Box to Dropbox migration tools on the market. The platform is known for its speed and security. Besides, it’s among the very few solutions on the market that migrates Shared Links, version history, and file metadata.
| Features | Available | Competitors |
|---|---|---|
| One-time migration | Yes | Yes |
| Delta migration | Yes | Yes |
| Root folder Permissions migration | Yes | Yes |
| Root file Permissions migration | Yes | Yes |
| Sub-folder permissions migration | Yes | Yes |
| Inner file permissions migration | No | No |
| External Shares migration | Yes | No |
| Shared Links migration | Yes | No |
| Version history migration | Yes | No |
| Selective versions migration | Yes | No |
| Metadata migration | Yes | Yes |
| In-line comment migration | yes | No |
| Long-file name conversion | Yes | Yes |
| Special characters conversion | Yes | Yes |
4. What Are the Challenges Associated With Box to Dropbox Migration?
Data migration is an elaborate and critical process that needs to be handled by experts. Businesses planning to transfer Box to Dropbox must overcome the challenges associated with it for a frictionless data transfer.
The main challenges in migrating content from Box to Dropbox are:
- Risk of downtime due to high data volume.
- Migrating file and folder permissions to the destination.
- Preserving the shared and internal links, comments, timestamps, and version history of the files.
- Maintaining data security and compliance.
5. CloudFuze’s Platform Features
- Backed by enterprise-grade infrastructure
- RESTful API platform
- Cloud-native architecture
- Powerful admin controls
- Multi-tenant ready
- OAuth-based Box/Microsoft 365 accounts authentication
- US-based SOC 1 and SOC 2 certified data centers
- SaaS servers (ideal for small migrations), dedicated instances (for large migrations), and deployable in a customer’s cloud or data center (ideal for enterprises, universities, and government agencies)
6. How Are Permissions Migrated From Box to Dropbox
As you know already, sharing permissions in Box and Dropbox are different. CloudFuze converts Box permissions such as Co-owner, editor, uploader, viewer uploader, etc. into a supported format in Dropbox.
The table below gives you an idea of how CloudFuze converts and migrates Box permissions. This permissions migration is automated and CloudFuze automatically transfers them during Box to Dropbox migration.
| Box | Dropbox |
|---|---|
| Co-Owner | Editor |
| Viewer Uploader | Editor |
| Previewer Uploader | View |
| Uploader | View |
| Editor | Editor |
| Previewer | View |
| Viewer | View |
7. Prerequisites for Box to Dropbox Migration
- A functional Box business account
- A functional Dropbox account
- Box admin login credentials
- Dropbox admin login credentials
8. How to Migrate Content from Box to Dropbox?
Follow the steps given below, and you will be able to migrate data from Box to Dropbox. Keep in mind that you need a license to migrate an unlimited number of users and data. Alternatively, you can try CloudFuze’s free trial or request our migration team a custom trial.
1. Log in or Create a CloudFuze Account
Go to webapp.cloudfuze.com and create an account. If you already have an account, enter your login details to access the CloudFuze dashboard.
Alternatively, you can reach out to our migration team for a live demo, custom trial, or price quote.

2. Add Box Account to CloudFuze
Click on the Box logo in the business clouds list and add it CloudFuze.

3. Enter Box Admin Login Credentials
Enter the admin login credentials of your Box account. Once entered, click on the Authorize button.
Please keep in mind that you must enter a valid Box’s admin login credentials. This is key for a successful Box to Dropbox migration.

4. Authorize Box Details
The next step is granting your Box account access to CloudFuze. CloudFuze requires this access to map users and data in the Box account and then migrate it to Dropbox.

5. Now, Add Dropbox Account
Click on the Dropbox logo in the business clouds list. A popup will then open where you need to enter its login details.

6. Enter Dropbox Admin Login Details
Enter your company’s Dropbox’s admin login details in the popup window. Please remember to enter the admin login details to facilitate migration.

7. Verify Whether Clouds Are Added
Click on the Clouds icon and go to the Manage Clouds tab. Both Box and Dropbox accounts should be added there.

8. Start the Box to Dropbox Migration
Click on the Team Migration and complete a few final steps to start the migration.

9. Choose Source and Destination Accounts
Since you are migrating data from Box to Dropbox, select Box account as a source and the Dropbox account as a destination.

10. Map the Users
CloudFuze has a built-in auto-mapping capability that matches all the users in cloud and destination accounts.

11. CSV-Based Box to Dropbox Migration
In addition to auto-mapping, CloudFuze supports CSV manual mapping for custom or complex migration needs.

12. Choose Users for Migration
Select all the users in the Box account that you want to migrate to Dropbox account.

13. Permission Mapping
CloudFuze allows IT admins to configure permissions for each user. If you wish them to default, click on the Next button.

14. Migration Options
Create a name for your migration job, or leave it to default. Renaming default migration helps in managing multiple migrations. You can add additional email addresses for notifications. The rest of all can be left default unless you have a specific need.

15. Click Start to Migrate from Box to Dropbox
Check everything one final one time and click on the Start Migration button to move files from Box to Dropbox.

16. File Transfer in Progress
The file migration has started. You can pause the migration temporarily or cancel it altogether during this time.

17. Migration Has Been Completed
When all the files are transferred to Dropbox, the status will be changed to Processed.

9. Box to Dropbox Migration FAQs
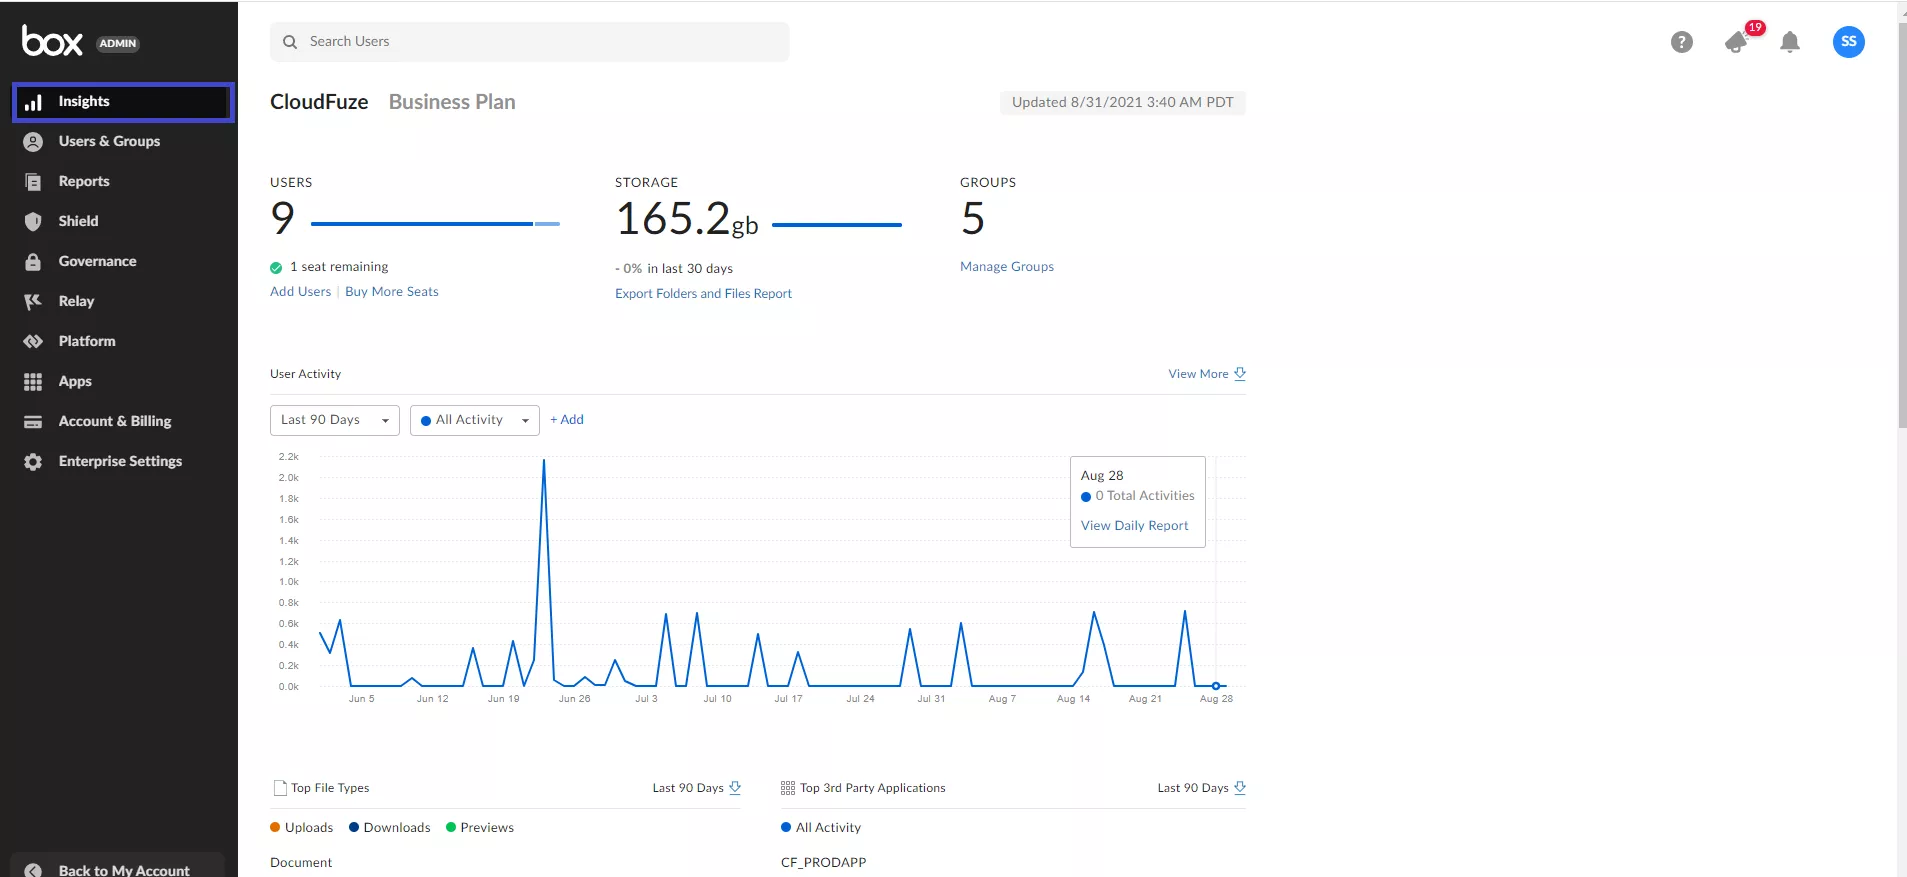
1. How to find storage usage metrics in my company’s Box account?
Knowing the number of users and the data consumed in your Box account allows IT admins to get an accurate price quote and migration timelines.
To check the details, head to Admin console -> Insights.
2. What is the speed of migration?
Speed of migration depends on many factors, including the size of data, number of users, folder structure, and rate limit/throttling from cloud vendors. CloudFuze roughly migrates a few GB of data per hour.
3. How secure is CloudFuze?
CloudFuze is highly secure and trusted by some of the world’s biggest companies, including government organizations. Read more about CloudFuze’s security.
4. How do I contact CloudFuze?
You can chat with us using the chat button in the webpage’s lower right corner. Alternatively, you can contact us using a form.
5. How much does it cost to migrate from Box to Dropbox?
The pricing depends on the number of users and the size of data in your Box account. Please reach out to our migration team for a quote.
Contact our migration team today to move files from Box to Dropbox.

