How to Set up and Enforce Password Expiration Policy in Office 365
Office 365 provides many security options and controls for IT admins to enforce maximum data security. One such feature is the password expiration policy. By default, this option will be in a disabled state. Office 365 admins can enable it, thus making every team member change their password once in a stipulated period of time. Follow these instructions to enable the password expiration policy in Office 365.
Step 1: Log in to Your Office 365 Admin Account
Go to office.com and enter your admin login credentials to sign in and access the homepage.
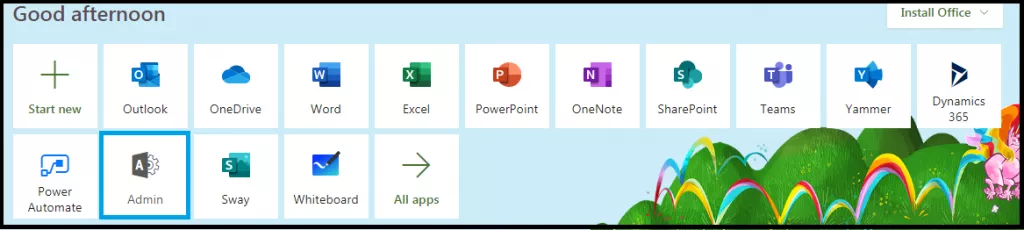
Step 2: Go to Admin
Click on the Admin icon in the list of available services and click on it. This will take you to the Office 365 admin center.
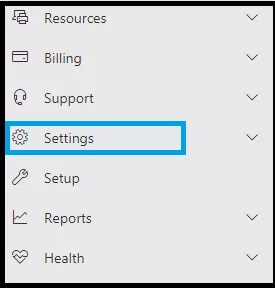
Step 3: Click on the Settings Icon
Locate the Settings icon in the left menu items and click on it to expand it.
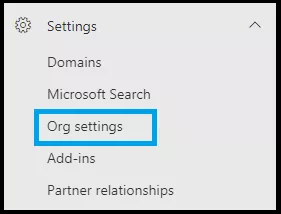
Step 4: Go to Org Settings
Find Org settings listed under the main Settings and click on it. This will take you to a page where you can enable or disable org-wide settings.
Step 5: Select Security and Privacy Tab
Click on the Security and Privacy tab as seen in the image below.
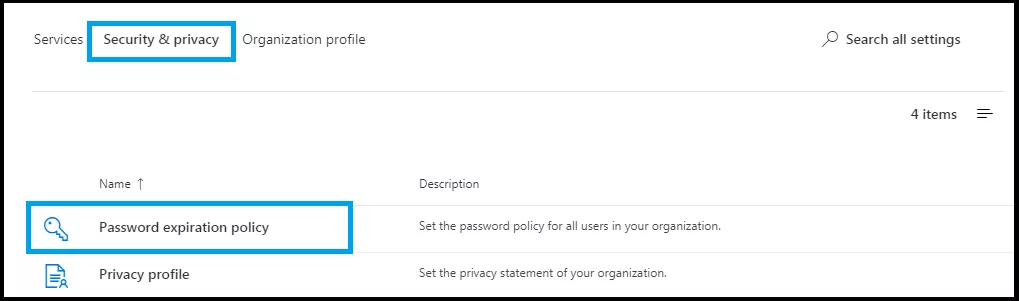
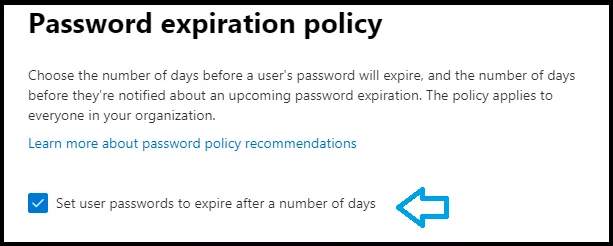
Step 6: Enable User Login Password Expiry
Click on the checkbox to enable it.
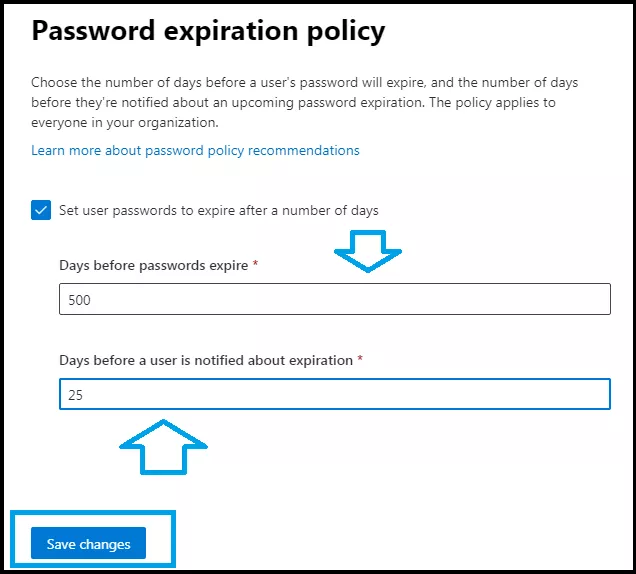
Step 7: Choose a Timeframe Before the Password Expires
Select the number of days in which the password should expire. Ideally, it shouldn’t be too long (for security) and too short (for user convenience). Enter the number of days before which Office 365 prompts users about the password expiry.
We hope you found this article on Office 365 helpful.

Leave A Comment