How to Restore a Group in Office 365 Admin Center
Office 365 Groups allow communication and collaboration within sub-teams. Both users and admins can create Groups in Office 365/Microsoft 365. Admins, however, have more privileges when it comes to creating or managing groups. In this article, we provided step-by-step instructions on restoring a deleted group in Office 365. The steps also provide information on creating a Group in Office 365. Note that you must be an Office 365 admin to be able to do this task.
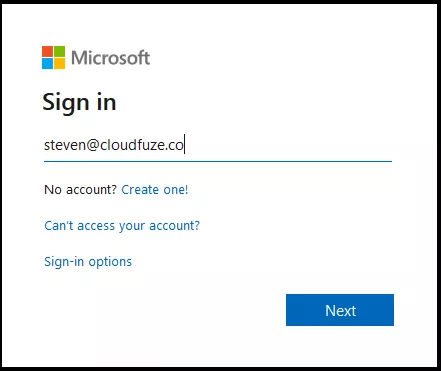
Step 1: Log in to Your Office 365 Account
Go to office.com. Enter your admin login credentials and sign in to your account.
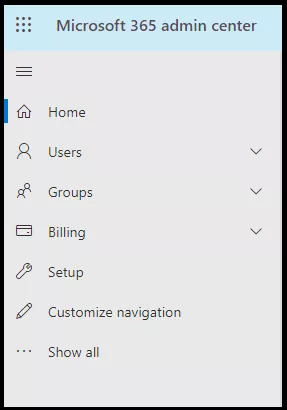
Step 2: Go to Admin Center
Once you logged into Office 365, locate the admin center, and access it.
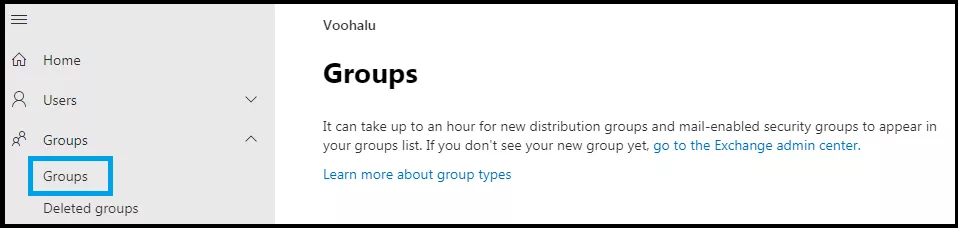
Step 3: Now, Expand Groups and Click on the Groups Icon
When you click on the Groups link, you will find a link to Groups again. Click on that and it will take you to the Group management page.
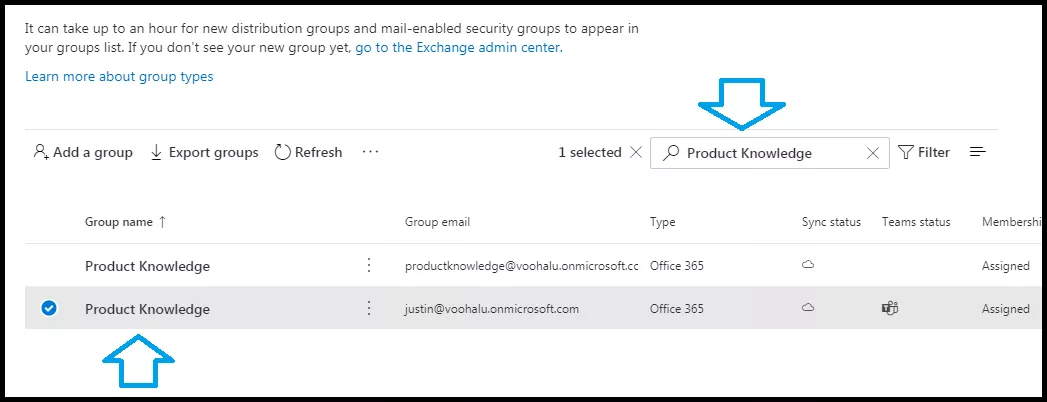
Step 4: Search for a Group Name
We are searching for a Group name now to delete first so we can show you how to restore it. If your Group is already deleted, skip the 5th, 6th, and 7th points.
Step 5: Click on Delete Group
Expand the ellipsis, and then click on the Delete Group icon.

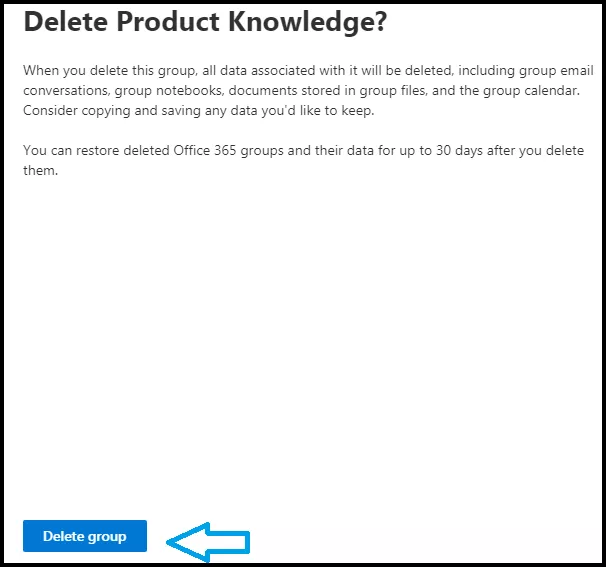
Step 6: Confirm the Deletion
Click on the Delete button to delete the Group.
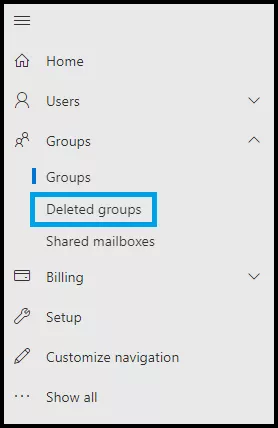
Step 7: Now, Head Back to the Groups
Come back to the main Groups section and click on the Deleted Groups link.
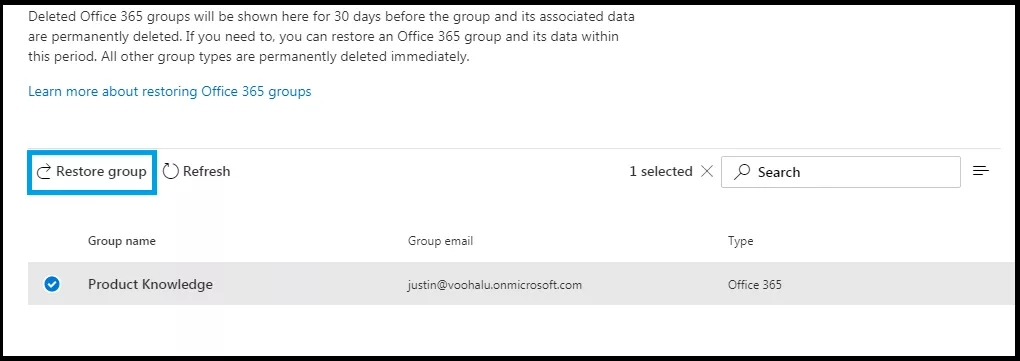
Step 8: Select a Group to Restore
This section shows all the deleted Groups. Locate yours and select it. Once selected, click on the restore link that you can see on the top.
Step 9:Check the Restored Group
By this time, it should be back in the regular Groups list.

We hope you found this article on Office 365 helpful.

