How to Add a Shared Mailbox to Your Office 365 Account
A shared mailbox in Office 365 allows a group of team members in an organization to use the same mailbox. The general use case of this feature is creating emails like info@example.com, sales@example.com, marketing@example.com, etc. A group can access shared mailboxes and can read or send messages. This tutorial will teach you how to create an Office 365 shared mailbox from the Office 365 admin center.
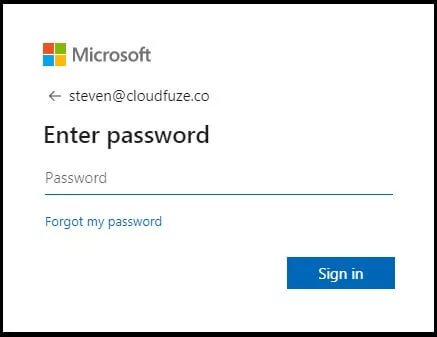
Step 1: Log in to Your Office 365 Account
Go to office.com and enter your admin login credentials to sign in. Note that you must be an Office 365 admin in order to create a shared mailbox.
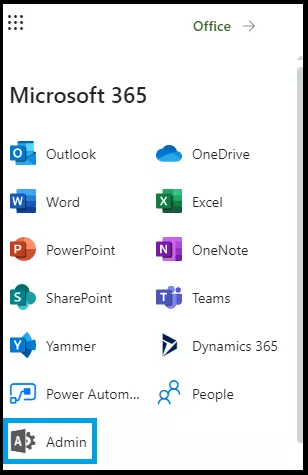
Step 2: Go to the Admin Center
Click on the Admin link from your Office 365 dashboard. This will take you to the admin settings page.
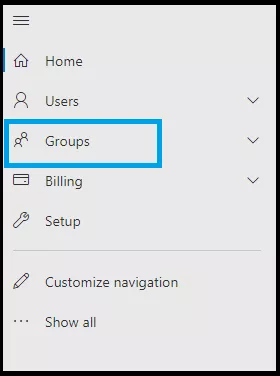
Step 3: Click on Groups
In the admin center page, locate the Groups link in the left navigation menu items and click on it to expand it.
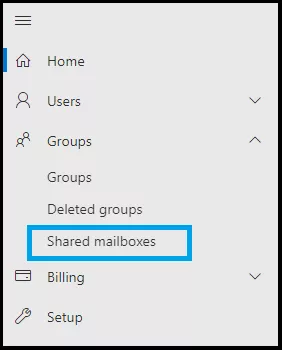
Step 4: Click on the Shared Mailboxes Link
Click on the Shared Mailboxes link from the list of dropdown menu options.
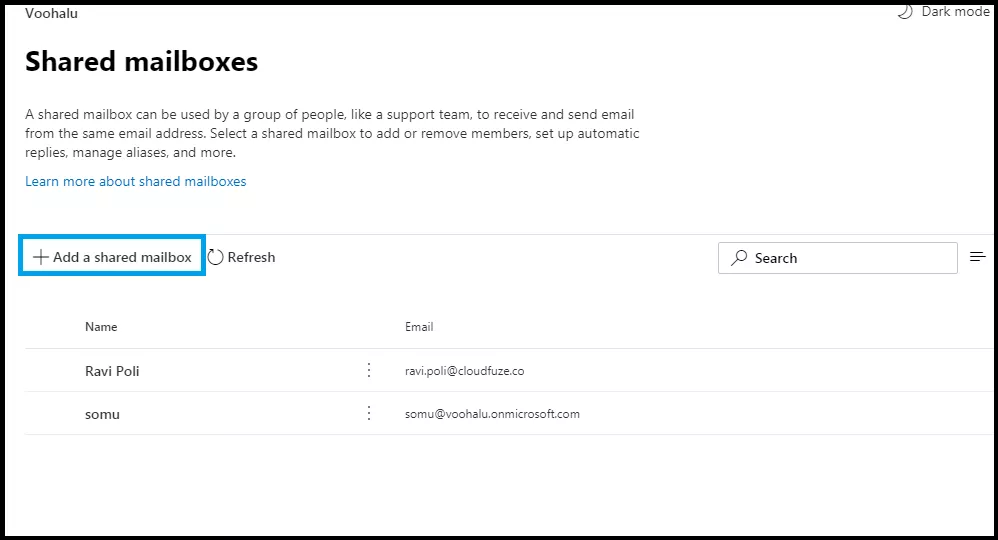
Step 5: Add a Shared Mailbox
Click on the +Add a Shared MailBox link from the Shared Mailboxes management page. This will open a form to create a new email.
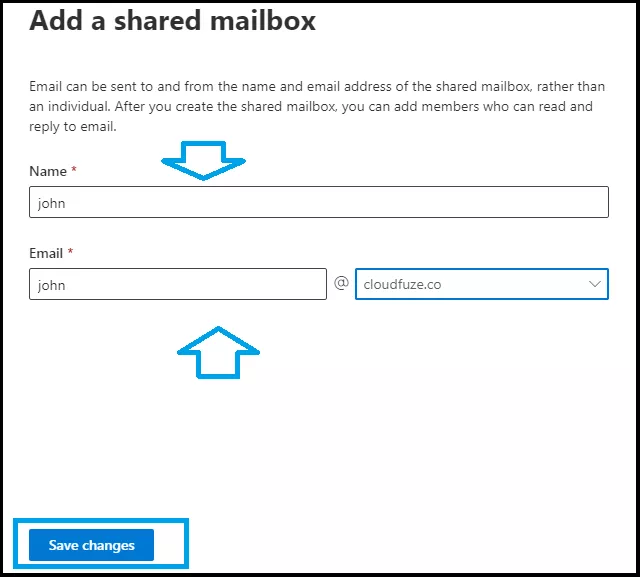
Step 6: Enter the Name and Email Address
Enter the name. Then, enter an email ID of your preference and click on the Save Changes button.
Step 7: New Shared Mailbox Has Been Created
Your new Office 365 shared email has been successfully created.

We hope you found this article on Office 365 helpful.


Leave A Comment