Transferring large files between FTP accounts can take a lot of time and consume a lot of data. CloudFuze made it easy to transfer from FTP to FTP accounts or FTP to FTP directories in addition to facilitate Synchronizing and sharing files of multiple FTP accounts, now one can move/copy/transfer files between FTP accounts or even transfer files between FTP or move multiple files to another directory.
Step 1: Create a CloudFuze Account
Go to webapp.cloudfuze.com and create a CloudFuze account. If you already have an account, log in using your account credentials.

Step 2: Add Your FTP Account to CloudFuze
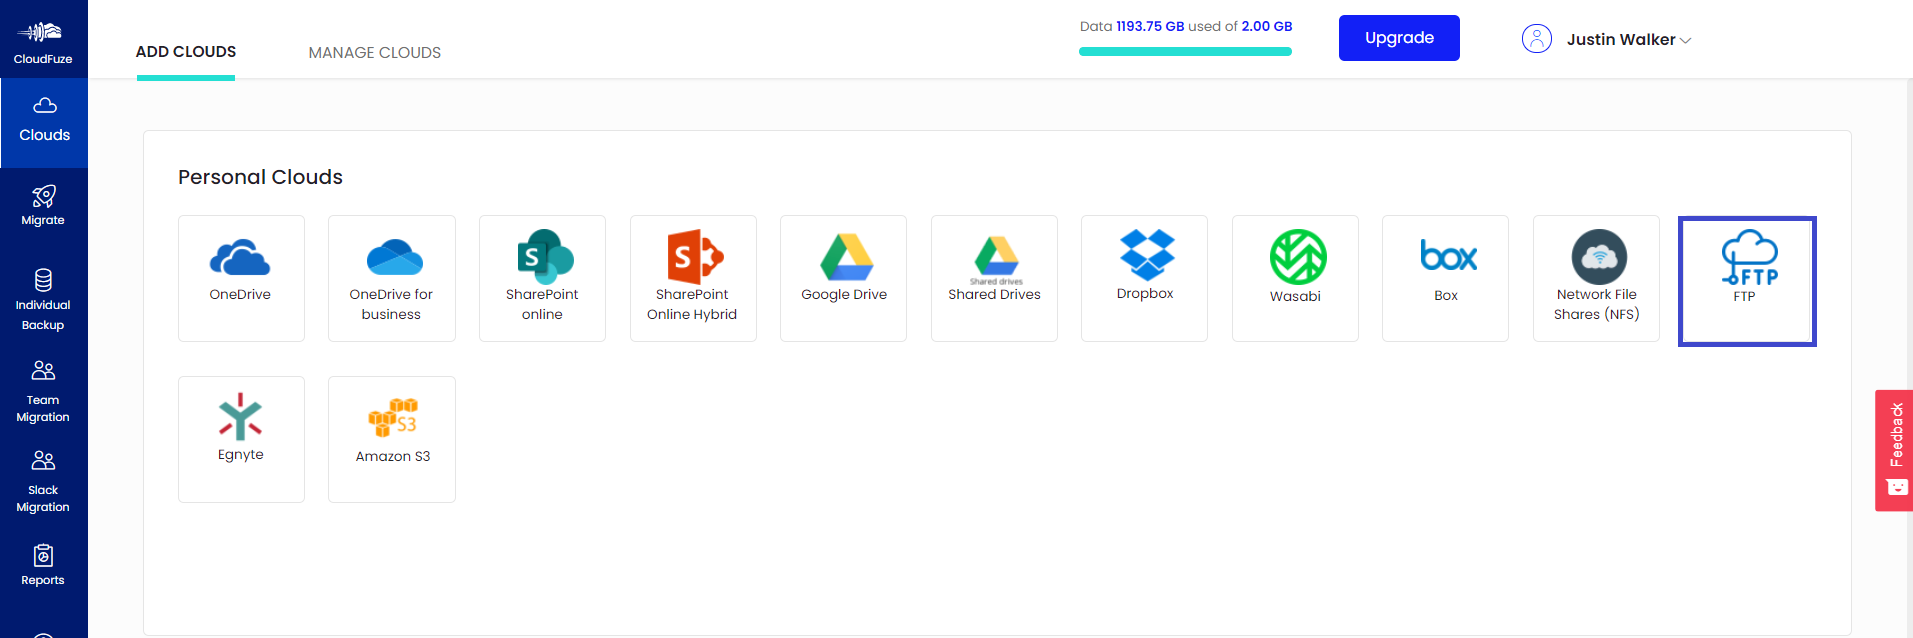
Click on the FTP logo listed in the personal clouds list. Clicking on it will open a dialog box where you need to enter the login information of your account.
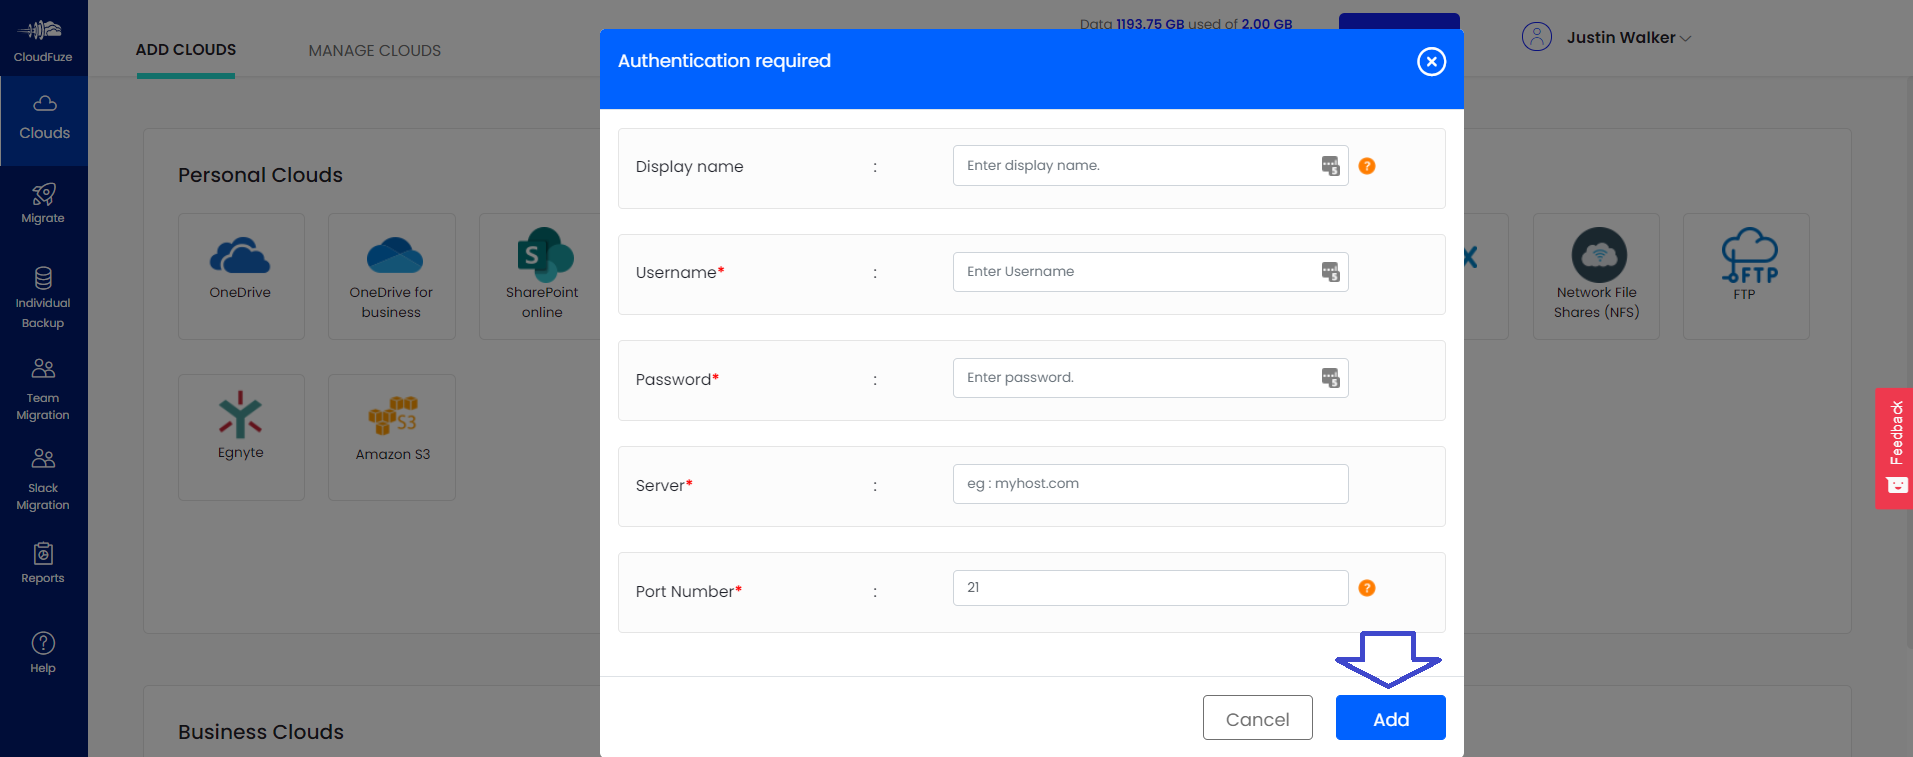
Step 3: Enter FTP Login Credentials
You need to enter the login details of your FTP account such as user name, password, server, and port number. This is the same information you use to log in through any FTP client.
Step 4: Add Second FTP Account
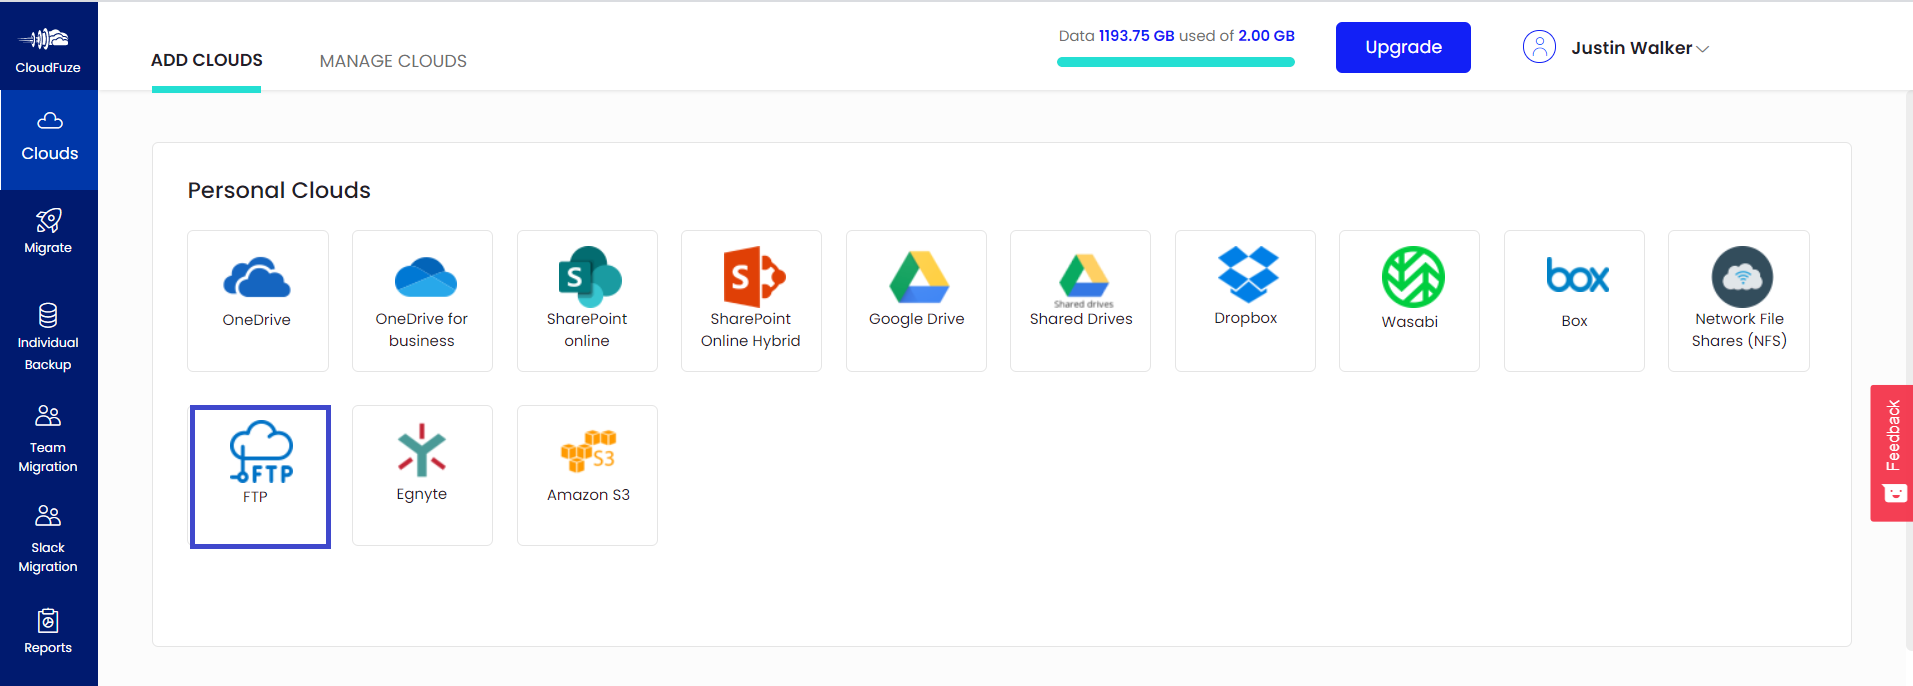
Click on the FTP logo once again. This time, you need to add the second FTP account where you want the files to be migrated.
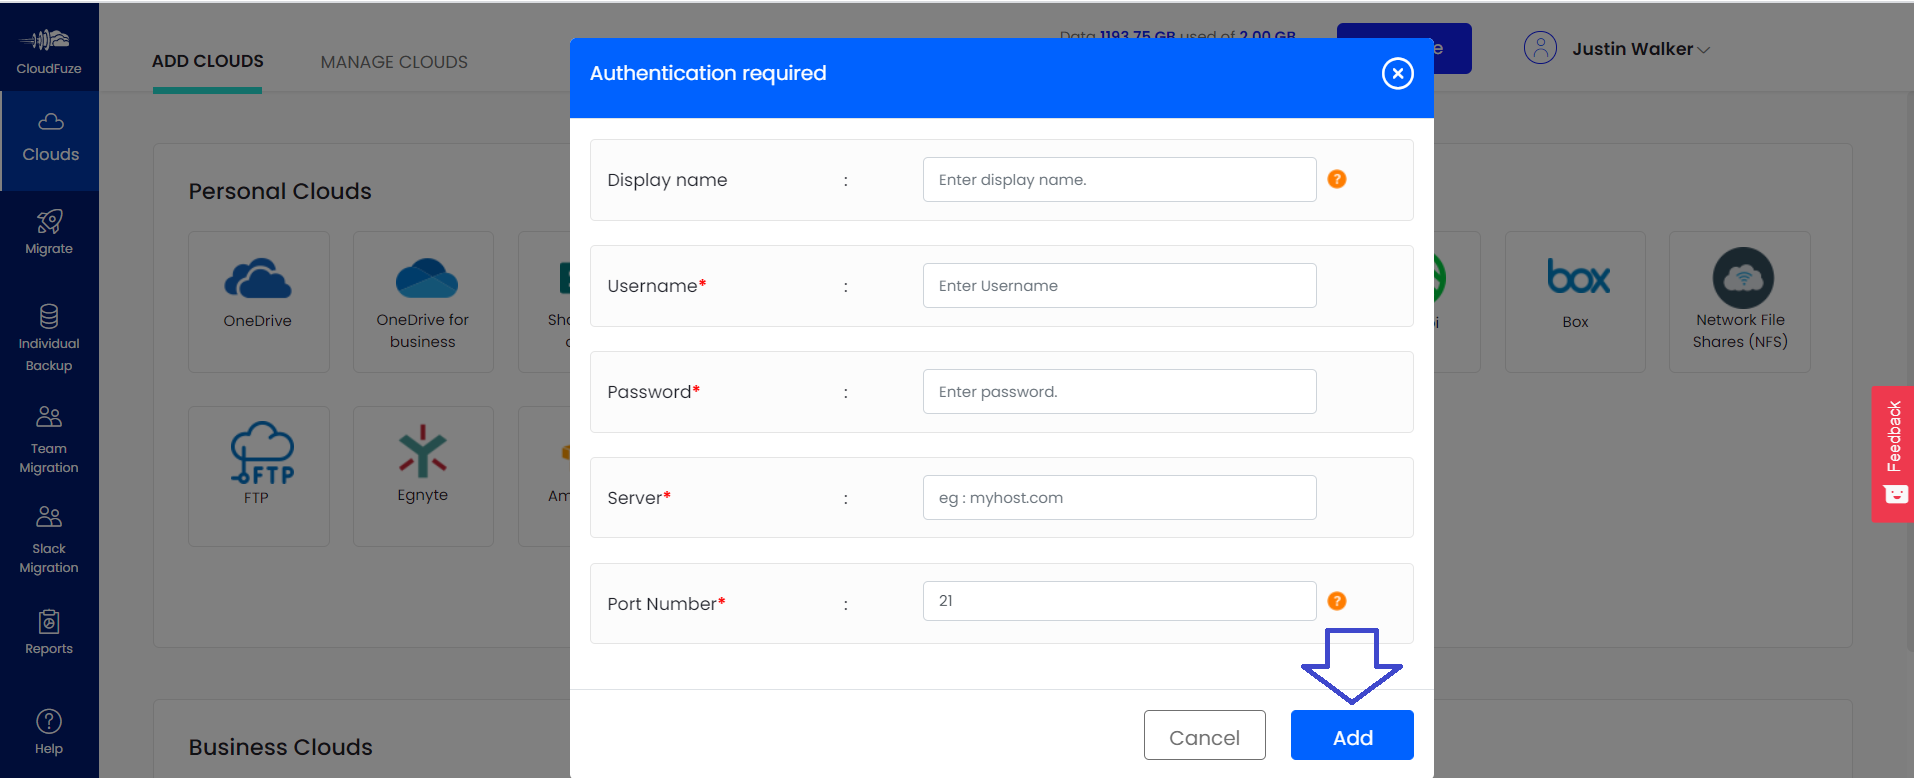
Step 5: Enter Second FTP Account Login Credentials
Enter the login details and click on the Add button.
Step 6: Clouds Have Been Added
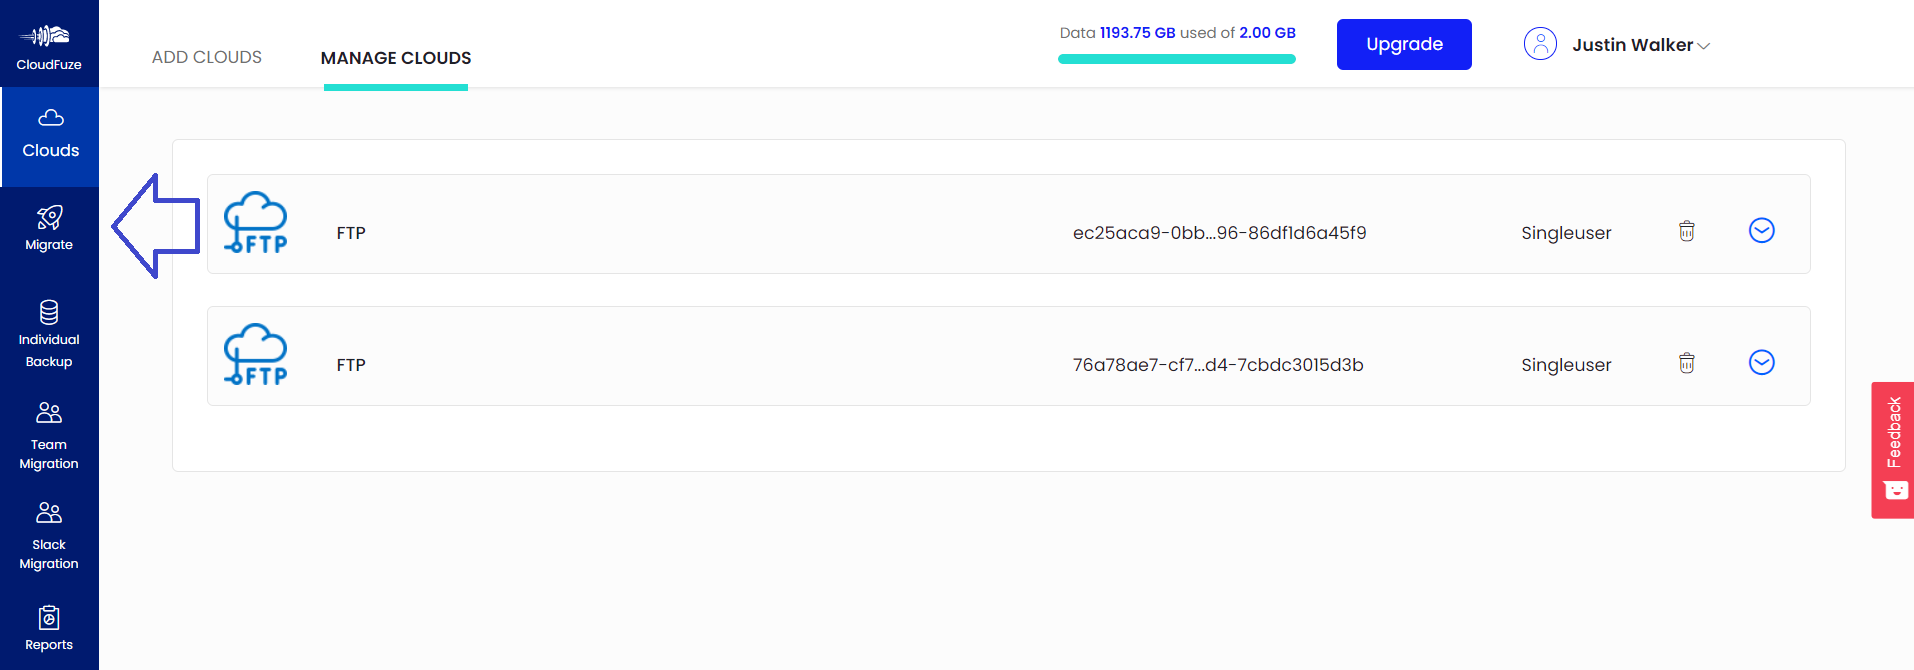
Go to the Clouds section by clicking on the Clouds icon in the navigational menu on the left. You should be able to see both FTP accounts there. If you find one or the two accounts missing, you need to start the cloud-adding procedure again.

Step 7: Start the Migration
Click on the Migrate button in the menu. Clicking on it will not start the file transfer process. There are a few more steps ahead that will take less than a couple of minutes.
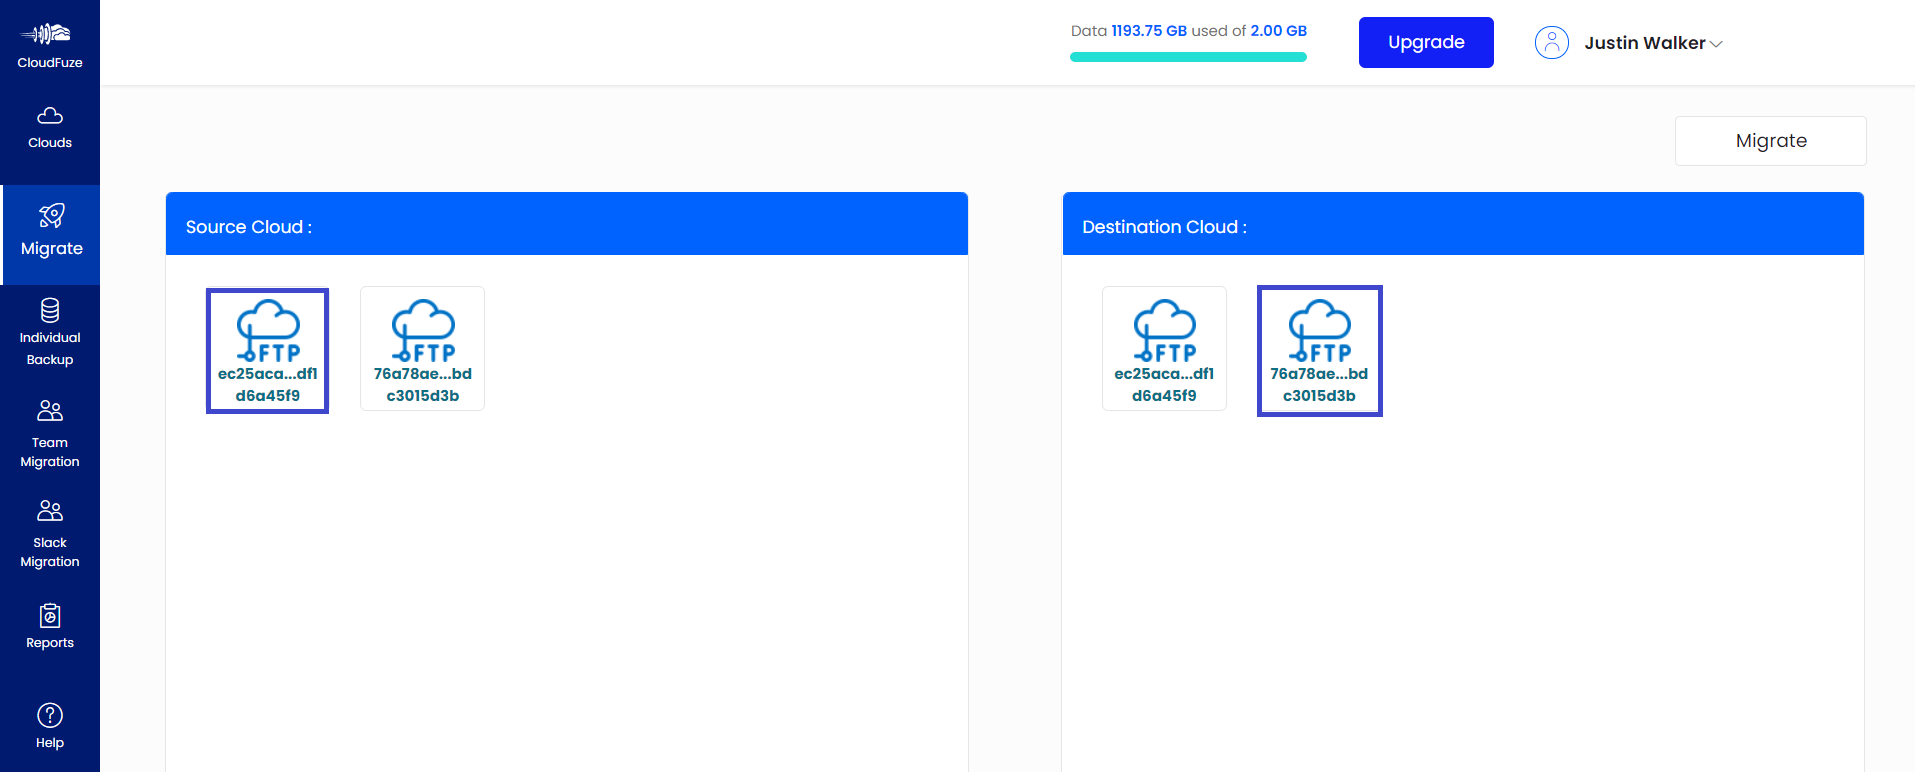
Step 8: Select Source and Destination Accounts
Choose the FTP account as a source where your files are. Then, select the other FTP account as a destination where you want the files to be migrated.
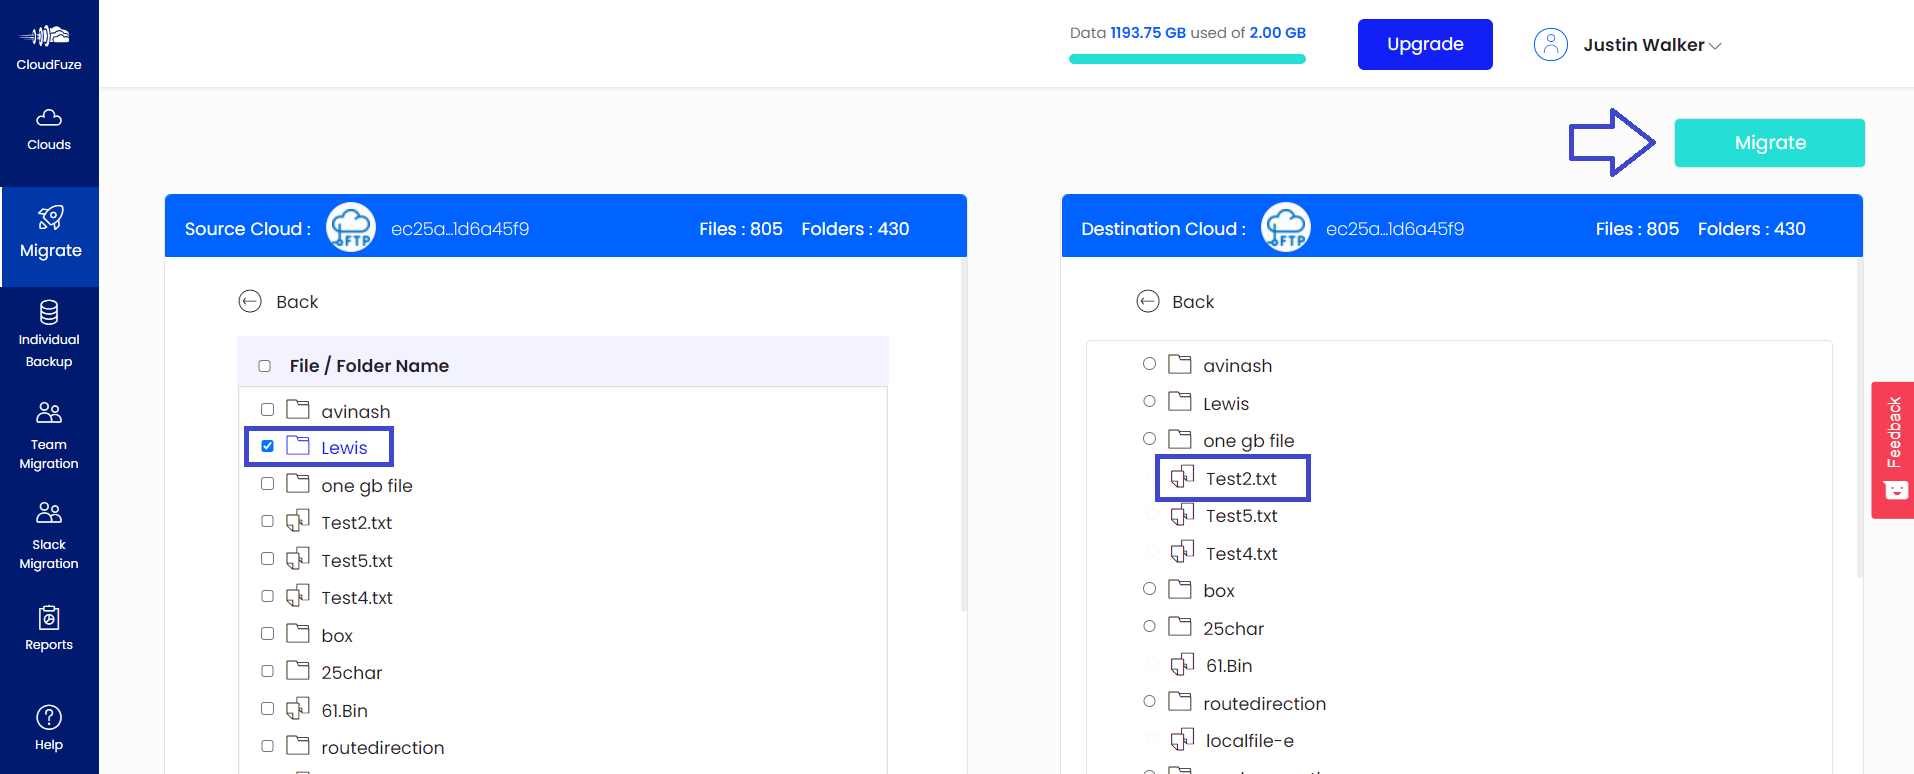
Step 9: Select the Content Want to Migrate
You can migrate all the content in your root folder. Or, you may transfer a few files or folders. Choose all the content that you want to transfer and click on the Migrate button.
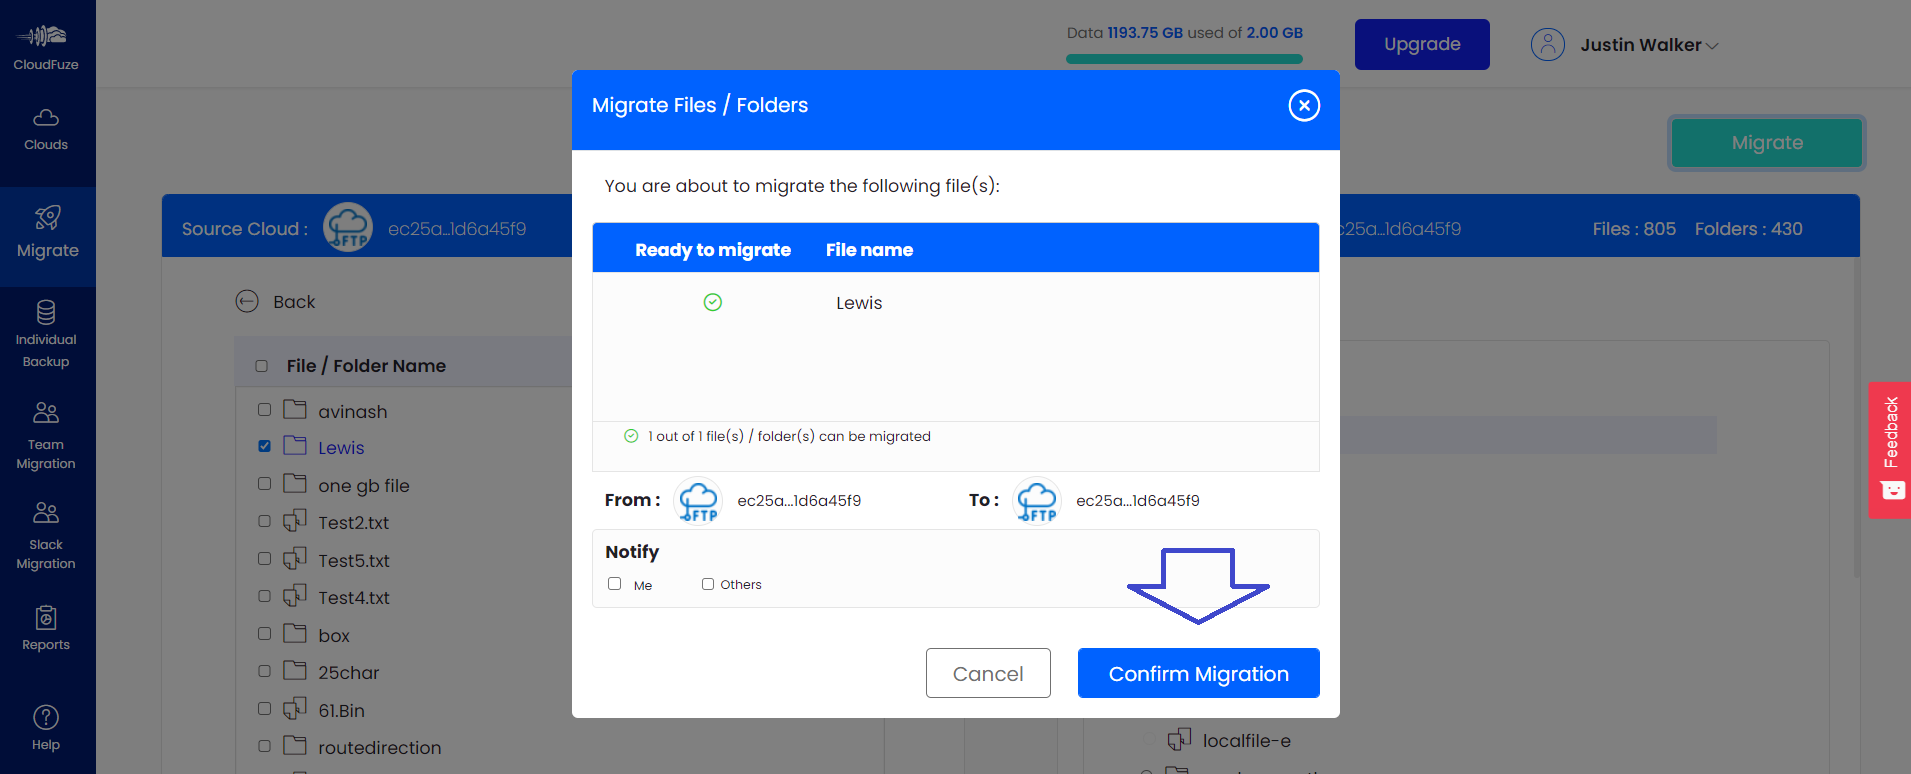
Step 10: Preview and Start the Migration
Check everything and click on the Start Migration button. This will initiate the file transfer and the files will be migrated to the destination FTP account in a while based on the data size.
Step 11: Migration is in Progress
During the file migration process, CloudFuze displays the status as In-Progress.

Step 12: Migration Has Been Completed
Once the migration is completed, the status will be changed to Processed.


Leave A Comment