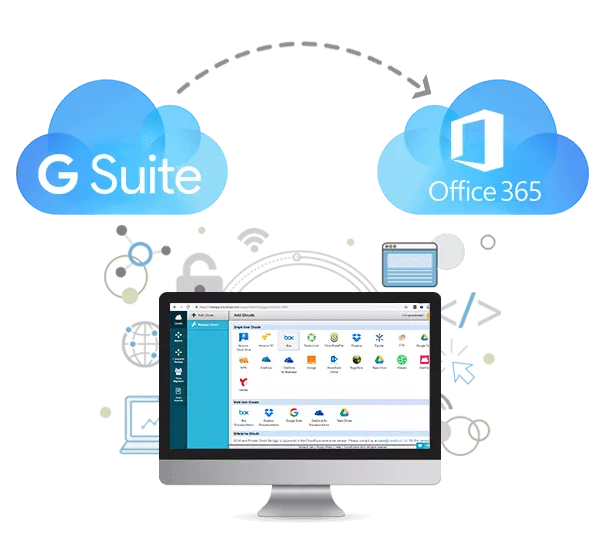
G Suite to Office 365 Migration: Make the Switch Effortlessly with CloudFuze
Are you planning to migrate your G Suite files and users to Office 365? If so, CloudFuze, the most powerful G Suite to Office 365 migration tool, can help you transfer all your enterprise G Suite content to Office 365.
What is CloudFuze and How CloudFuze Can Help Businesses of All Sizes Switch Between Cloud Service Providers?
Before we check the G Suite to Office 365 migration tutorial, let’s spend a little time understanding CloudFuze better.
CloudFuze is a smart platform built especially for multi-cloud content integration and exchange. Simply put, it lets anyone transfer, sync, and back up files between on-premise and 40+ cloud-based file systems.
How Can CloudFuze Help You Migrate from G Suite to Office 365?
CloudFuze’s robust migration engine, CloudFuze Migrate, automates the G Suite to Office 365 migration. Whether you are a small business owner with minimal technical knowledge or an IT admin of a large enterprise, you can bank on CloudFuze for easy, quick, and secure cloud file migrations.
- Automates migration
- Migration happens on CloudFuze’s enterprise-grade servers
- Migrates users, files, folder structure, and permissions
- Provides detailed tracking and notifications
- Can be a deployed in a client’s cloud for more security
G Suite to Office 365 Migration Prerequisites
You need a CloudFuze account for migration. You may try CloudFuze for free or get in touch with us. You must have access to both source and destination clouds, which are G Suite and Office 365.
1. Login to the CloudFuze Web Application


Once you create your account and log in to your account, you will be prompted to add a cloud account. You need to add your source (G Suite) and destination (Office 365) clouds to proceed further.
2. Add Your Source Cloud (G Suite)

Click on G Suite icon and enter your login credentials to authenticate the account. Note that CloudFuze uses OAuth protocol and it will not be able to save your G Suite login credentials.
3. Add Your Destination Cloud (Office 365)

Since CloudFuze supports both OneDrive for Business and SharePoint Online, you can choose your preferred Microsoft cloud service. In this tutorial, we used OneDrive for Business for migration. Provide your Office 365 login details to authenticate the account.
4. Now, Select Your Source and Destination Clouds

Click on the Team Migration icon on the left navigation menu and choose your source cloud. Please make sure that your source is G Suite and the destination is Office 365 (OneDrive for Business or SharePoint Online).
5. Auto-Map Users

Click on the Auto Map button, which is seen in the middle of the page, to auto map users.
6. Select the Number of Users to Be Migrated

Upon clicking on the Auto Map button, the system lists down all the users in source cloud that can be migrated. Choose a few users or all as per your requirement. In this example, we are only migrating one user from G Suite to Office 365 (OneDrive for Business).
7. Select Your Preferred Options

Leave the Job Type to One Time if it is a one-time migration. The options can be set to their default in most cases. If you are unsure, you may contact one of our support executives right away.
8. Start the Migration


Preview the migration job and click on Start Migration button. The migration will be initiated, and the status can be seen on this final page. Just click on the names of the migration jobs to see the detailed reports for each migration.
We hope the tutorial will help you. Keep in mind that CloudFuze offers assisted migration for anyone who doesn’t want to use the self-service model.

