How to Add Guest Users to an Office 365 Account
Office 365 is one of the most popular cloud office suites in the world. The suite has improved collaboration and workplace communication a lot in recent years. One of the coolest features of Office 365 is that it also allows external collaborators to be a part of a company’s Office 365 account. Office 365 admins can add people from other companies or external collaborators as guest users. Find out how to add a guest user to Office 365.
Step 1: Log in to Office 365 Admin Center
Go to admin.microsoft.com or office.com and enter your Office 365 admin login credentials to access the admin dashboard.
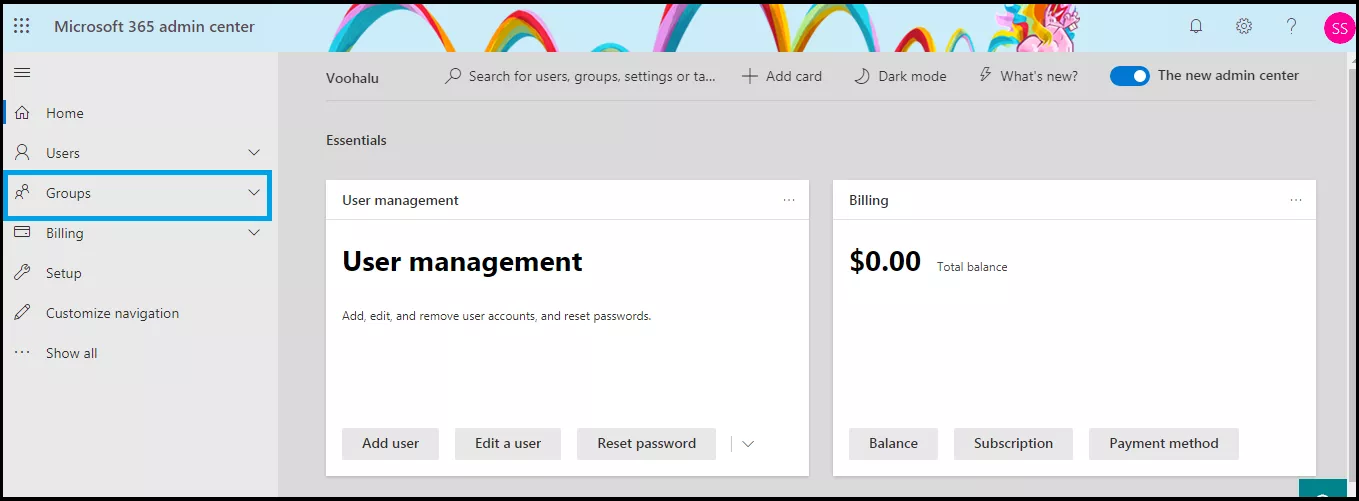
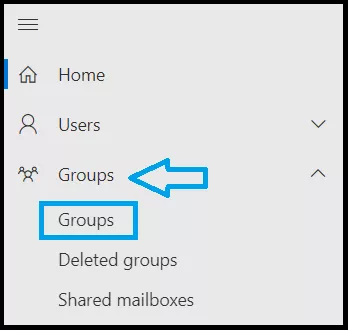
Step 2: Click on Groups
Locate the Groups option in the admin menu and click on it.
Step 3: Select a User
Search for users and select a user from the list.

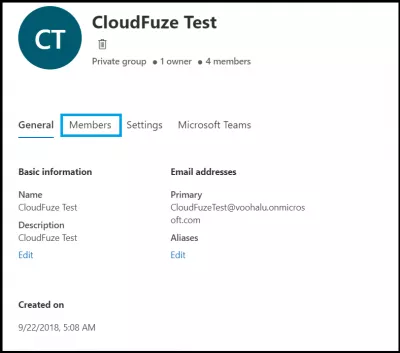
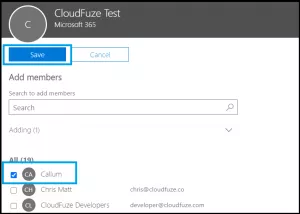
Step 4: Click on Members
Upon clicking the user, a pop-up appears. Click on the members’ tab.
Step 5: Click on View All and Manage Members
Click the group you want to add the guest too, and select View all and manage members on the Members tab.
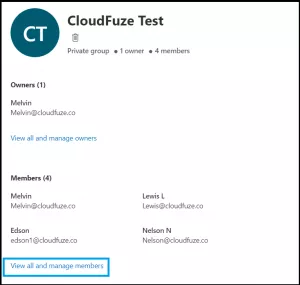
Step 6: Click on View and Manage Members
Find the ‘View and Manage Members’ link right below the popup and click on it.
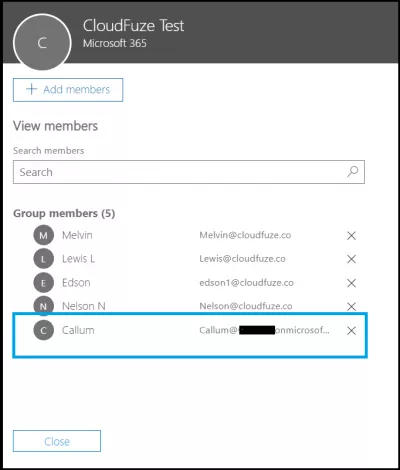
Step 7: Verify Whether Guest Is Added
Check the user list to see if the guest user is added or not. Their name should appear in the list of users in the group.
We hope you found this article helpful.


Leave A Comment